Fruity Pebbles Rice Crispy Treats + Video
This post may contain affiliate links, that if you make purchases through, I will earn a small commission.
Looking for a fun and tasty snack idea? These Fruity Pebbles Rice crispy treats are a twist on the classic recipe and great to make with the kids!
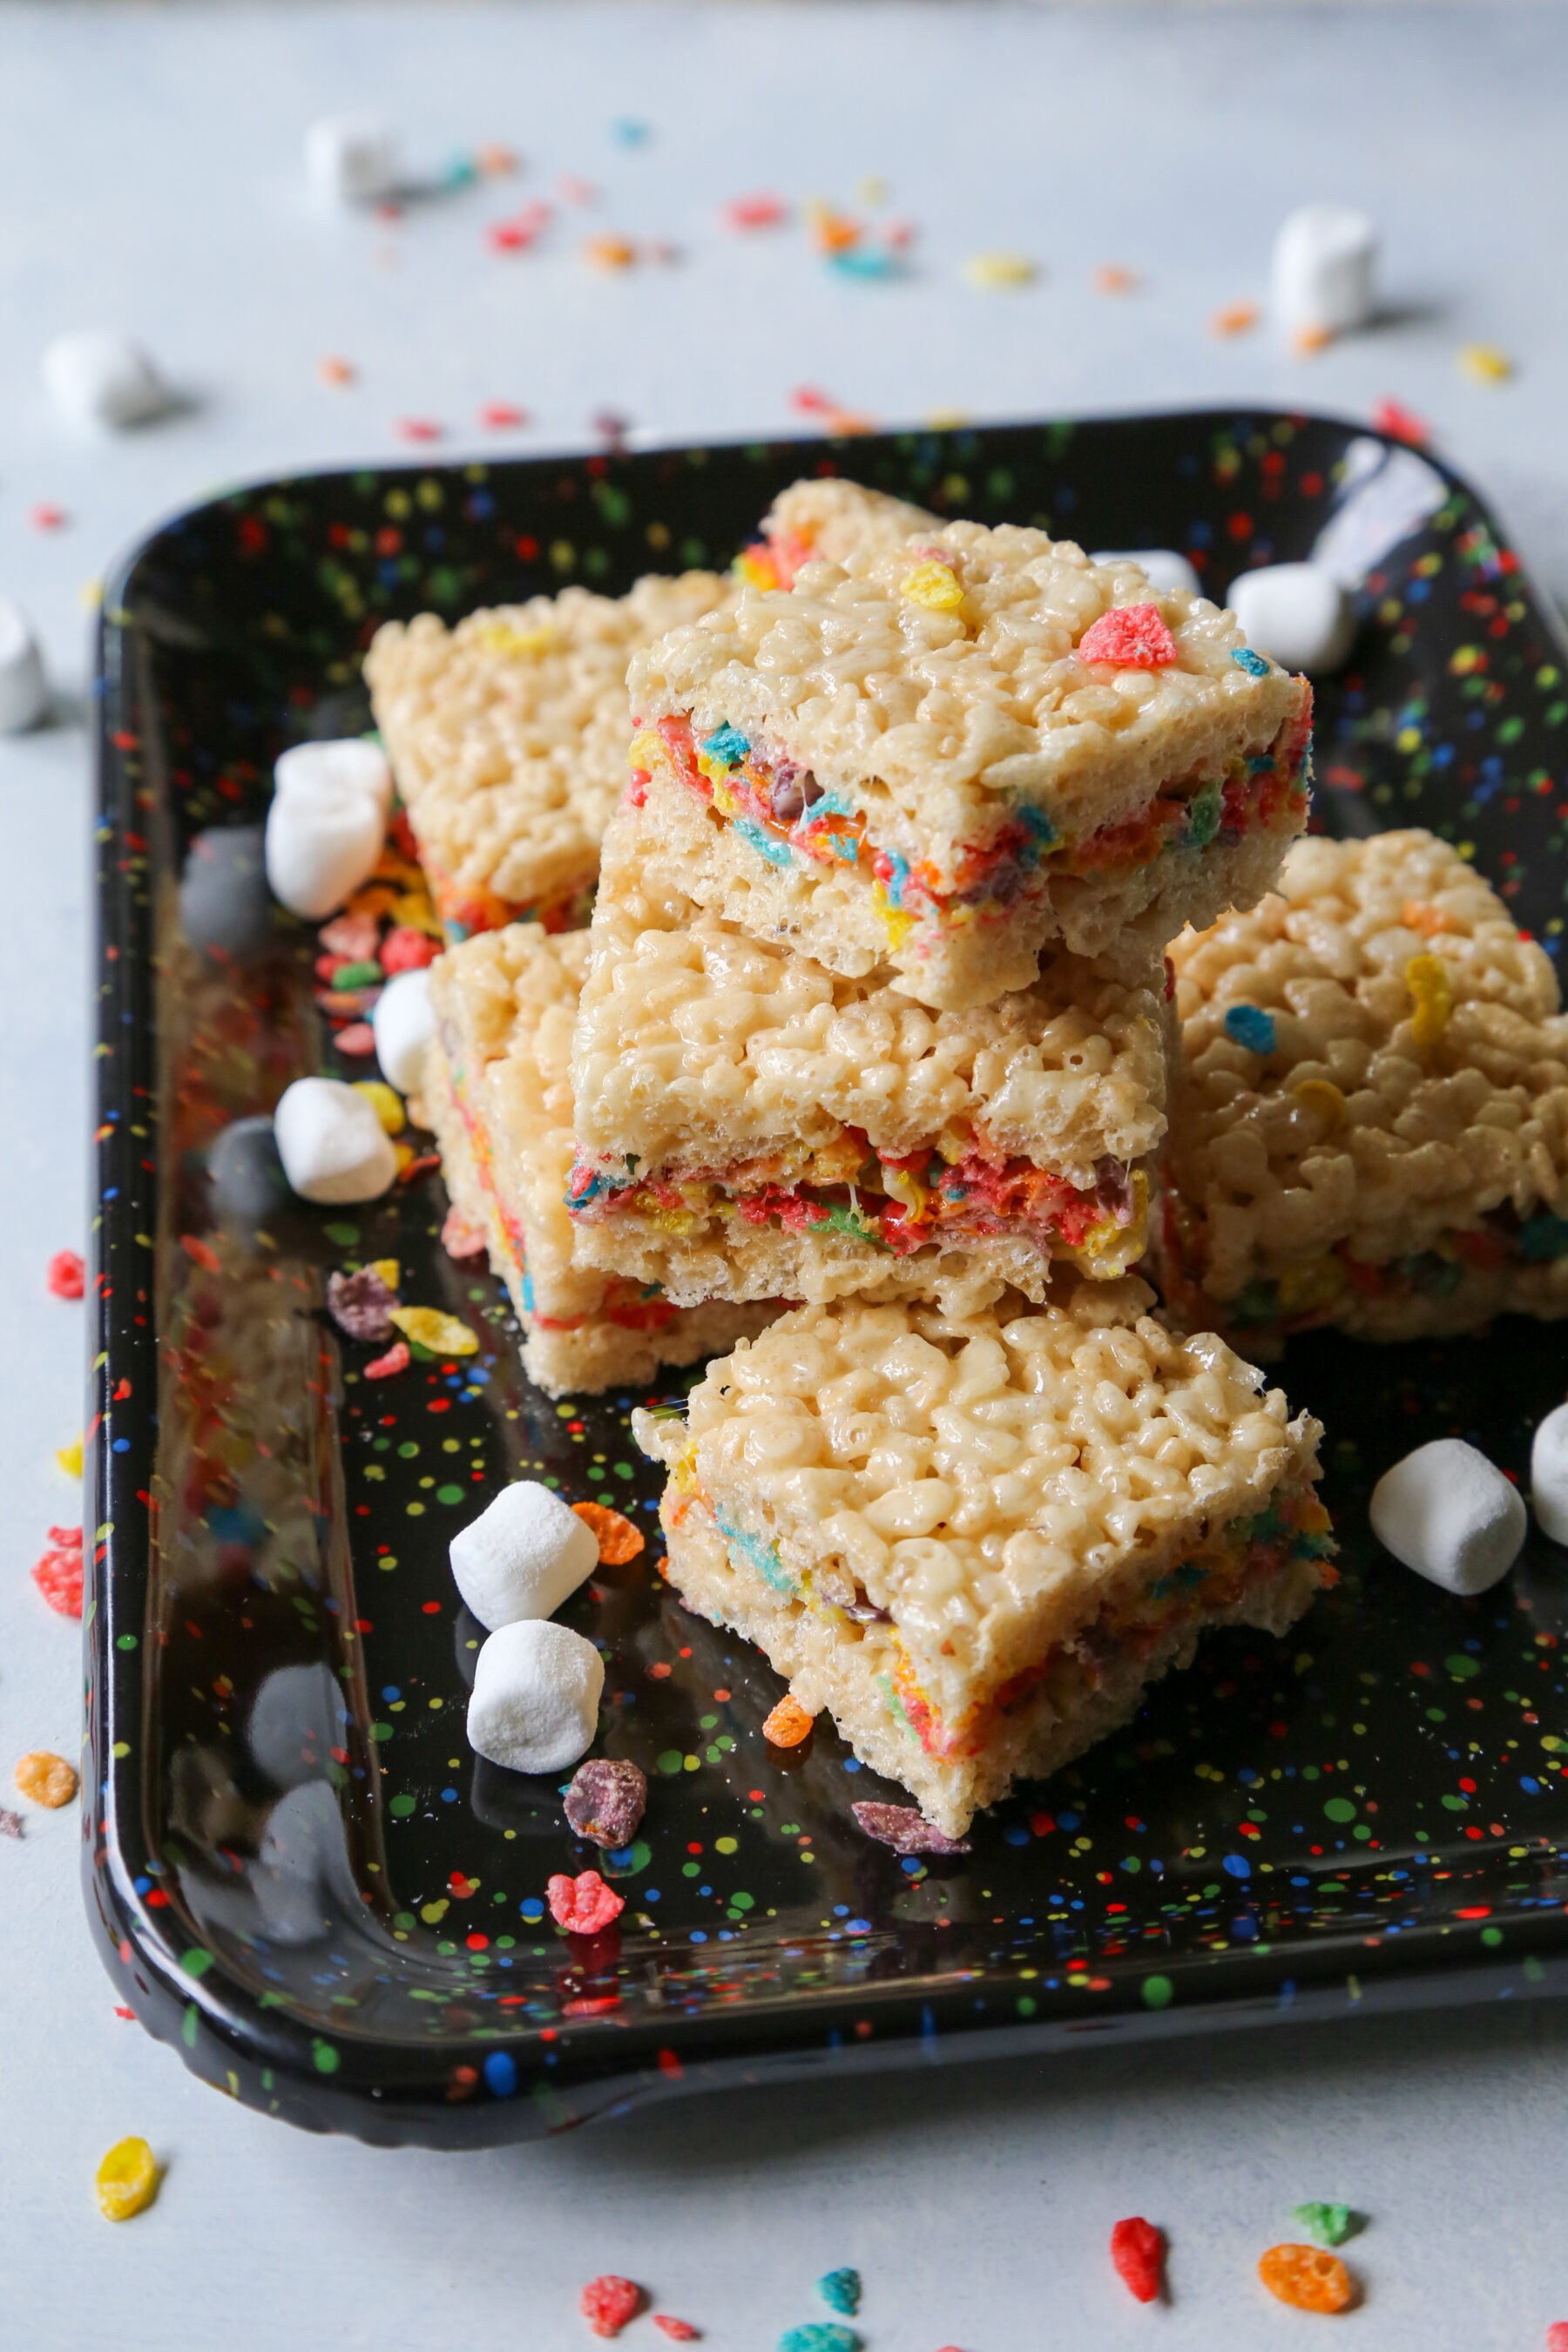
There is something so singularly nostalgic about classic rice krispies treats! Whether it was an after school treat, a Saturday soccer game snack with orange slices, or a Saturday sleep over activity, they were such a huge part of so many childhood memories. And now we are taking them up a notch with Fruity Pebbles cereal added in for that unmistakable flavor flowing through it in these layered rice krispies treats!
Plus, who doesn’t love a no bake dessert!?!
Is it Rice Krispie or Rice Crispy?
There seems to be some debate as to whether I call these “Fruit Pebbles Rice Crispy Treats” or “Fruity Pebble Rice Krispie Treats”…. I mean, can’t we just agree that these are both correct and the end results is utterly delicious in every way? haha
Ingredients for Fruity Pebbles Rice Krispie Treats
- Rice Krispies
- Fruit Pebbles
- Mini Marshmallows
- Butter – use salted butter or unsalted butter, whichever you prefer
- Toasted Milk Powder, optional
How To Make Fruity Pebbles Marshmallow Treats
The instructions for these are pretty much universally known, but to create the layered look in these, there are a couple extra steps and the proportions of the traditional rice crispies and Fruity Pebbles. I also added a special ingredient into this recipe that is definitely optional, but also do delicious! Toasted Milk Powder is much like browned butter in flavor, but shelf stable in lieu of making and using smaller amounts of brown butter at a time.
Using a large pot, melt some of the butter and 2/3 of the mini marshmallows until they are melted and smooth in texture. Add in all of the traditional rice krispies and stir together. If you are using toasted milk powder, sprinkle it in here and combine.
The Pan
Using cooking spray, coat a 9×9 inch baking pan. Divide the Rice Krispies, pouring half into the bottom of the prepared baking dish. Using your hands or a spatula press the mixture into the sides of the pan and even it out.
Place the pot with the cereal and marshmallow mixture into an oven set to “warm” to ensure that they stay maliable and soft until ready for the final layer. Or, place them in an oven safe bowl so you can reuse this pot for the Fruity Pebble layer.
Repeat this process with the remaining melted butter and mini marshmallows melted in a pan over low heat or medium low heat. Once the marshmallows are melted, add in the Fruity Pebbles cereal and stir to combine.
You can add additional salt, or vanilla extract if you wish. I mean, no one was ever mad at flaky sea salt on top of a baked good, am I right?! It always enhances the taste.
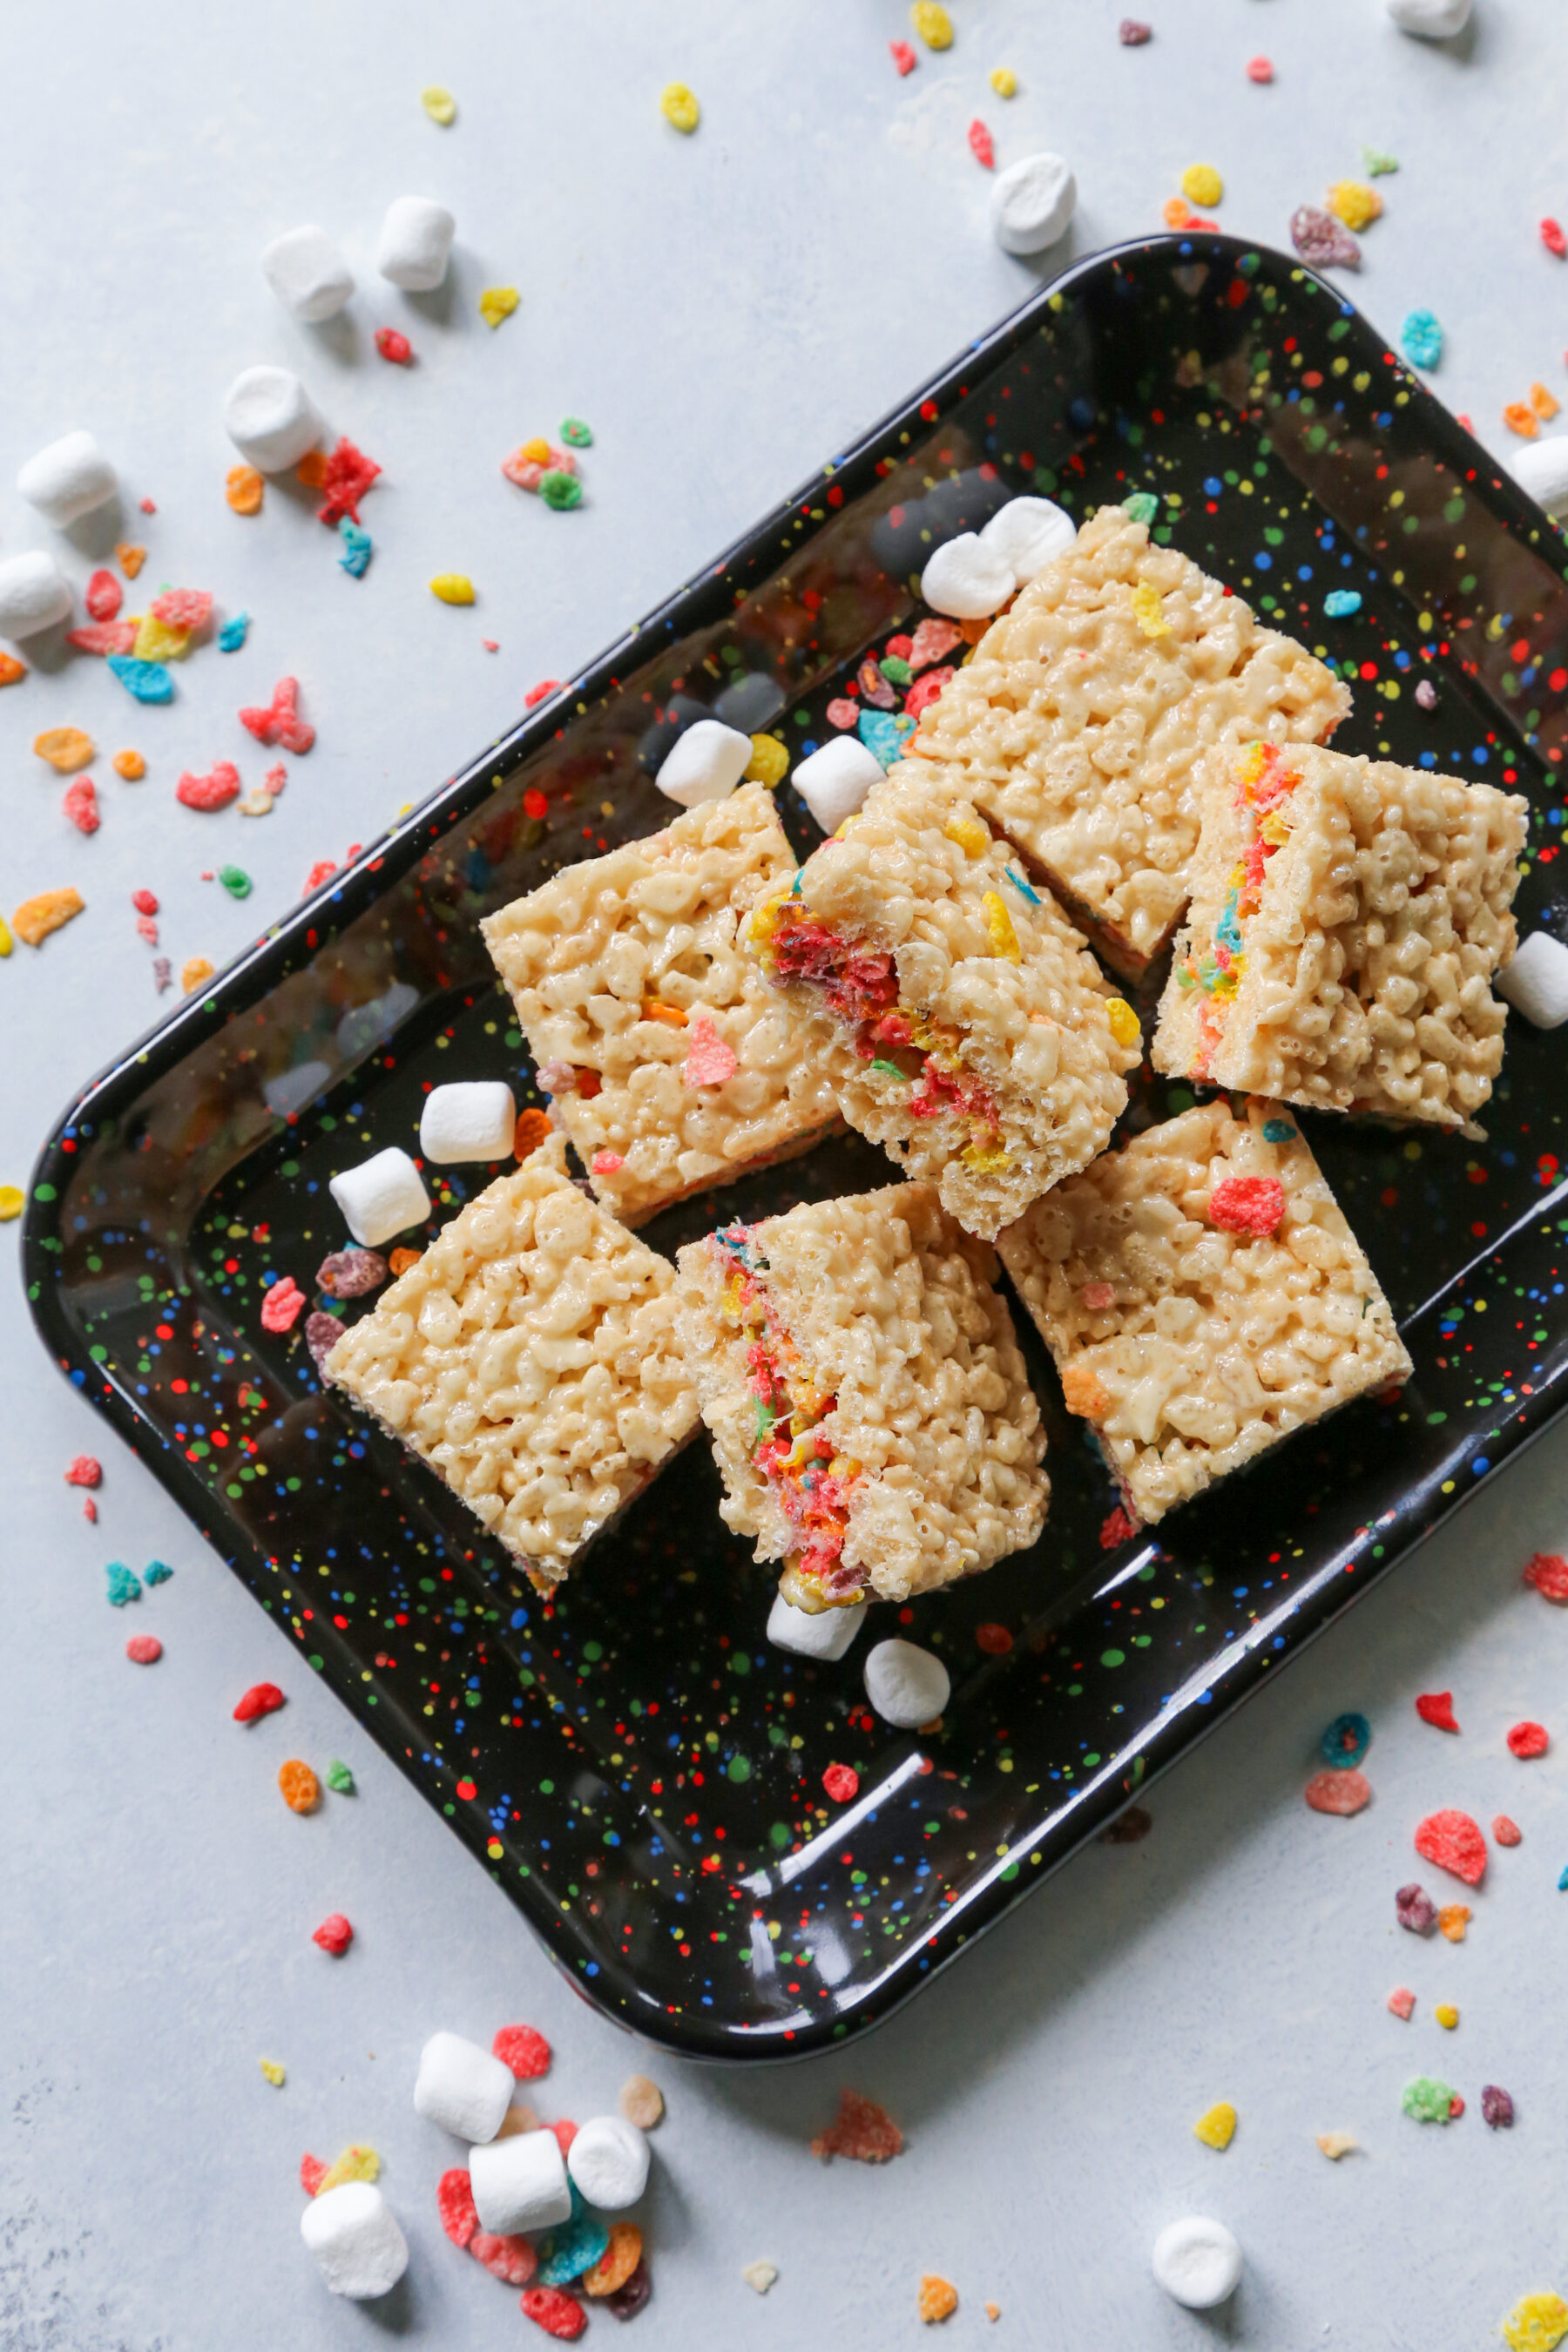
Once the Fruity Pebbles are combined, pour them over the cooled first layer of Rice Krispies, repeating the process of pressing them into the corners and in an even layer.
When this layer is cool, then repeat with the last half of the Rice Krispie treats kept warm in the oven. If the mixture is left out at room temperature in between these steps they will have started to solidify and get hard.
Can I use a Microwave?
Yes, you can definitely melt the marshmallows and butter together in a large microwave, but keep an eye on them so they do not burn. Be sure to use a microwave-safe bowl for this as well so it doesn’t melt or warp.
How Can These Get Extra Bougie?
I definitely recommend adding more fun to these cereal bars by adding a drizzle of white chocolate to the top of them, along with some extra sprinkles of Fruity Pebbles on top, just because! I mean, I get that fruity pebbles bars aren’t totally high class, but we can pretend, right?
How to Store Rice Krispie Treats
You can store them right in the baking pan or baking dish you made them in. Just cover the top with plastic wrap or aluminum foil to avoid them going stale. You can alternatively place them in an airtight container for a few days – but let’s be real, they won’t last that long.
Can I make these in a 9×13 pan?
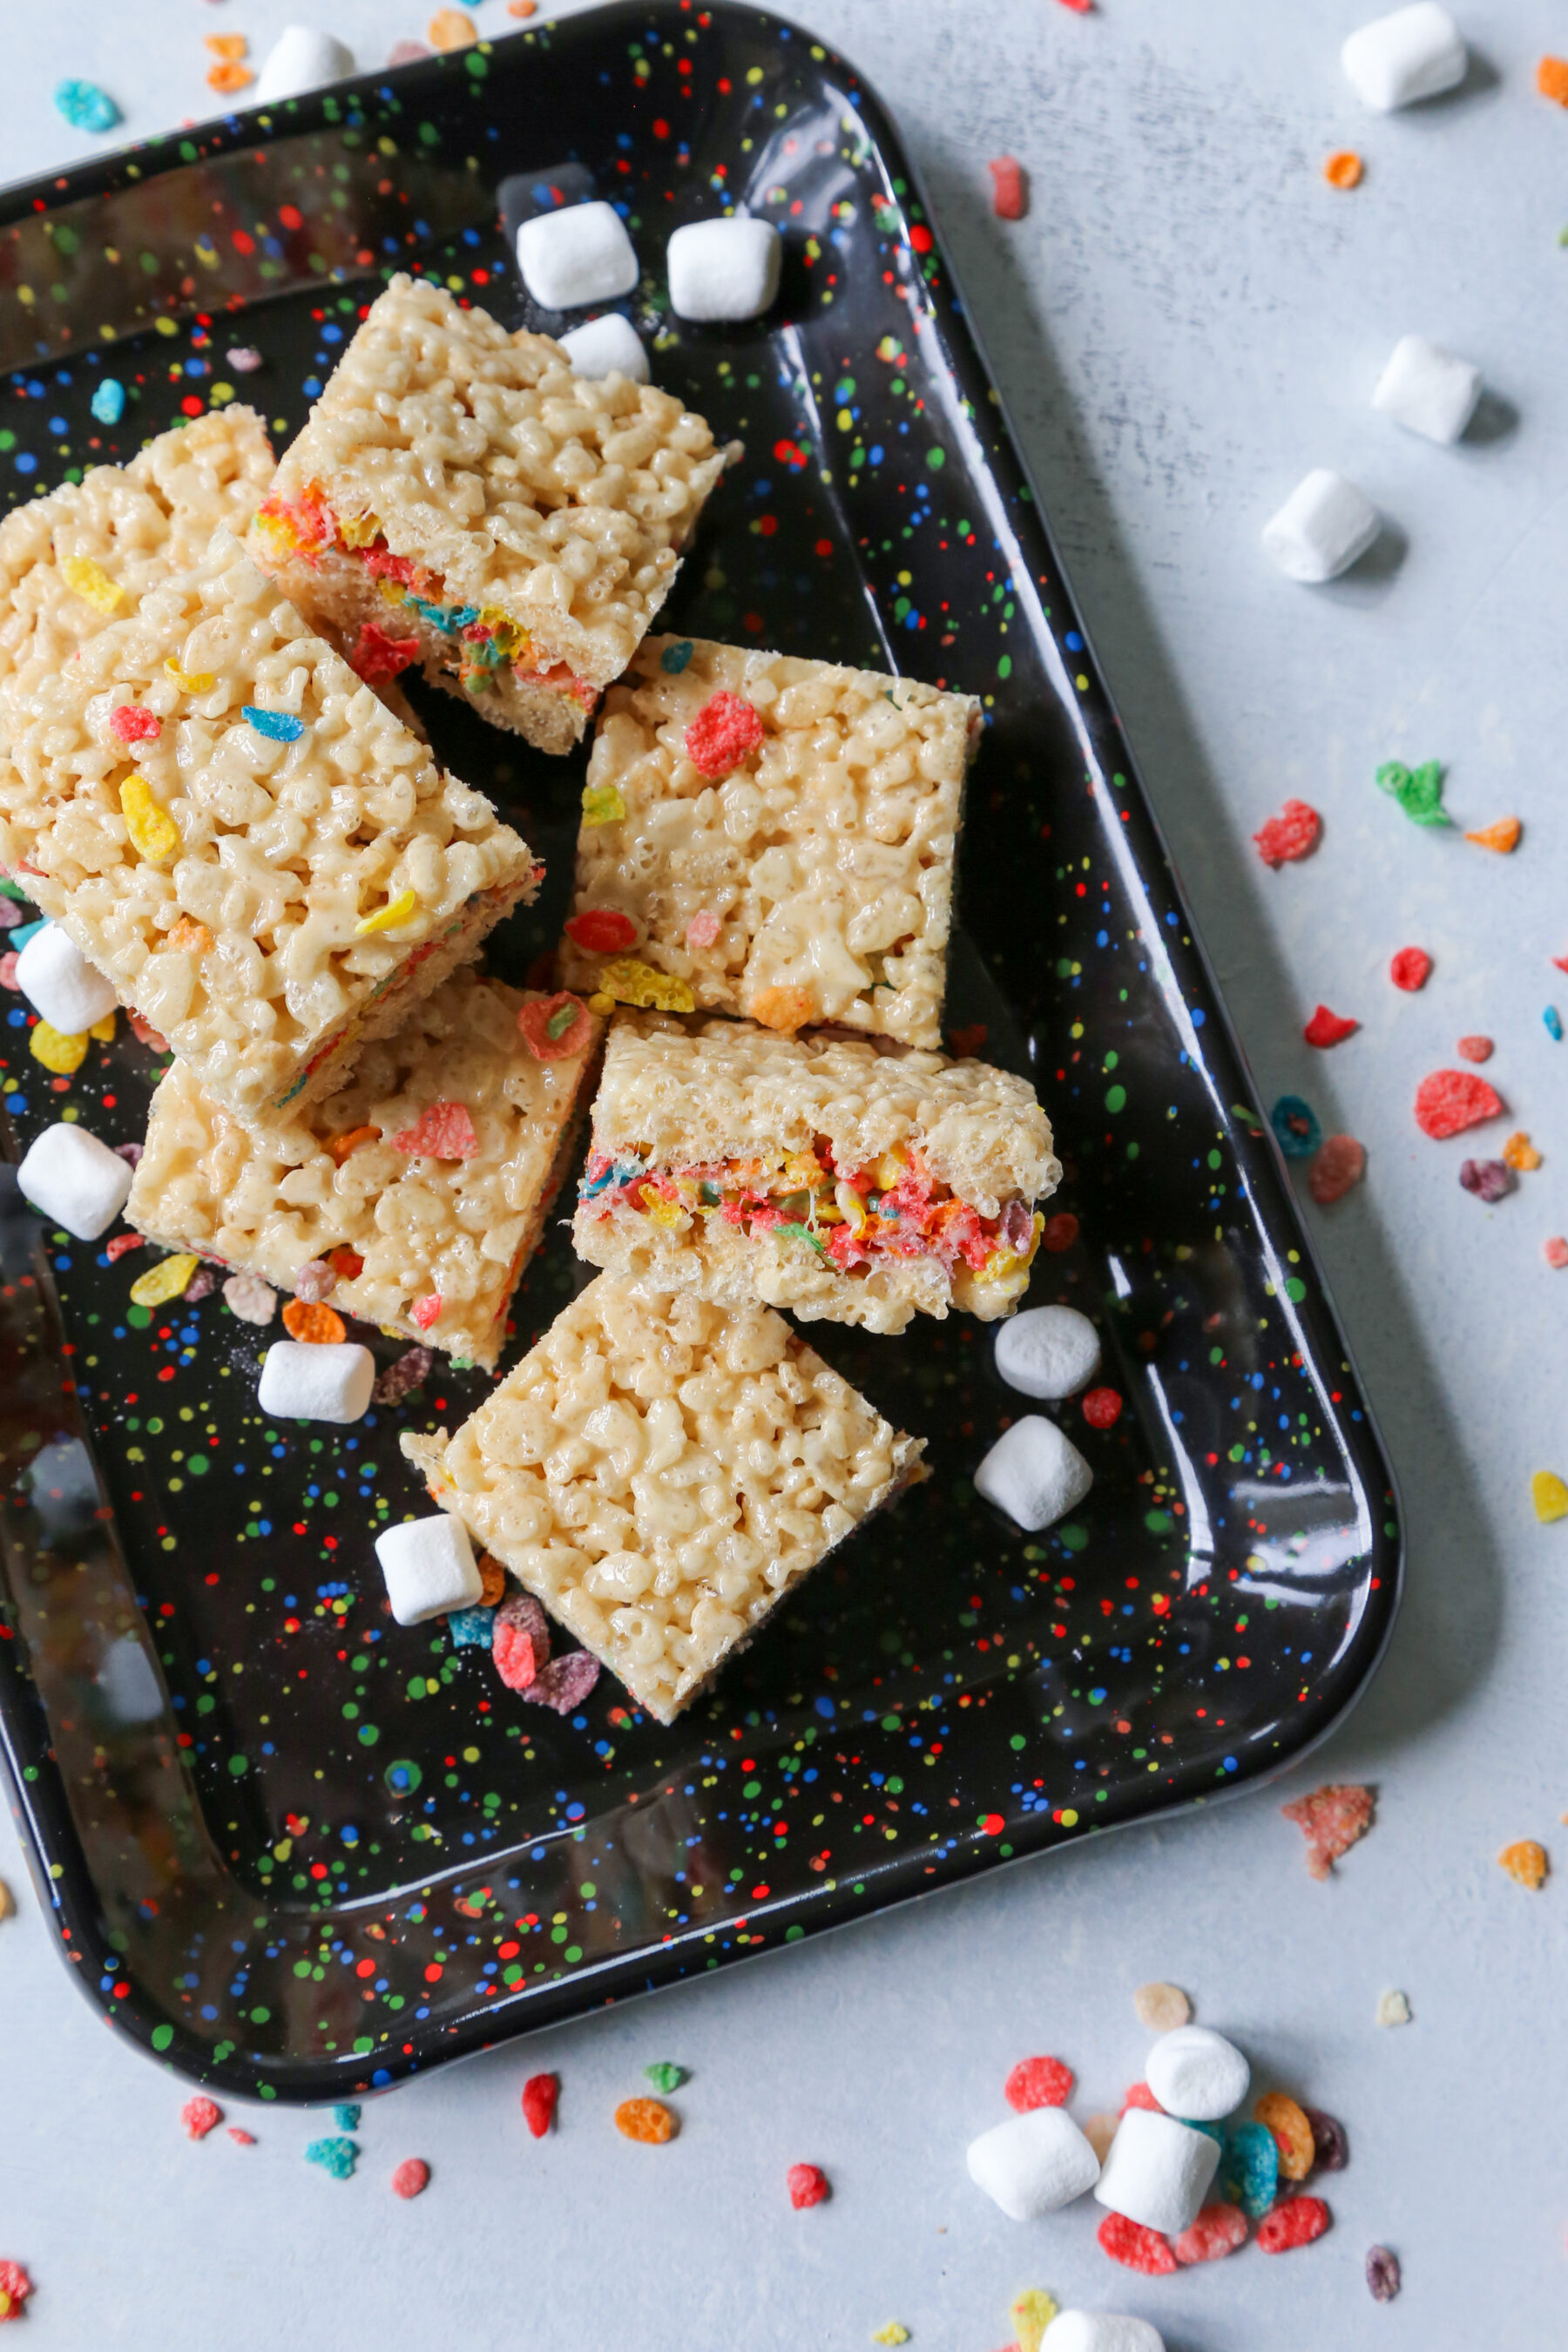
Sure, you will have to adjust the portions of the ingredients though. Making this recipe as-is in a 9×13 pan is hard because the layers were too thin. Placing them in a 9×9 square baking dish was perfect for this fruity pebbles treats recipe to get even and clearly defined layers.

Need more Inspired Homemade Variations of these Treats?! See below!
Peanut Butter S’mores Graham Krispie Treats
Print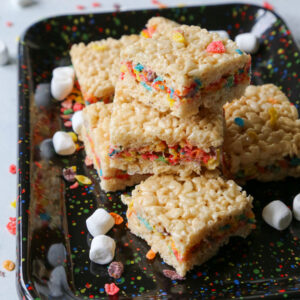
Fruity Pebbles Rice Crispy Treats + Video
- Prep Time: 10 Minutes
- Cook Time: 10 Minutes
- Total Time: 20 minutes
- Yield: 9–12 bars 1x
- Category: Dessert
- Method: Stovetop/Oven
- Cuisine: American
Ingredients
- 5 cups Rice Krispies
- 2 cups Fruity Pebbles
- 10 oz Mini Marshmallows – divided
- 6 Tbsp Butter, divided
- 1/2 tsp Vanilla
- Pinch of Salt
Instructions
- In a medium non-stick saucepan or stock pot, melt 4 tablespoons of butter and 2/3 of the marshmallows (7 oz) into the pan. Stir until soft and completely melted.
- Stir in a 1/4 tsp of the vanilla extract and pinch of salt.
- Mix in the Rice Krispies cereal and mix to combine.
- Into a square 9×9 pan, that has been sprayed with non stick spray or lined with parchment, spread half of the rice krispies into the bottom. Use a sprayed rubber spatula to help spread evenly. Keep other half of rice krispies warm so they do not set.
- In the same pan, repeat with the remaining butter and marshmallows, stirring until melted completely. Add in remaining vanilla and salt.
- Stir in the Fruity Pebbles cereal and incorporate into melted marshmallows completely.
- Spread evenly over the Rice Krispies in the pan. Using a sprayed spatula to spread them evenly.
- Once the Fruity Pebbles are spread out, create the last layer with the still-warm Rice Krispies that were set aside.
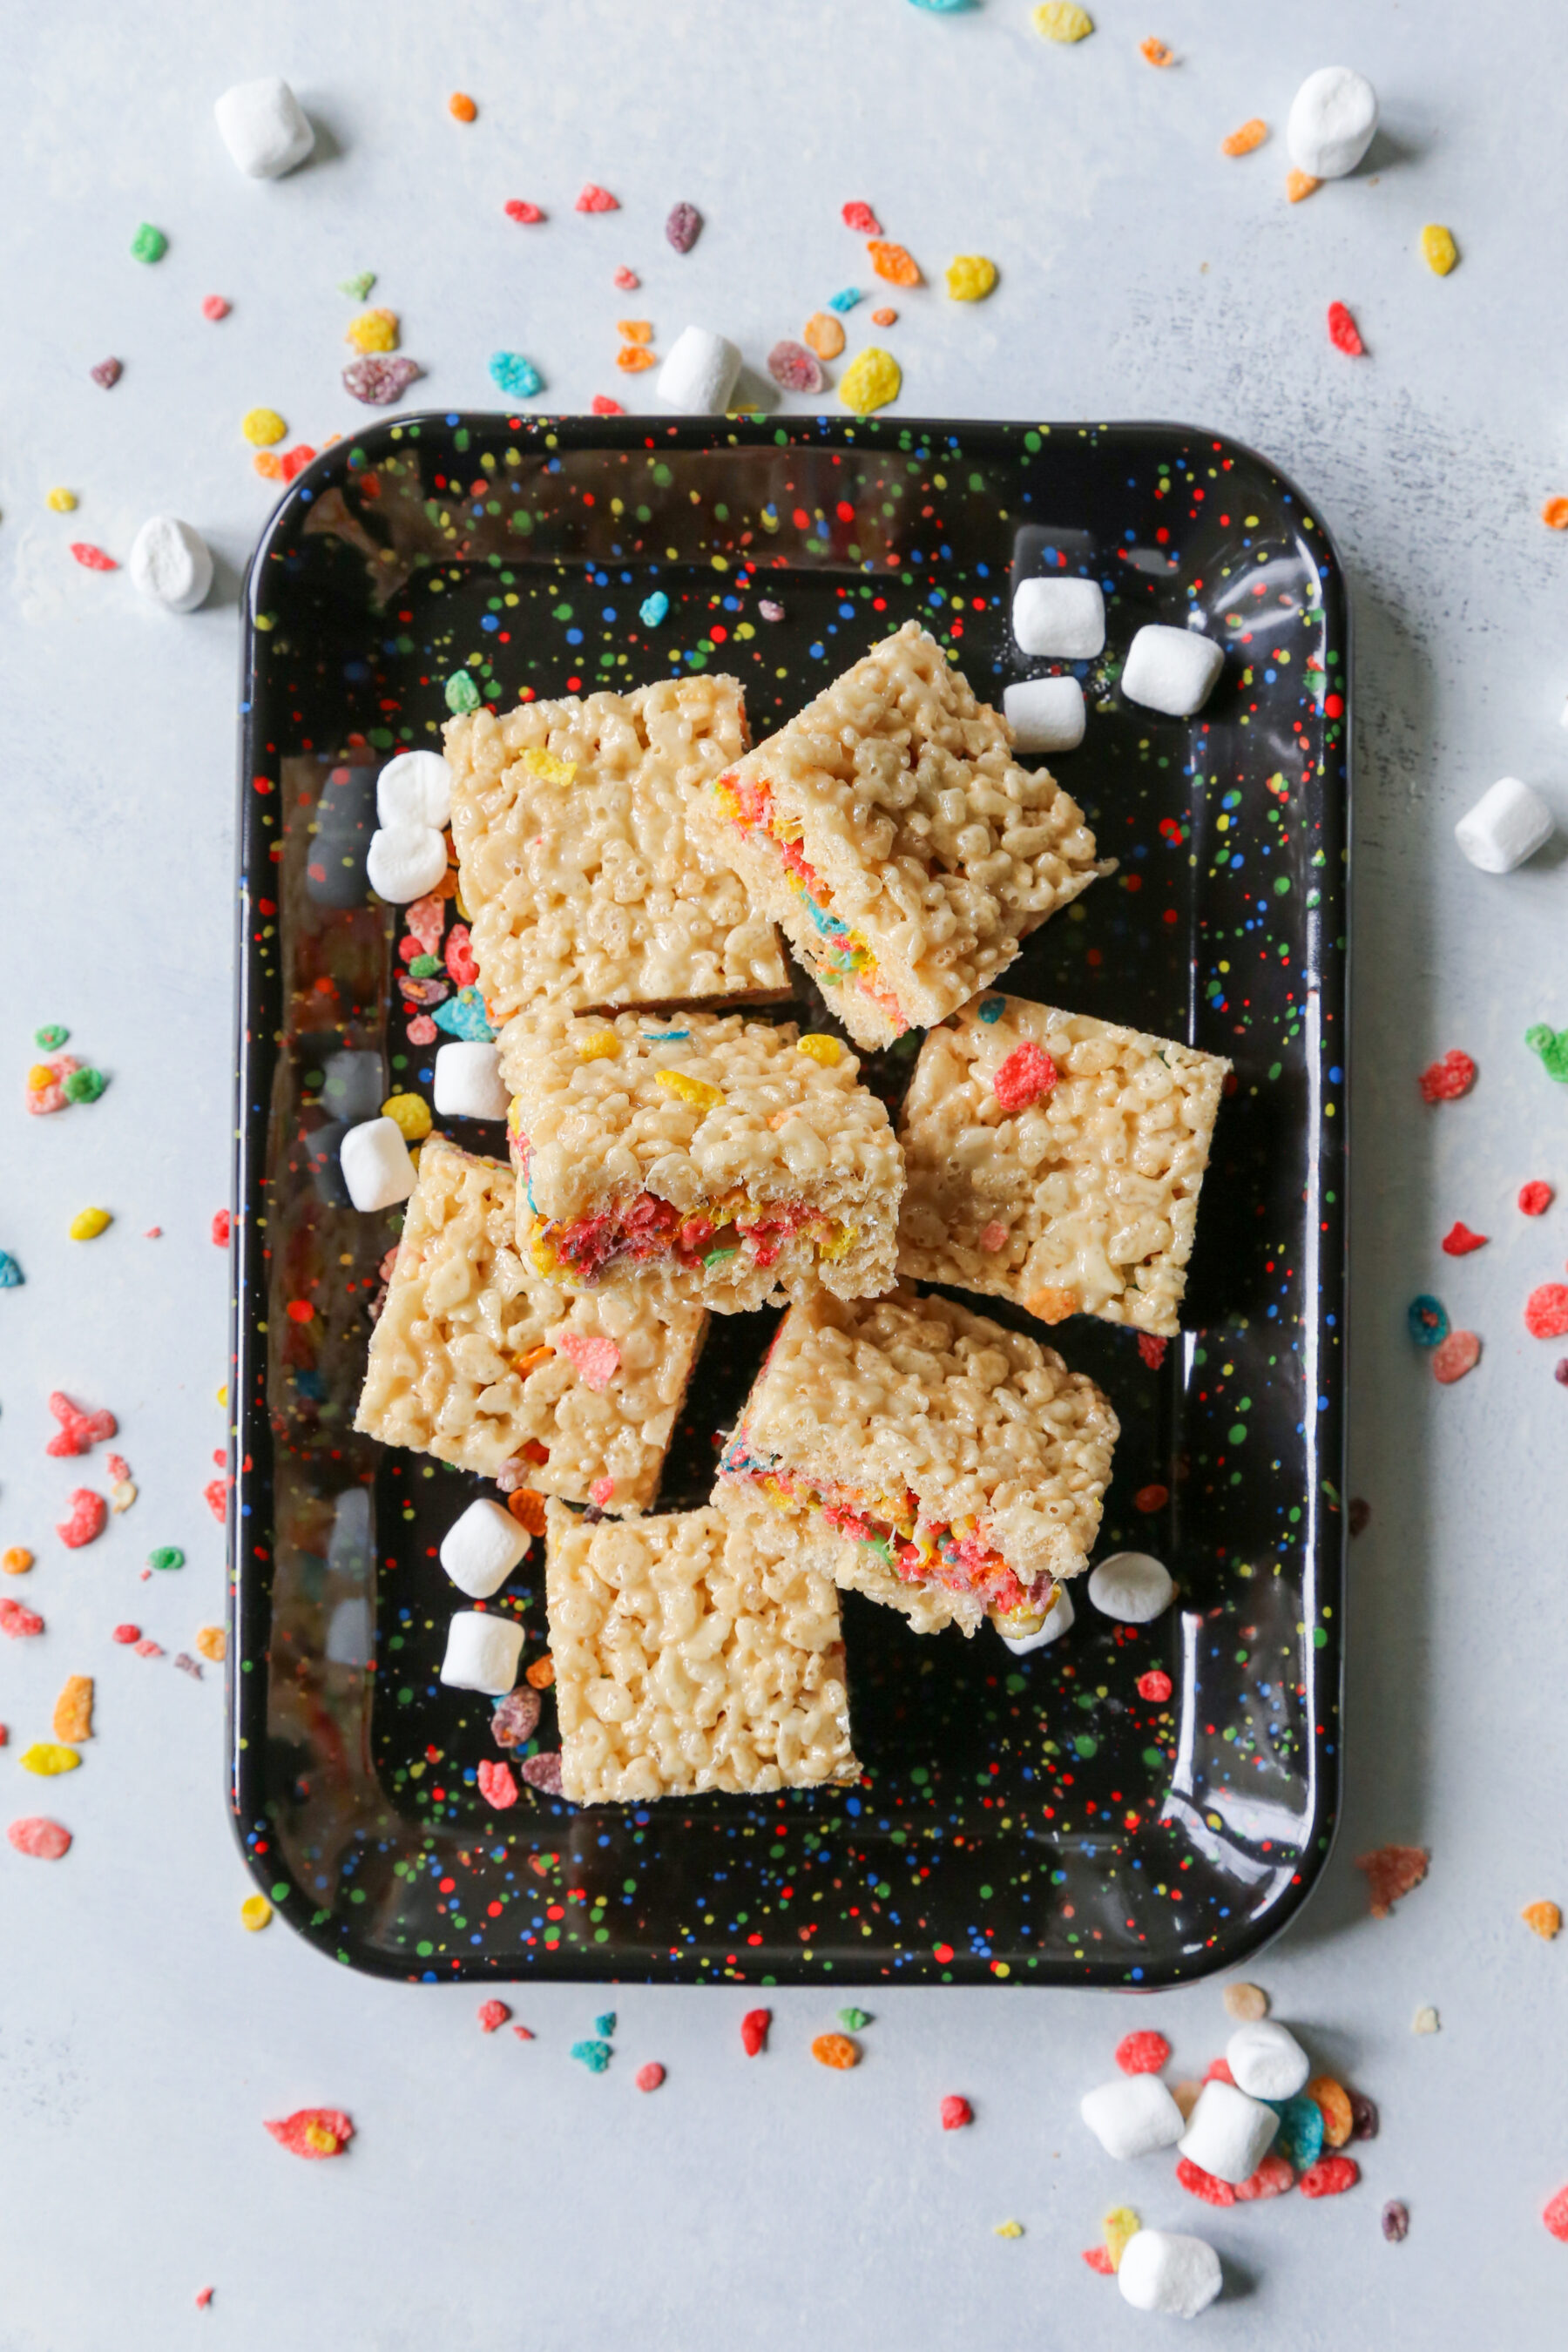
- Allow to cool completely – about 30 minutes. Then slice and serve.


