Pain de Epi -aka- Fancy Ass Baguette
This post may contain affiliate links, that if you make purchases through, I will earn a small commission.
My carb-oholic streak continues. And for that I feel no shame. A couple of weeks ago I took a bread class and dove right into the wonders of yeast and artisan bread. Every carb-oholic’s fantasy. But after all was said and done, I was terrified of recreating them in my own home without the instructor holding my hand each step of the way. Alas, I persevered and created a dozen English Muffins on my very own, sans yeast tantrums! Victory, indeed.
Next on the list of items to recreate at home was the Pain de Epi, or in lame-man’s terms – fancy ass sounding baguette. It’s baguette people. The only difference is the way you slice the bread before you bake it. Pain de Epi is cut and formed to resemble a stalk of wheat. It’s beautiful, like small wheat buds that you can just pluck right from the bread stalk, slather with bread and devour. Baguette is Pain de Epi with just small slits in the top for venting. To-may-to, toe-ma-toe. Either way – the results are divine.
Now as a warning before you make this at home – not that this is meant to scare of deter any of you – the total time this recipe takes to create is about the sum total of time it would take you to birth a kid. Just sayin’. And sorry for the visual.
Bread baking is far less gross, much more “fun”, and a lot more tasty.
The point is – that much like a NASCAR race you can walk away from your bread for hours on end, come back and then do a little more. This doesn’t require too much attention, just bits here and there. Plus who could do something, like watch cars make a left hand turn all day, and not need a break? So, behold – a recipe.
Begin with your Poolish, or starter on Day 1. Remember, this is a long process, but only long because everything needs time to work it’s magic and meld. Weigh out 7 ounces of bread flour, 7 ounces of water at 80 degrees and 1/4 tsp of yeast.
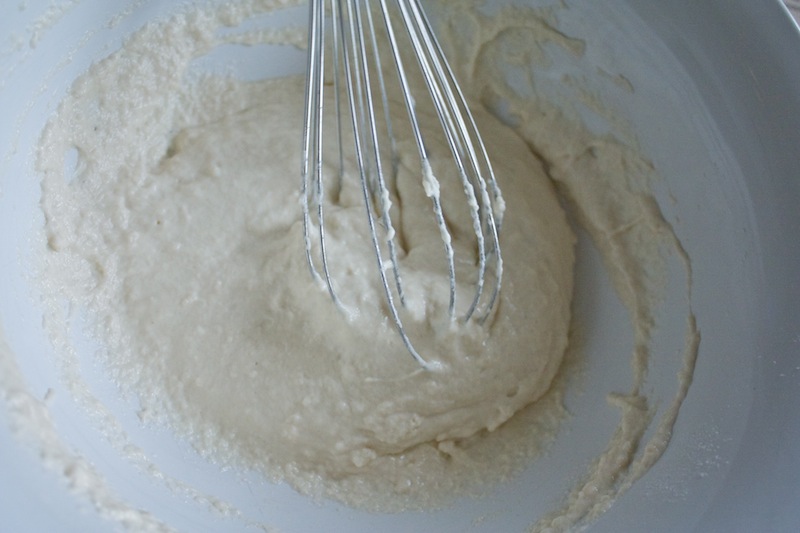
In a large non-reactive bowl, whisk it all together until it becomes a batter, cover it with plastic wrap and set it aside until tomorrow. Five minutes of your time isn’t a bad way to start the process.
Onto Day 2 you can create these wonders with a few kneads and a lot of rest. This is a great project in between vacuuming and laundry changes. With your poolish from yesterday sufficiently bubbly and burping with excess CO2, you’re ready to knead it into dough.
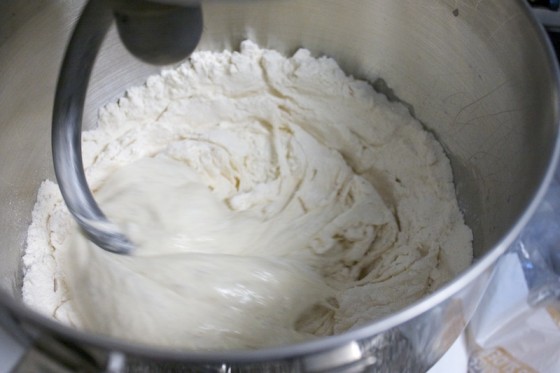
In your stand mixer with the dough hook, add in 14 ounces bread flour, 7 ounces water (90 degrees), 3/4 tsp instant yeast, 2 tsp salt, and your poolish.
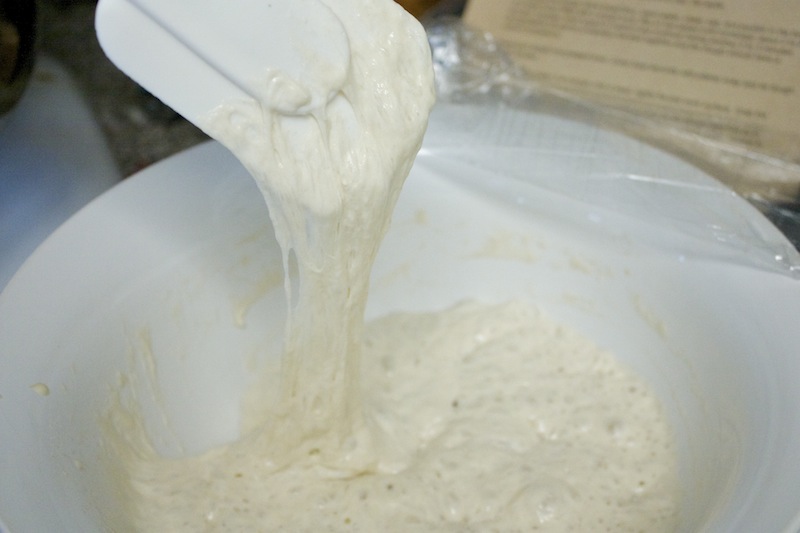
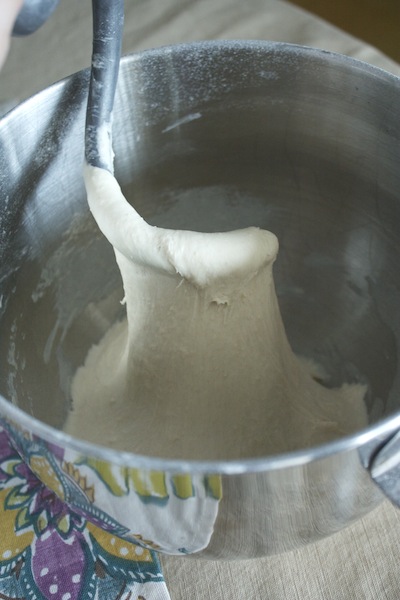
Knead on low for 3-4 miinutes, then let’er rip on medium for an additional 3 – until the dough becomes uniform and smooth. Look how stretchy it is! It’s like grown up play dough. Just yeastier.
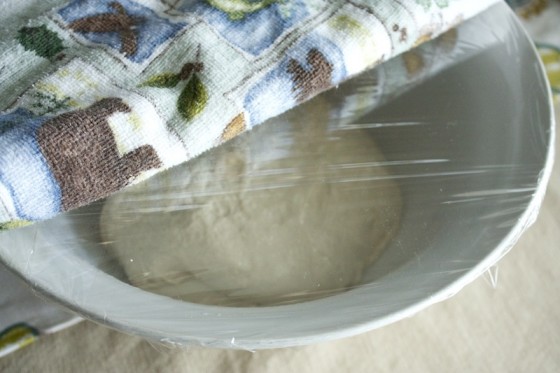
Pour the lot into your greased bowl, cover again and let rise for 45 minutes.
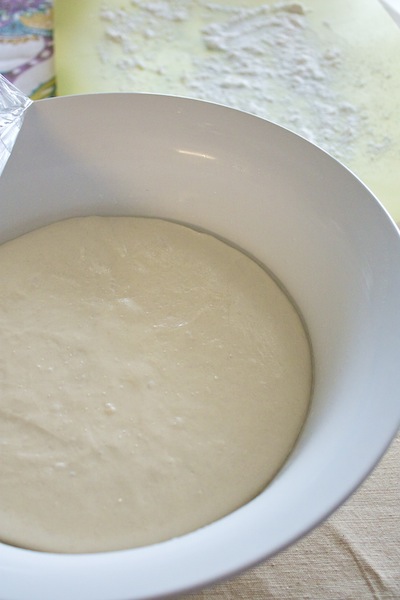
Whammy – 45 minutes later and it’s risen to high heaven!
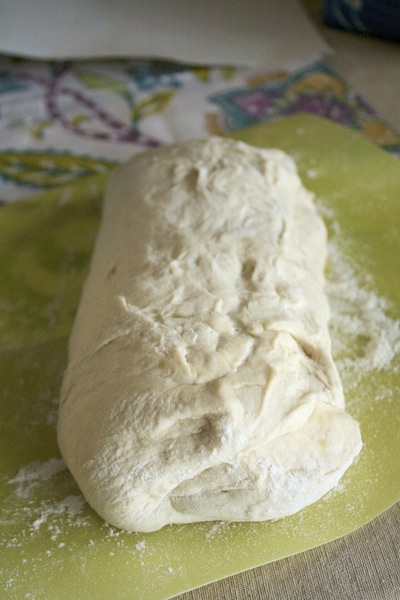
Turn the lot out onto a floured surface. Gingerly create a rectangle shape, and then fold the right side over to the left, and the left over the right, creating a tri-fold. Imagine folding a pieces of paper into three sections. Now, repeat this process from the top and from the bottom. And again – back into the bowl she goes! Grease’r up, cover her up and let ‘er rise another 45. See what I mean – lots of rest and relaxation. If only our real lives were this easy – a massage and a nap. I’m envious of bread.
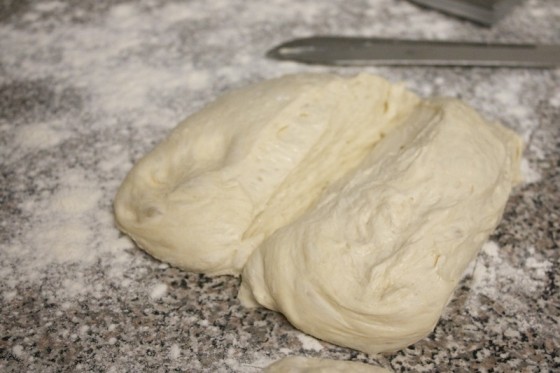
After this rise, preheat your oven to 475 and allow your baking stone to heat up to temperature. Turn out the dough on a floured surface and cut into four sections, each weighing about 8 ounces. Form these into a short log, doing the tri-fold maneuver once more for each. Place the logs seam side down on a linen towel, cover with another towel and let rest for 20 minutes.
Sufficiently rested.
Now – you’re ready for your final shape and rest. I swear this is the last one!
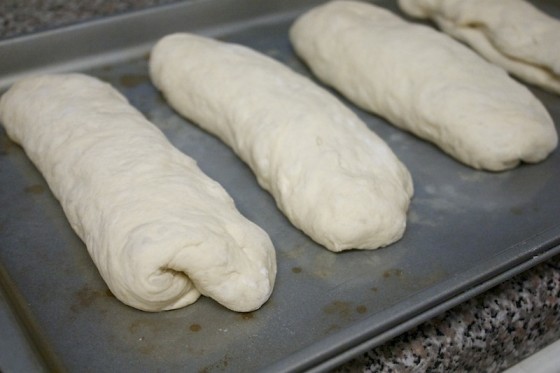
Place each rectangle log of dough onto a floured surface. Fold the dough, width wise over onto itself. With the heel of your hand seal the dough from left to right. Now roll the dough log into a 14″-16″ length. Pinch the ends to seal the seams all around. Place onto floured sheet of parchment, 2 baguettes per sheet. Cover with towels and let rest for 45 minutes.
After 45 minutes of the final proof, using a sharp knife make four slits into the tops of each loaf. This will allow them to vent while baking.
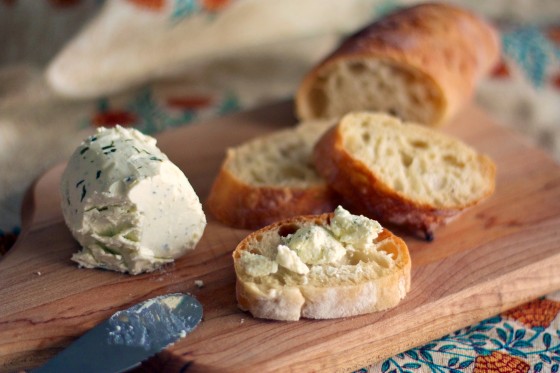
Place the two loaves on parchment onto preheated baking stone, and place a shallow dish of water onto the bottom rack of the oven. The steam created with help give the bread that extra crispy crust. Bake two loaves at a time for 15-25 minutes. Each oven is different, so check after 15 minutes. Immediately take out of oven and allow to cool on wire rack. Serve while warm and crusty. With butter. Lots and lots of butter. Paula Deen with diabetes style. Too soon? Yeah, too soon.
Ingredients for Authentic French Baguette
Poolish:
- Bread Flour
- Water
- Yeast
- Vegetable Oil
Dough:
- Bread Flour
- Water
- Yeast
- Salt

Inspired Homemade Recipes To Try
Roasted Tomato and Olive Focaccia Bread
Print
Authentic French Baguette
- Prep Time: 36 Hours
- Cook Time: 25 Minutes
- Total Time: 36 hours 25 minutes
- Yield: 4 16″ Baguettes
- Category: Bread
- Method: Oven
- Cuisine: French
Description
Picture perfect baguette from Sur La Table Kitchens
Ingredients
Poolish:
7 ounces Bread Flour
7 ounces Warm Water (80 degrees)
1/2 tsp Yeast
Vegetable Oil
Dough:
14 ounces Bread Flour
7 ounces warm water (90 degrees)
3/4 tsp Yeast
2 tsp. Salt
Instructions
Day 1: Poolish
In bowl, whisk together flour, water and yeast until consistency is smooth. Cover bowl with plastic wrap and towel allowing to develop overnight in a dark, draft free area. Keep at room temperature.
Day 2: Bread
Grease large mixing bowl with vegetable oil and set aside.
For dough, place your bread flour, starter, warm water, yeast and salt and rested poolish into a stand mixer bowl with the dough hook attached. Mix on low for 3-4 minutes. Increase speed to medium and knead for additional 3 minutes or until the dough is smooth consistency.
Pour into greased bowl, cover with plastic wrap and allow to rise for 45 minutes.
Once rested, turn out dough onto floured surface. Grabbing the right side of your dough, stretch and fold it as if you were folding a piece of paper into three sections. Repeat this with the left side of the dough. Repeat this process from the top of the dough log and then the bottom of the dough. Just imagine the tri-fold.
Place into freshly greased bowl, cover and allow to rise again for an additional 45 minutes.
Place a baking stone into the center rack of your oven, preheating the oven to 475 degrees. If you don’t have a baking stone, double up two lightly colored baking sheets. Fill a shallow pan with water, set aside. The pan will heat the water, creating steam – essential for a crispy crust.
Pour the dough onto a lightly floured surface and divide into four sections, approximately 8 ounces each. Pat the dough to remove any gas bubbles. Shape the dough into a short log. Allow to rest again with the seam side down on a linen dish towel, covering with another linen dish towel and let rest for about 20 minutes.
Return logs to floured surface, pressing on dough to release air bubbles. Flip dough over so seam side is facing upwards. Fold the log in half from the top down. Now seal the dough using the heel of your hand. Roll the dough until it becomes a log about 14-16 inches long. Repeat on the rest of the loaves.
Set them onto a pan lined with floured parchment paper. Cover with plastic wrap and let rise one last time for 45 minutes.
After final rise is complete, cut small slits into loaves with a sharp knife or razor blade. This will allow the bread to vent while baking. Transfer baguettes on parchment, 2 at a time, to baking stone or doubled baking sheets.
Place shallow dish filled with water to bottom rack of oven and close.
Bake bread, 2 at a time, for 20-25 minutes. Check after 15 minutes to make sure they are not done early. All ovens are different. When toasted and brown, remove and transfer to wire cooling rack.
Allow to cool and serve, with butter. Lots of butter.


Totally YUMMY
Aarthi
http://yummytummy-aarthi.blogspot.com/
This would be a great weekend project to help overcome my bread-phobia! It looks great 🙂
Hey, I followed this link over from Kim Bee’s Cravings of a Lunatic and so glad I did! Great photos and the F.A.B. looks REALLY great! God I miss carbs! Your “too soon?” comment made melaugh out loud! Clearly it’s not too soon for me! 🙂 Subscribing now and looking forward to more great stuff!
Wow… that really is a pretty bread dough. Pretty finished, too, but I keep going back to the photos in the sponge phase and the soft dough stage. Just gorgeous. But my favorite is the hot with butter stage. Now THAT is fabulous! I wish I lived next door to you. Or on a compound with you, Kirsten, Kat, Mads, Allison, Monica, Lauren, and George Clooney and Ryan Gosling. Is that too much to ask?
Gotta go now and check to see where “The Ides of March” is on my Netflix queue.
I can give up pretty much anything..and I really mean anything…but not bread! Especially french bread. This does it for me!
NO shame in being a carboholic. I’ll admit, I’m there with you. This is perfect!
Wow perfect timing! I’m in the Puget Sound area too and it looks like I’ll be stuck inside this weekend due to the weather. This looks like a good way to pass the time. Thanks!
mmmm, i love baguette bread. i wish i had someone to make this for me.
Gorgeous. I’m just glad that you were able to focus on the important bit – AKA the part where you slather butter on all the things.
p.s. SO excited that you have a Pinning-button now! That’s fantastic.
Oh Megan…this is just wonderful! I adore artisan bread. I commend you on your fabulous preparation, it looks incredible.
Oooooh, you’ve just given me an inspiration! I was going to attempt crackers for tomorrow night’s dinner guests (to go with homemade dips) but this bread looks so good I’m going to have to give it a go instead. Thanks for the detailed (and hilarious!) instructions and gorgeous pics. ^_^
Rachael, you made my day. Inspiration? I feel so undeserving of that classification haha. Please let me know how they turn out! ~Megan
I love bread…That looks so yummy….
Very impressive, me wantie.
Ha! You had me at NASCAR. Gorgeous pics!
Gorgeous job, Carb Sista! Your actioning of the goat cheese spread was superb!
Wow – this looks absolutely delicious! I love baguettes – and this one is stunning! GREAT pics! Thanks and have a terrific weekend!
Strong work Megan!! This looks fantastic!!
That title made me laugh out loud. Funny funny girl!
Fresh bread is always worth the work! I’m a big carb-lover/loader too!
Did you make your own butter too? Or is that butter leaping out of the screen on its own accord?
Looks fantastic and chewy and crunchy and perfect.
I like bread. I like carbs. I like your title. I love your blog. That is all.
Just finished making these. They look beautiful! Sadly, I won’t get to taste them until lunch tomorrow…but I can’t imagine that they are anything short of divine!!!!
Oh Tiffany, I hope they don’t disappoint!! Let me know how they turn out! ~Megan
Megan, I would love to make these! They look amazing! 2 questions: 1) can all-purpose flour be subbed for the bread flour, or is bread flour pretty necessary for this recipe? & 2) is that a fancy butter or cheese in the last picture? Looks awesome!
Pingback: Country Cleaver » PW Wednesday – Carnitas Pizza and Mango Margaritas