How To Tuesday: DIY Puff Pastry
This post may contain affiliate links, that if you make purchases through, I will earn a small commission.

I’m still in Chicago, letting probably a third deep dish pizza get all up in my grill – but I couldn’t let this recipe wait another day! I don’t think there is a more versatile pastry than Puff Pastry, and I’ve struck buttery, flaky, gold with this recipe. And frankly spending nearly 6 bucks every time I need to indulge my puff pastry craving every time I go to the store was really getting tiresome. Six bucks for two pastries, and lather, rinse, repeat that how many time – it starts taking a toll on the wallet. When pastry costs start over taking your coffee budget things have got to change, and I have this fantastic, quick DIY Puff Pastry recipe for you.
At about $2 for 3 rectangles of pastry – you can’t beat those odds for a Saturday afternoon project.
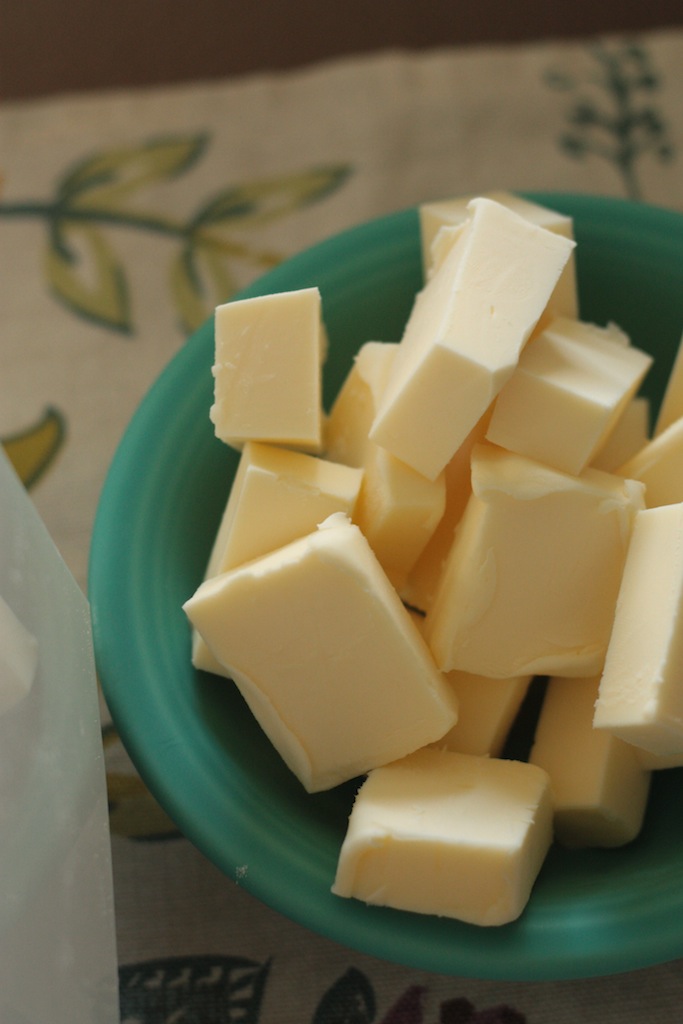
Just like a pie crust, this involves three great things – flour, butter, and water. Okay, a little salt too. I like this version opposed to traditional puff pastry that seems a little tough to bite clean through without residual layers sticking out of your mouth – this falls apart into flaky layers with air in little pockets through out.
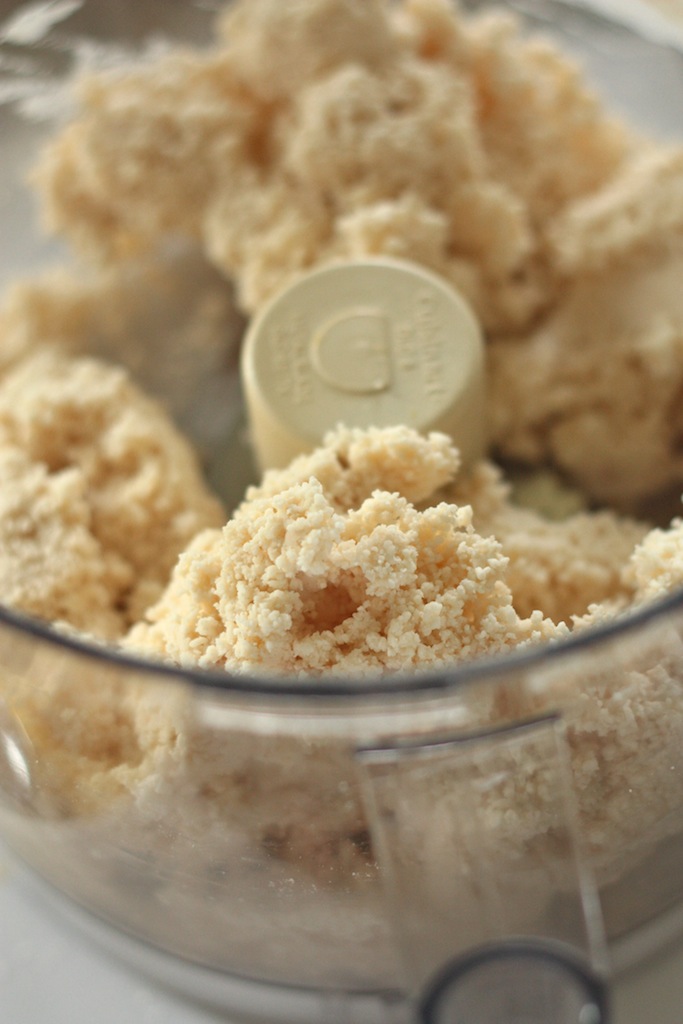
Instead of cutting the flour and butter together with knives or fork so tediously, I opted for my food processor. It’s easy to take this method over board, so be careful. After pulsing the butter and flour together until large pea size balls formed, I added 2 tablespoons of cold water to the mix. A third tablespoon of water was needed to get the dough to start to ball. Just as it starts to ball, stop and remove the dough. Knead the dough to form a smooth ball.
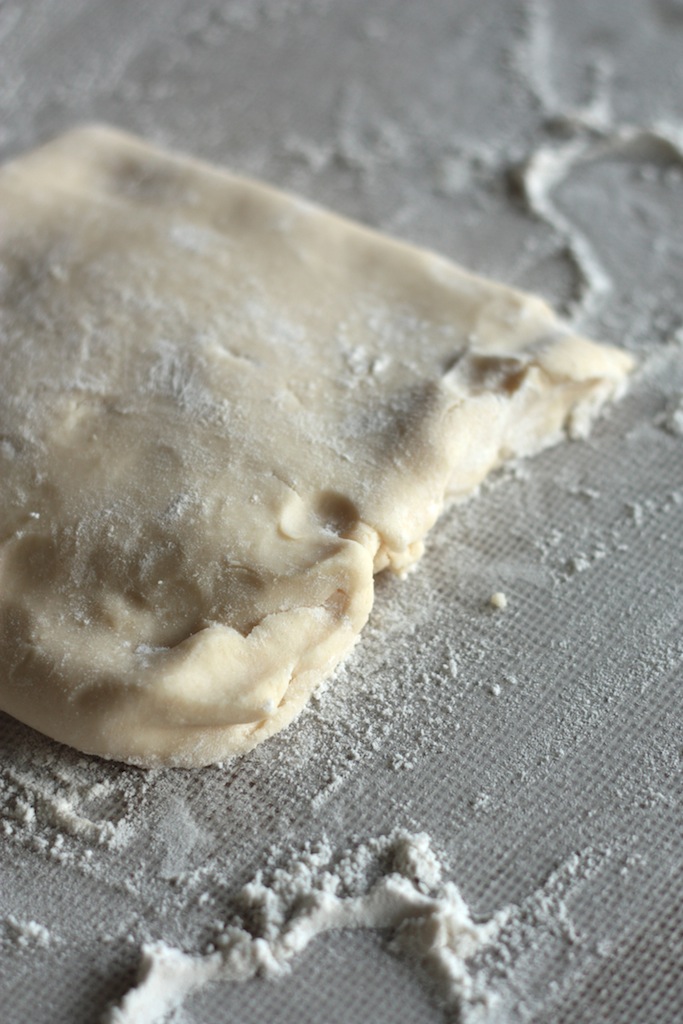
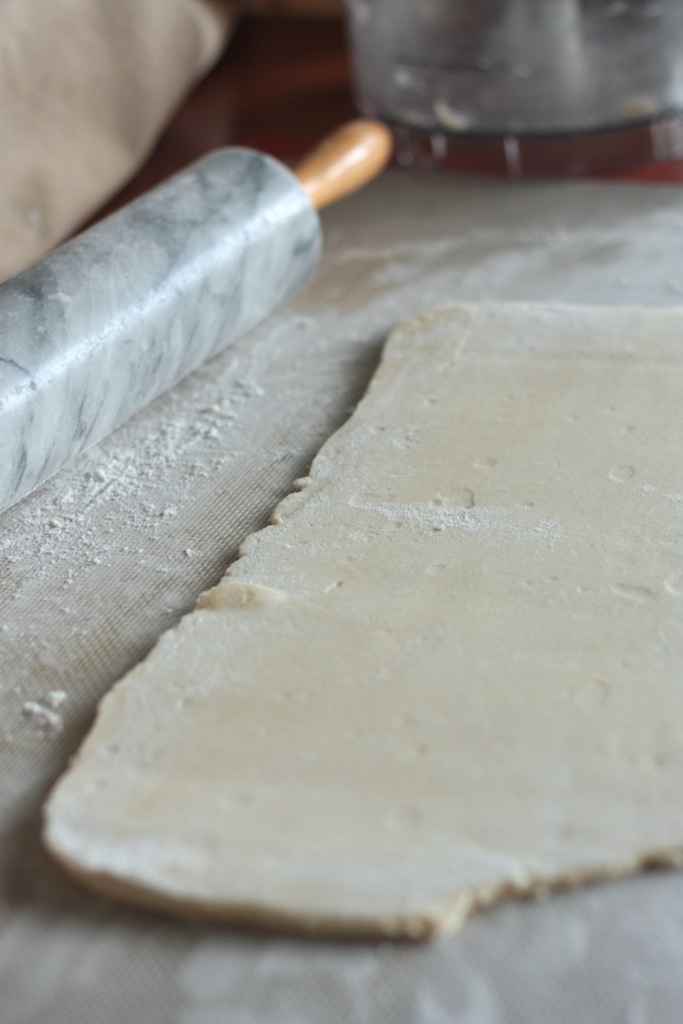
On a floured surface, roll out the dough into a 15″ x 12″ rectangle. Fold the ends onto themselves to form three layers of dough. Then turn the dough ¼ turn, like on the hands of a clock. Repeat the rolling and folding maneuver. Next, let it chill in the fridge for about 20 minutes so the butter doesn’t get too soft in the dough.

After 20 minutes, repeat the roll-fold-turn-roll maneuver once more. Repeat the chilling. This process is done five times. It’s nearly the same process you’d use for making your own homemade croissants! It’s all those layers intermixed with butter that create steam and cause the dough and pastry to puff up so deliciously.
Once you’ve done your roll-stretch-chill and all that jazz, cut the rectangle into three sections about 5 inches wide by 12 inches long. Then you’re ready to bake away!
Throughly wrap your puff pastry if you want to freeze it or go ahead and bake away with your lovingly made dough.
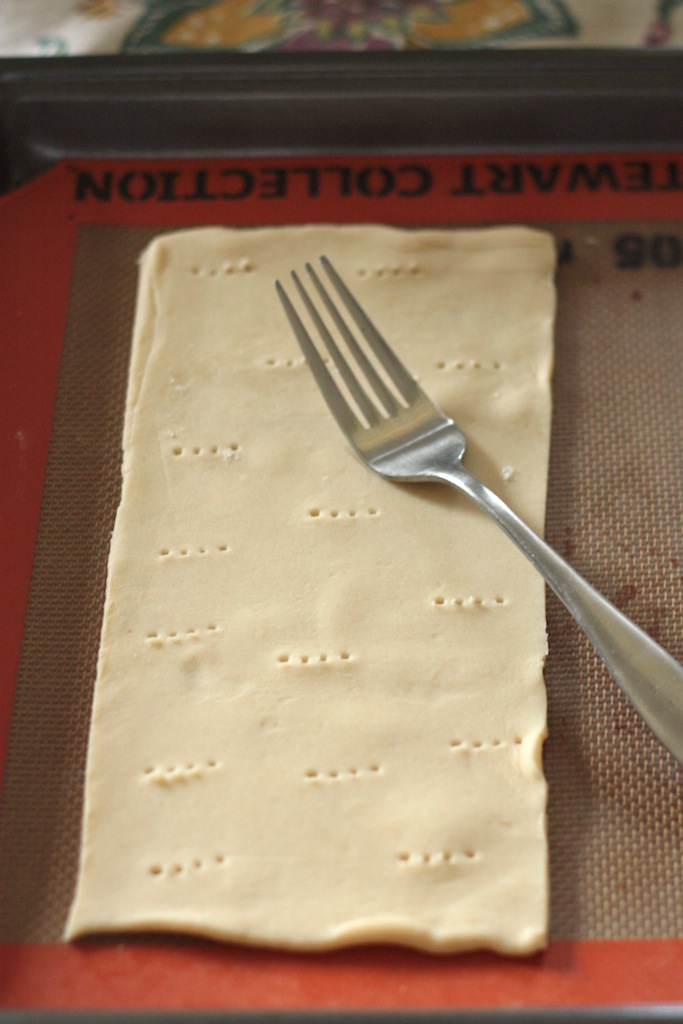
Be sure poke the dough down to make sure it doesn’t go all Marshmallow man and get overly puffy on you as you bake.
You’ll be in heaven with this flakey, golden brown delight.
Ingredients for DIY Puff Pastry
- Water
- Salt
- Butter
- Flour
- Lemon
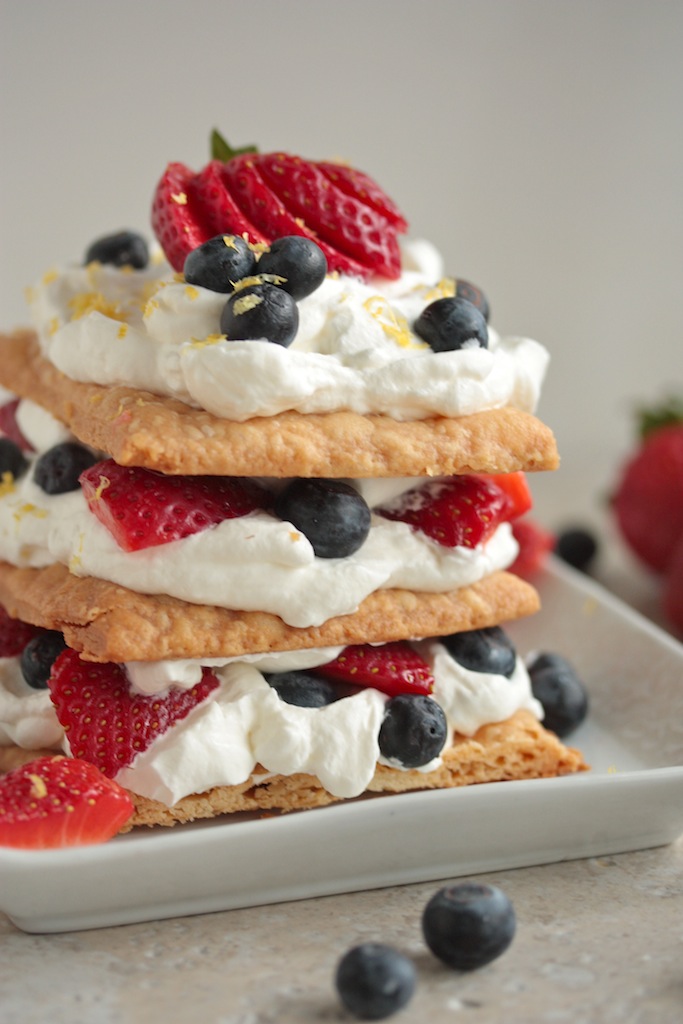
And see what’s coming tomorrow using these puff pastries – perfect for Easter dessert, these fresh Lemon Berry Napoleons are pure bliss. They’re so light and airy, you’ll have zero guilt. Well, nearly zero.
Inspired Homemade Recipes To Try
Quick and Easy Nutella Turnovers
For Other How To Tuesdays:
How to Make Chocolate Magic Shell
Print
DIY Puff Pastry
- Prep Time: 10 minutes
- Chill Time: 20 minutes
- Cook Time: 25 minutes
- Total Time: 55 minutes
- Yield: 3 12×5 inch rectangles 1x
- Category: Dessert
- Method: Baked
- Cuisine: American
Description
This recipe is made with a handful of simple ingredients. The end result is a delicate pastry with flaky layers that can be used in a variety of recipes!
Ingredients
- 1/3 cup Cold Water
- Dash of Salt
- 3/4 cup cubed and chilled Butter
- 3/4 cup Flour
- 1/2 tsp Lemon
Instructions
- Stir salt into water, set aside. Cut butter into flour using either a pastry cutter, or a food processor, until the butter and flour forms pea size crumbles.
- Add in 2 Tablespoons of water and stir in (if mixing with a spoon), or pulse in (with a food processor). If a soft ball has not formed, add in a 3rd Tablespoon and mix or pulse in until a soft ball just starts to form. Do not over mix.
- Roll out the dough onto a floured surface. Fold the dough over onto itself in thirds. Let it rest in the fridge for about 20 minutes.
- Place back onto floured surface and roll into a 15×12 inch rectangle. Fold the dough onto it self in thirds again. Turn the dough ¼ turn and roll again. Repeat the roll/fold/chill process five times.
- On the last roll out, cut the pastry into ⅓ and wrap tightly and freeze for later use or use immediately.
- Poke several times with a fork before baking so the dough does not rise unevenly and can release steam.
Notes
Adapted from Darigold’s Napolean recipe

I’ve always thought that puff pastry was too much of a faff to make at home but you make it look so easy! Such a great how-to!
Ok, I want to make my own puff pastry! I thought it was hard. You make it look easy 🙂
This looks much easier that I would have expected!
You made me want to drag out my seriously heavy food processor and make this! I never new it would only take 35 minutes!
Fantastic tutorial! I kind of what to eat a whole sheet for breakfast. 🙂
This is an excellent how-to on puff pastry and such a money saver! I can’t wait to whip up these airy treats for my husband 🙂
I made my own for the first time over my Christmas break from school… it was a project but definitely easier than I had anticipated! Great tutorial!
I cant wait to try your easy version! Food processors are the best man! I have been afraid of making it myself, but you made it look so easy! Ill definitely take that Napoleon for sure!!! 😀
After you proved to me how easy bagels are, I’ll take anything you say at face value. This puff pastry looks a lot less complicated then I imagined! I can’t wait to try it.
Like your typo made me laugh..
So simple! And look at all that glorious butter!
I have never made my own puff pastry and you make it look super easy!
Wow – this is ambitious! I was JUST reading about this in a cookbook and sort of dismissed it because it was going on and on and on..and I turned the page. But your method looks totally do-able!
Food processor on the other hand work on solids and can give you semi-solid foods. Between the two, the food processor is often considered as the more versatile as it can also liquefy something when the settings and time allowance are set. With its interchangeable blades and disks, you can use the food processor in a variety of ways. It can for instance chop ingredients for your dish, slice veggies, shred cabbage for your salad and also make purees for your little tot…`
Most up-to-date write-up on our own internet page
<http://www.healthmedicinelab.com/psoriasis-of-the-liver
Can you tell me when the 1/2 tsp. lemon is added and is it juice or rind ? Thanks !
Pingback: How to Season Cast Iron Pans