How To Tuesday – How to Make Whipped Cream
This post may contain affiliate links, that if you make purchases through, I will earn a small commission.

Now sure, I’ve been known to go spoon deep in a frozen tub of Cool Whip, or spray a can of the aerosoled stuff straight into my face with blatant disregard for ladylike qualities – it’s highly over rated sometimes – but making your own whipped cream totally bumps the classiness of your dessert up a notch. Or two. And it’s just as good to eat straight out of the bowl – guilty! There are no heroes here. But there are a few tricks to make your whipped cream stand tall and proud. Whipped cream can be proud, can’t it?
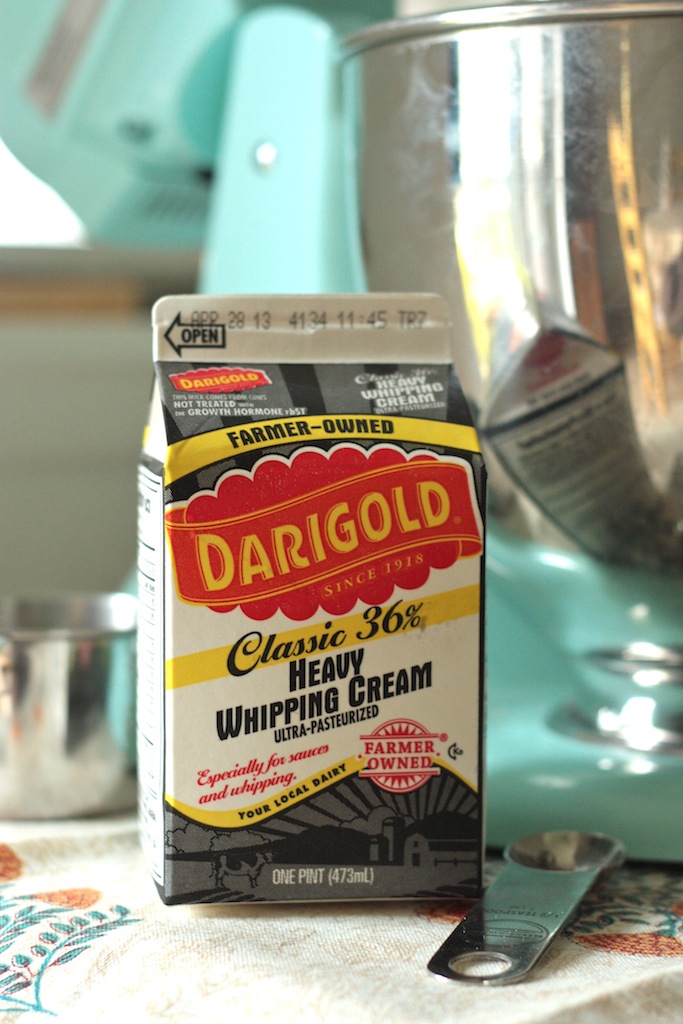
Whipping Cream vs. Heavy Whipping Cream
Yes, there is a difference! I used to stand in front of the dairy shelves wondering what diff was and scratched my head and just picked the heavy because well, it must have been better? But there is a diff and depending on what you want to do with your whipped cream, one or the other is better.
Standard whipping cream comes in at 30% fat. It’s perfect for topping pies or fruit and adding into your creamy soups.
Heavy whipping cream registers between36-40% fat (or more) and when whipped creates a much stiffer foam, which is great for piping onto cakes, or anything else that needs a heftier cream that will stay put for longer periods of time.
So you can strut down the dairy aisle with confidence and pick which ever works best for what you need! Whip away!
Making Your Whipped Cream
Set your mixer up with a whisk attachment and add in your desired amount of whipping or heavy whipping cream into the bowl. Personally, I usually go with the heavy whipping cream because I need a foam that holds up for longer periods of time.
*Side note* If you’re totally going die hard and are looking to give yourself your own set of Michelle Obama arms, by all means use a hand whisk to do this job. I dare you. It’s equally parts killer and awesome.
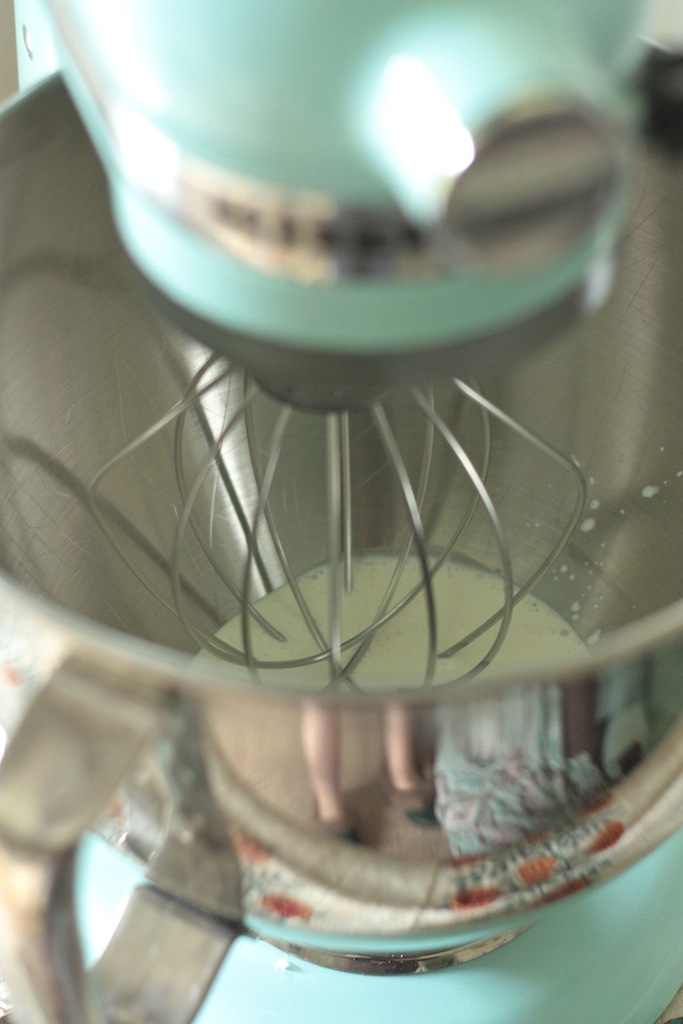
With the mixer starting at low, I work my way up to medium speed gradually and let the air start to incorporate into the cream.
The more air that gets incorporated the fluffier the cream gets.
Progress!
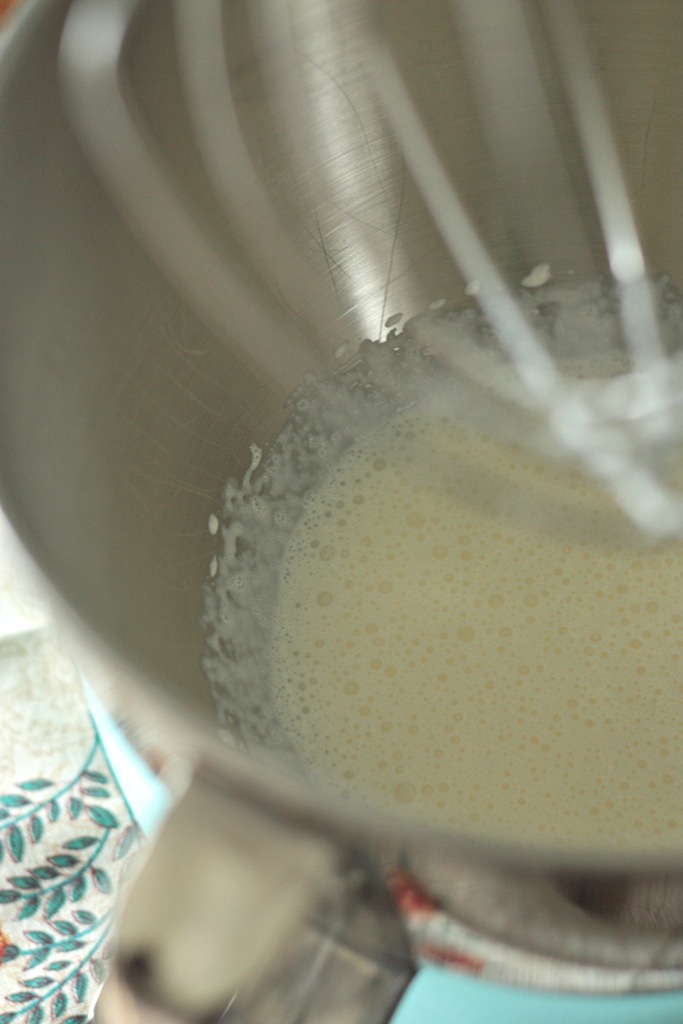
 After about a minute or so on medium, soft peaks will begin to form.
Soft peaks will start to droop rather quickly, so get back to whipping!
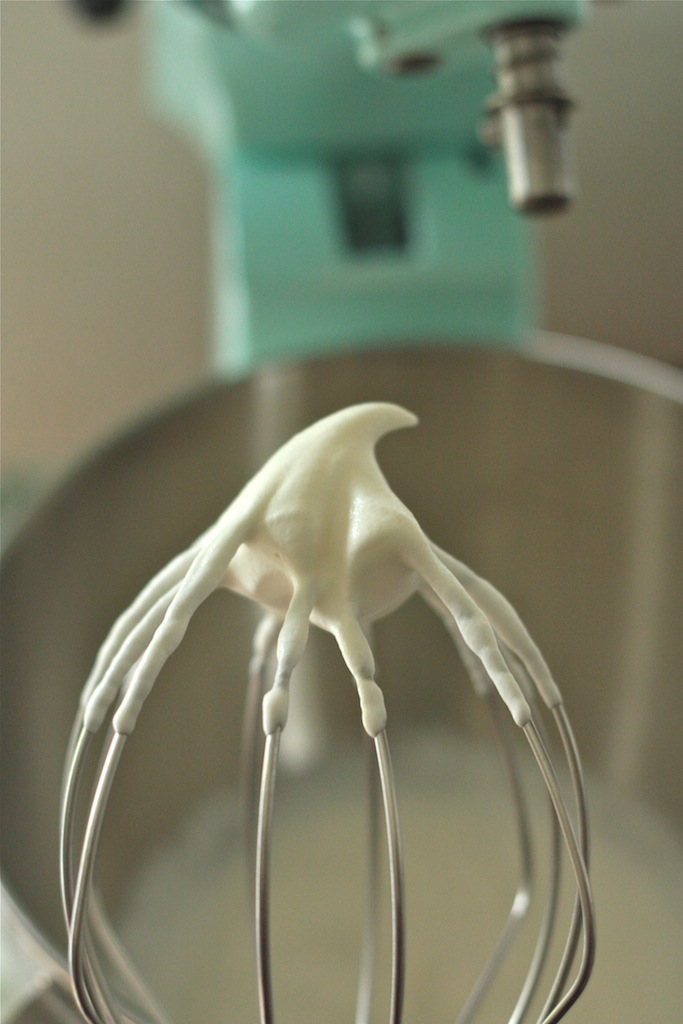
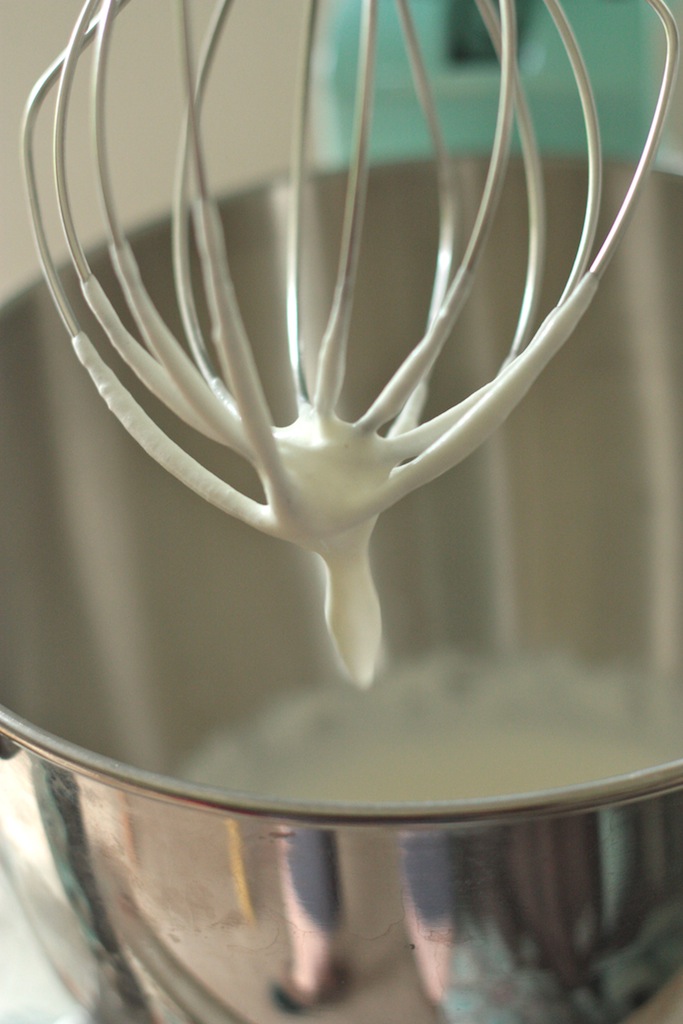
After about another 30-45 seconds on medium stiffer peaks will start to form.
In this last 30-45 seconds, start to sweeten your whipped cream by slowly pouring in your desired amount of sugar or powdered sugar and flavoring, like vanilla. For the 1/2 cup of cream I used in this recipe, I used about a tablespoon of sugar. It wasn’t too sweet, but sweetness is all about personal preference.
Gimme some Sugar
You can go lots of ways with sweetening your whipped cream. Superfine sugar is probably the most popular, because it mixes in and dissolves quickly. But since it’s not a kitchen staple normal people (most “normal” people – food bloggers are not normal) keep on hand, I have used standard white sugar and suffered no ill-effects because of it.
Powdered Sugar also works, it dissolves immediately and can even add a little structure to the whipped cream that standard sugars don’t.
Adding which ever white sugar you want, its entirely up to you. I have not attempted whipped creams with agave nectars or liquid sweeteners, but hey, it could be worth a shot.
—
It’s perfectly okay to stop your mixer and test your whipped cream to see how it’s holding up. When the stiffer peaks start to form, and they don’t immediately fall, you’re done. 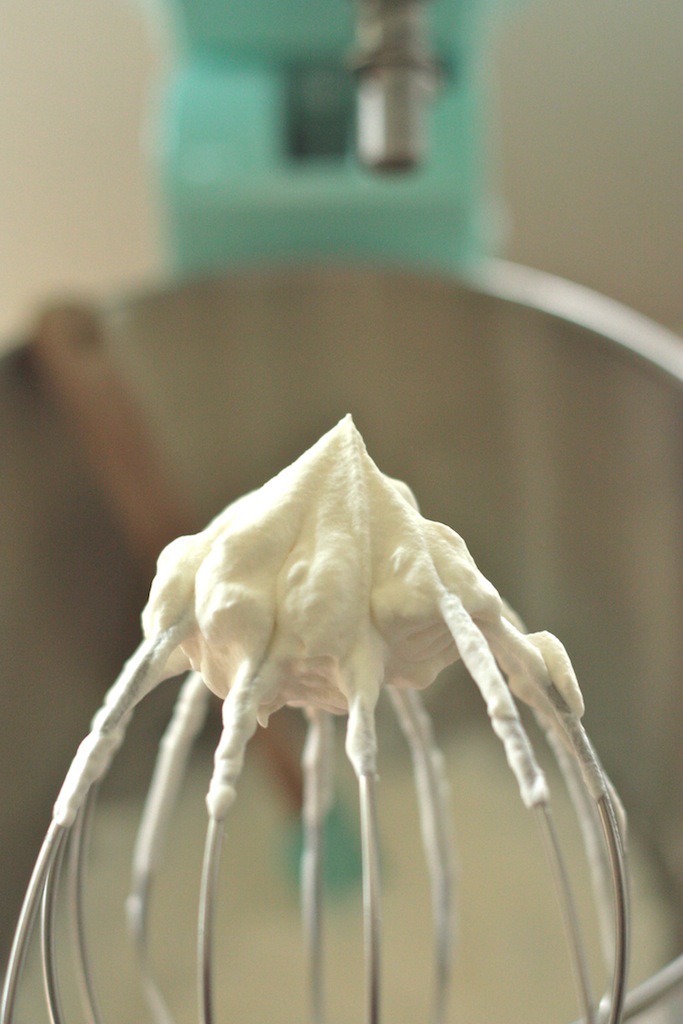
The key is knowing and learning when your stiff peaks are just the right consistency so they don’t fall or they don’t get over mixed. As soon as the cream starts to look “curdled” and slightly lumpy, stop immediately.
Overbeating whipping creams causes the water molecules to start to separate from the cream and then you will end up with BUTTER! No joke. And butter in lieu of whipped cream is no bueno.
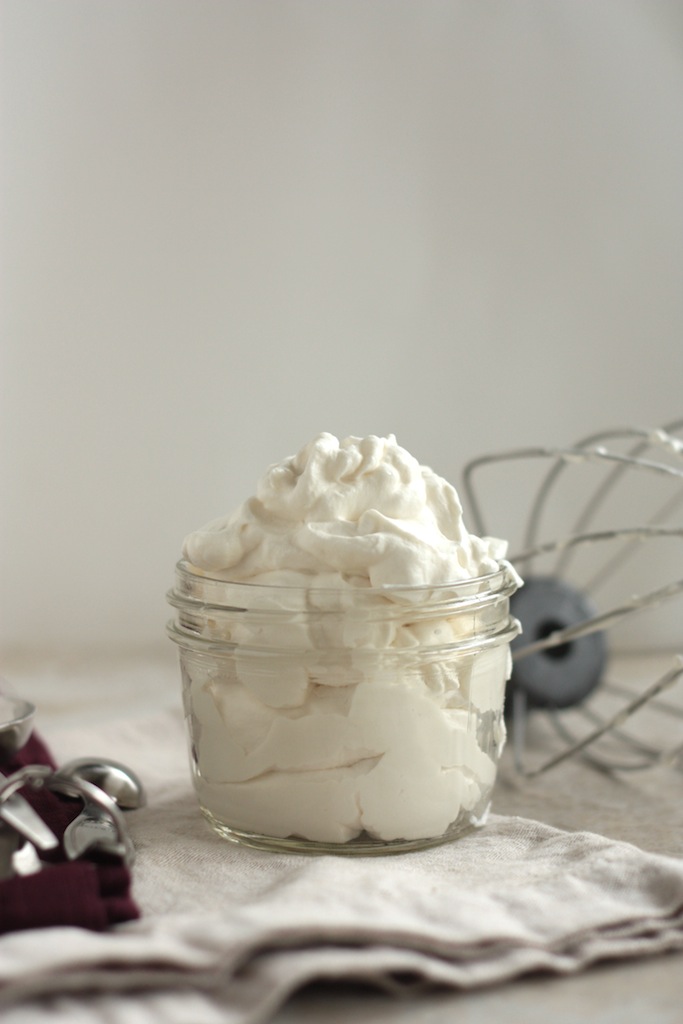
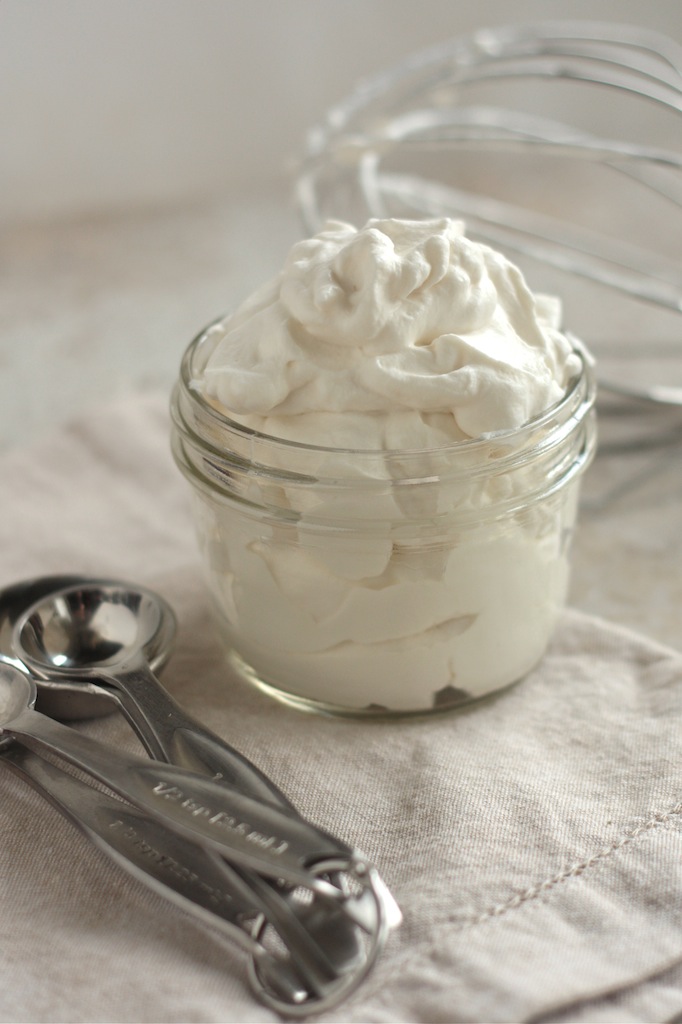
So go forth and make your own whipped cream. It’s a couple of minutes out of you day, but the end results is impressive no matter what.
Inspired Homemade Recipes To Try
How to Make Chocolate Magic Shell
How to Make Quick Cheater Puff Pastry
This is how to make whipped cream – and it’s a trick you won’t forget!

When I’ve over whipped my cream, I just look at it as a glass being half full and just continue and make butter.
There’s nothing better than a batch of freshly whipped cream. The stuff in a can doesn’t even compare!
Wonderful. Always wondered what the difference in heavy and regular whipping cream was… Thank you…
Great post! I always wondered what the difference was between whipping cream and heavy whipping cream. I had a feeling it was about the fat content, but didn’t know the exact percentages. Good to know! One extra step I take when making whipped cream is refrigerating the mixing bowl and whisk attachment for 30 minutes to an hour before making the whipped cream. It ensures the cream stays cold in the bowl longer as it whips and speeds up the process slightly. It’s not necessary, but I find that it helps.
I never knew there was a difference! I do know that I could eat an entire bowl of whipped cream. 🙂
Lovvvvvvve whipped cream! Such great tips!! I never new the difference between the creams…
I really need to get a whisk attachment for my mixer! looks great!
That really is PERFECT whipped cream! GREAT tips and gorgeous photos!
yes yes yes yes! I needed this post! My whipped cream always deflates on me, thank you!
Nothing compares to fresh whipped cream!
Good lord, I want to do naughty things to that whipped cream. Unladylike things.
This is a great, informative post…thanks so much! Gorgeous photos!
I want to dollop this on everything!
Oh this is so talking my language. I’ve got a huge weakness for whipping cream. I learned a few new things here–thank you! 🙂
But also thank you for making me now crave whipped cream and I know I’ll find some good reason to try out your methods tomorrow. 😉
ALOHA!
Pingback: Country Cleaver Lemon Ricotta Tarts » Country Cleaver
I love homemade whipped cream 😀 greeeeeeeeat tutorial gurl!
Psst. That photo of the whipped cream in the jar is gorgeousssss. Also, I’m loving these how-to Tuesdays. 🙂
There is nothing better than homemade whipped cream!
I love how simple homemade whipped cream is 🙂 and there is no better taste!
s hoping that you would address hto stabilizer whipped cream
Well for whipped cream you shouldn’t really need a stabilizer. The fat content of the whipping cream you use will determine how stable the cream stays. Higher fat whipping cream will make more rigid peaks when whipped. “Whipping Cream” is best for dies you will use immediately. “Heavy Whipping Cream” is best for dishes that need staying power or are best when folding into something else. Good luck and hope that clears up any confusion.
How long do you think this stuff will keep in the fridge? Say, if I’m only one person and I just want to use it to top hot chocolate occasionally?
Hi Cristina, Whipped cream won’t last very long in the fridge. If you’re using heavy whipped cream, leave it in the fridge for no more than a day and a half. You can make smaller batches more often, and that is what I would do. I would hate to have you let it rest for a couple of days or longer because it will start to separate and that’s no good! Good luck and I hope you liked the tutorial!
Thank you for this great post. Your ketchup recipe is a staple in my kitchen! I just made another batch yesterday 🙂
Pingback: ▷ Los valores de San Valentín para tus Tresses | ❤️ Tusproductosparaelpelo.es
Pingback: How To Tuesday :: How to Prepare a Cheesecake Water Bath Country Cleaver