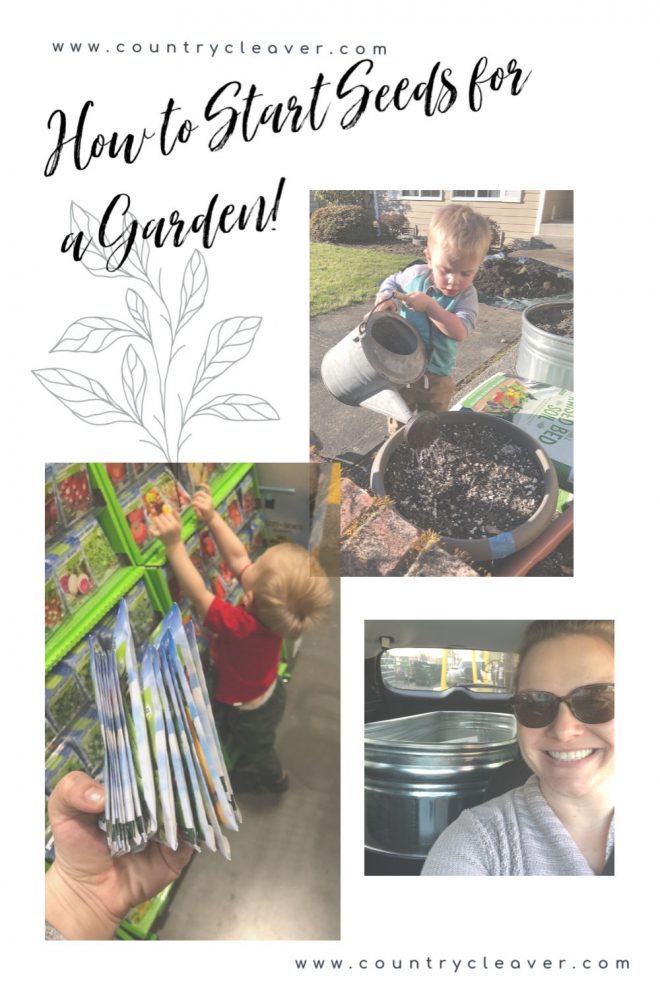
How to Start Seeds for a Garden
There are lots of ways you can start your own garden, including starting it from seed! Here is how to start seeds for a garden using a few handy tools to keep the fledgling greens happy!
If you are starting your own garden this year, be sure to check out my post from last week on how to start a stock tank garden! It will help you with your set up, planning your layout, and how I am growing my garden this year with an additional tank for even more home grown goodness.
To start seeds there are a few handy things to keep on hand. I’ve been chronicling my garden on Instagram stories, and lots of friends from across the country have asked for specifics on how I am going about this whole gardening thing. By no means am I a professional. I leave that to my green thumb mother who has helped me get to where I am (with a long way to go!). Last year we started our own seeds for some select items, and luckily most of crop was direct sown (or just grown straight in the ground). Don’t let the nomenclature scare you off!
How to Start Seeds
When you go pick out your seeds, take a peek at the back label and read the instructions! They will clearly tell you if they can go directly in the ground, or if they need to be started ahead of time, typically 6-8 weeks before going in the ground. For us, the peppers, chiles, basil, cilantro, and parsley needed starting ahead of time. Everything else will get planted directly into the stock tank gardens, like squashes, carrots, and heartier greens.
Gather Your Tools – My 3 best tools!
Three things have helped me immensely in starting our seeds!
A starter seed tray, a heat mat, and lights!
For the starter tray, I found a great package from Jiffy, that has individual pods of dehydrated peet that is perfect for seeds. It includes the tray, pods, and a clear lid to trap in moisture and warmth, while allowing light in. Starting the tray takes about a day, to rehydrate the peet and allow the moisture and a little warmth to build up in the tray. From there, you can plant seeds directly into each peet pod, and allow them to start their germination process.
I also used a chopstick to press my seeds down into the peet. Just a little hack for ya.
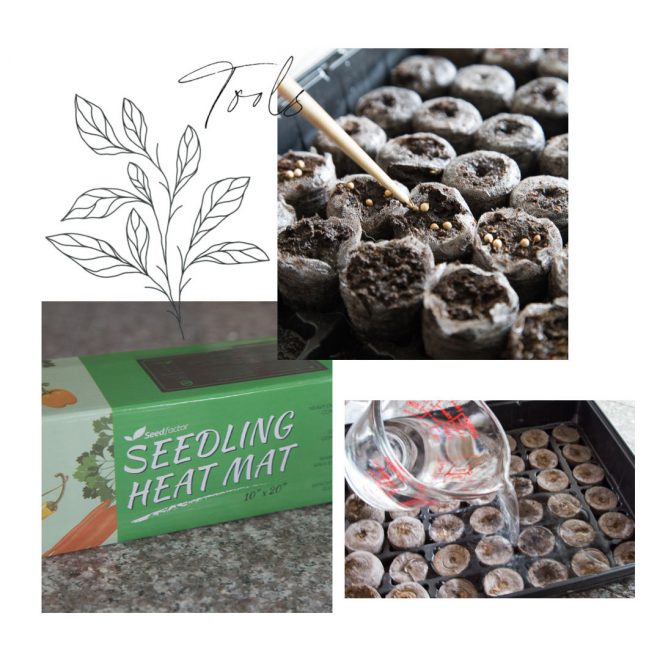
Because Seattle isn’t exactly a warm weather mecca, it is helpful to keep the heat in the trays and help quicken the process of germination, basically tricking the seeds to think it’s spring! Heat mats run about $10-20 on Amazon, and at most garden centers. If you have a dedicated warm space with lots of light, you can probably forgo the heat mat. But a toddler running around isn’t conducive to keeping a tray in our front room where the best light is. HA!
The last one, lights, is going to be new to me this year! My master gardener mother added them to her repertoire last year, and has sworn by them for helping achieve the right light color balance needed for growing seeds! These LED lights from Feit Electric have the right balance of red and blue lights to help little sprouts grow. We got two for this year.
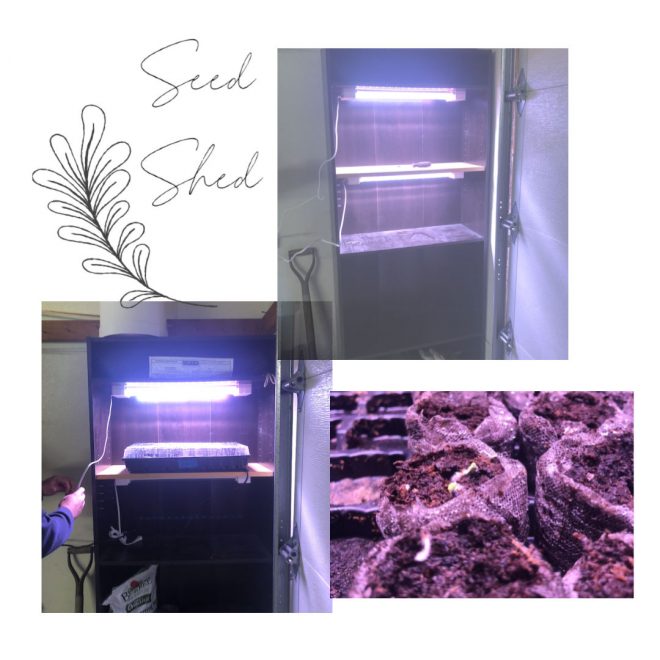
Here is the set up Ben made me for the seedlings on an old book case we had tucked in the corner of our garage! The lights are hung on the underside of one shelf, so it is about 12″ from the seedlings below. We will use the second light on another shelf when we up pot our seedlings to make sure everyone gets the light they need.
Organizing Your Seed Tray
Organization is key, and frankly when the seedlings sprout, they all look the same, and if you’re not ready you might forget what you planted where! Ask me how I know…
I created a matrix in Excel that tells me what I planted in which peet pod in the seed tray, and the date I started it. I planted more seeds than I think I will keep to make sure I have healthy plants that can get transplanted, or if they all succeed, I will give away a couple of starters! And if multiple seedlings sprout in each cell, I can just pull the ones that don’t look like they will thrive.
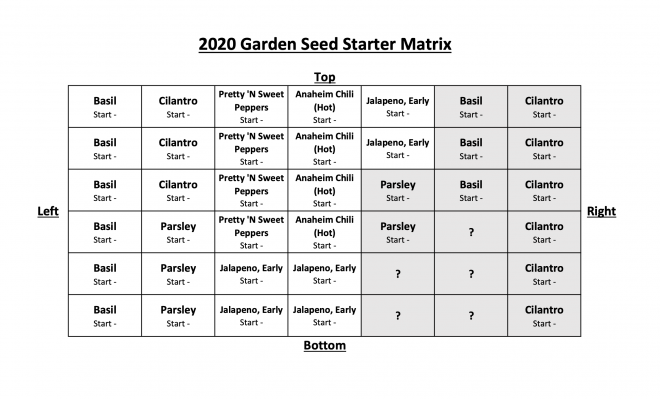
Here is the matrix that I created with the white cells being planted now. The gray cells are for future seeds. Things like spinach, lettuce, or cilantro have a tendency to bolt quickly, so to keep fresh herbs in my garden, I will stagger my seeds so that when some bolt in the garden I will have fresh stock to replant them with! So it pays to leave a few open.
What is Up Potting?
Like in the how to start a stock tank garden post, I mentioned how important the dirt was in our journey. For baby seedlings, we can just plant them in concrete like topsoil. For delicate roots, using a seedling or starter mix is incredibly important. And even when they have reached the point in the start tray that their real full leaves begin to emerge, they are still delicate and need time to get sturdier. Up-potting is transplanting the seed pods from the tray into “larger” small pots, more like the size you see of plants ready to buy at your garden center.
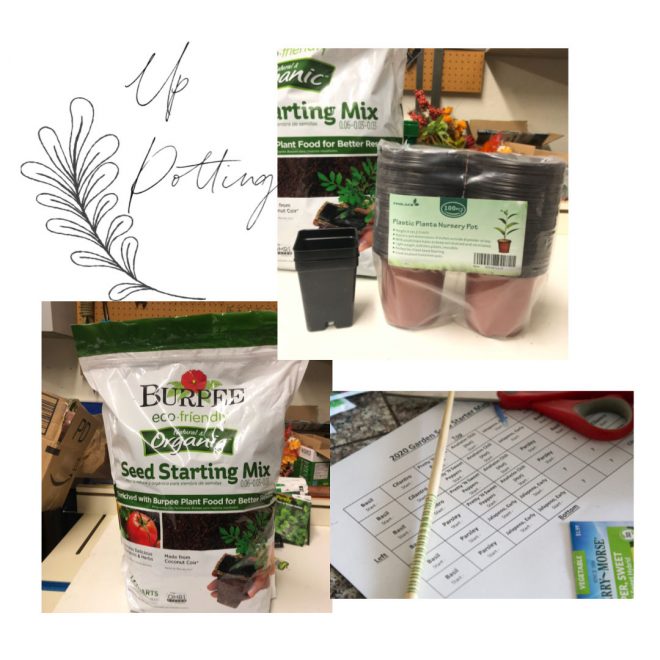
I picked up a bag of seed starter mix, and ordered 4″ pots on Amazon. I will mix my potting soil and seed starter together to fill these pots for when it is time to up pot.
After about 6-8 weeks, the frost should have stopped in most places, and you are probably set to plant your starts!
Here is a one stop click list for all the tools and supplies I have to start my seeds this year!
This post may have affiliate links. Please read my privacy policy for further info.

Pingback: How To Start A Stock Tank Garden - Country Cleaver