How to Prepare a Cake Pan – Two Ways
This post may contain affiliate links, that if you make purchases through, I will earn a small commission.
Learn to two best way to prepare your cake pans for cakes that release perfectly every time! No more stuck on cake around here! Check out the buttered and floured and sprayed and lined techniques for great cakes.

For a year before Ben and I got married I took a job as a cake decorating instructor at Michael’s teaching Wilton method to save up some extra money for the big day and our honeymoon. I had taken all the classes, loved them, left smelling like frosting and had cakes for days. Once I started teaching I was so excited to show off all the new skills, but then burned out on the 27 tupperware containers of frosting in my fridge and getting frosting tips stuck in my garbage disposal. So I hung up my cake baking. At least for a while.
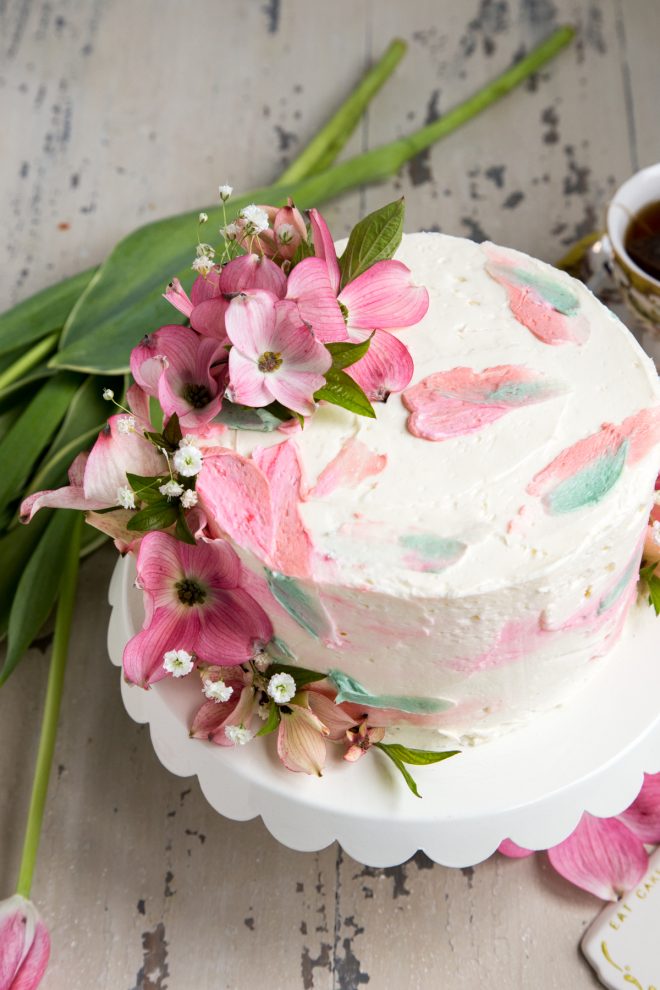
Lemon Elderflower Cake Prince Harry’s and Meghan Markle’s Wedding Cake
But I’m back at it – and wanted to start from scratch with the basics of baking. Good baking leads to better decorating – true story! So today let’s start off with how to prepare your pans for success.
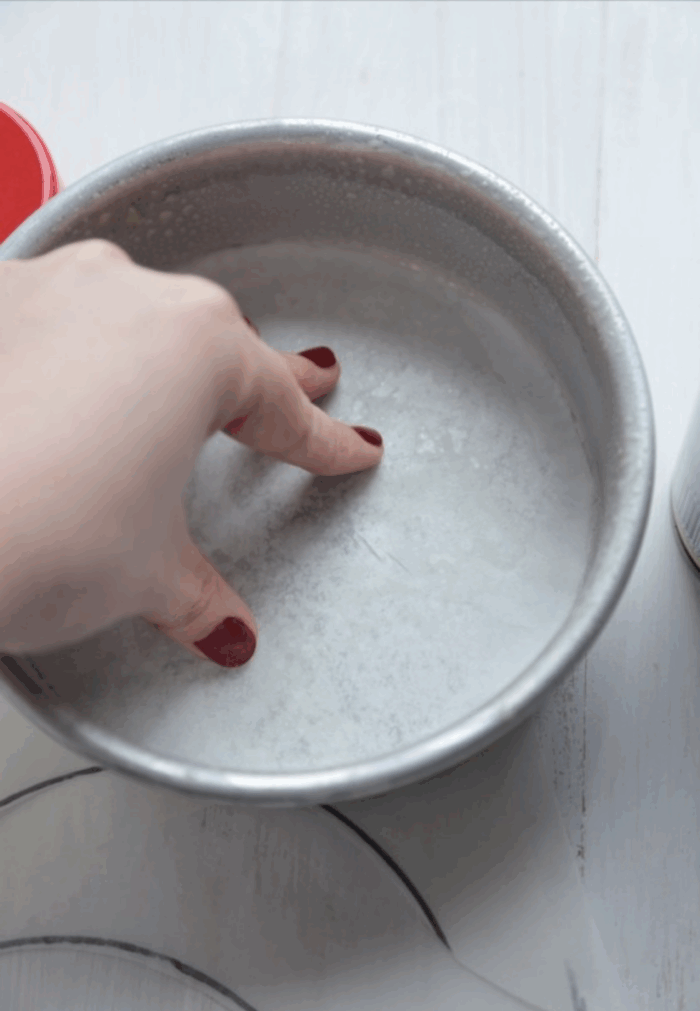
The biggest feeling of defeat you can get in cake decorating is having half of your cake left behind in a poorly prepped pan. My favorite method is this one below – the spray and line method.
If you’ve ever had a beautiful cake stick to the pan and fall apart right at the finish line, you know how frustrating it can be. Properly preparing your cake pans is one of the most overlooked baking techniques, yet it’s one of the biggest factors in baking success.
Whether you’re making a simple weeknight birthday cake or practicing your baking skills, these professional baker techniques will help you get clean cake release every time.
In this guide, we’ll cover:
- The 3 best ways to prepare cake pans
- The tools you actually need
- Which cake pans work best
- Common mistakes to avoid
- FAQs from home bakers
You won’t have a cake stick in a pan ever again!
Why Preparing Cake Pans Properly Matters
Cake batter is designed to rise and cling slightly to the sides of the pan to create structure. Without proper preparation, sugars caramelize and proteins bond to the metal surface, causing sticking, tearing, and uneven layers. That’s one reason you will see some cakes say “don’t spray the sides of the pan”, because those batters may need more tackiness to create the lift required.
Why proper pan prep helps:
- Prevent sticking
- Create clean edges
- Maintain cake structure
- Make stacking easier
- Reduce waste and frustration
Think of it as insurance for all the work you just put into your batter.
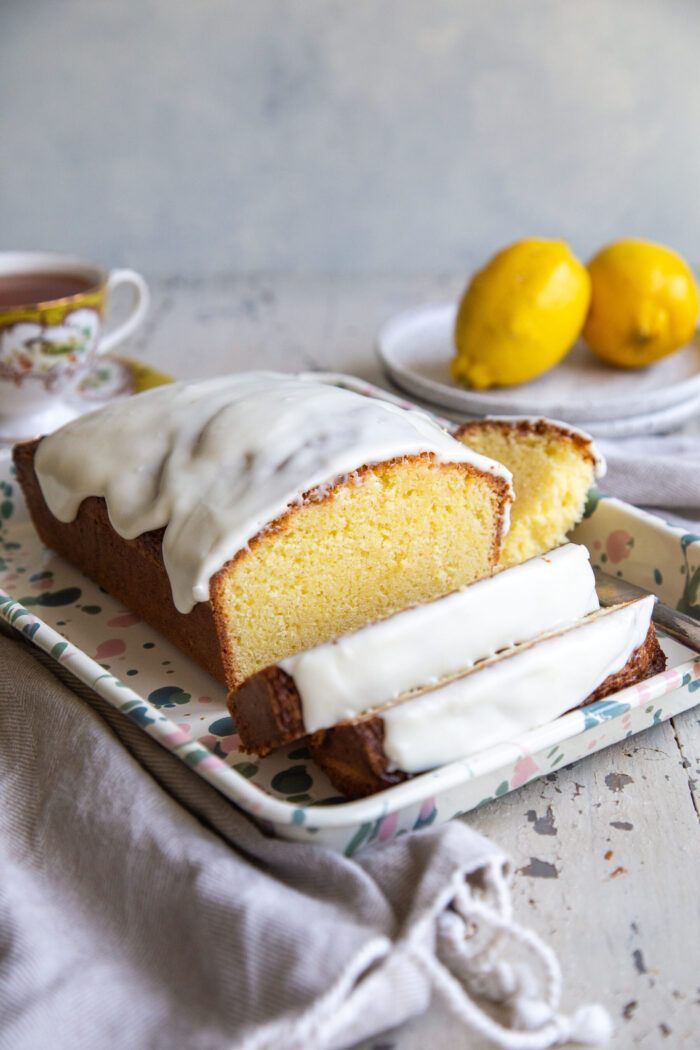
Lemon Pound Cake with Lemon Cream Cheese Glaze
The Classic Bakery Method – Butter + Flour
This is the traditional method used in bakeries and one of the most reliable techniques.
How to do it:
- Lightly coat the entire inside of the pan with softened butter.
- Add 1–2 tablespoons flour.
- Tap and rotate pan until fully coated.
- Tap out excess flour.
Tools needed:
- Butter or shortening
- Pastry brush (optional but helpful)
- All-purpose flour
Best for:
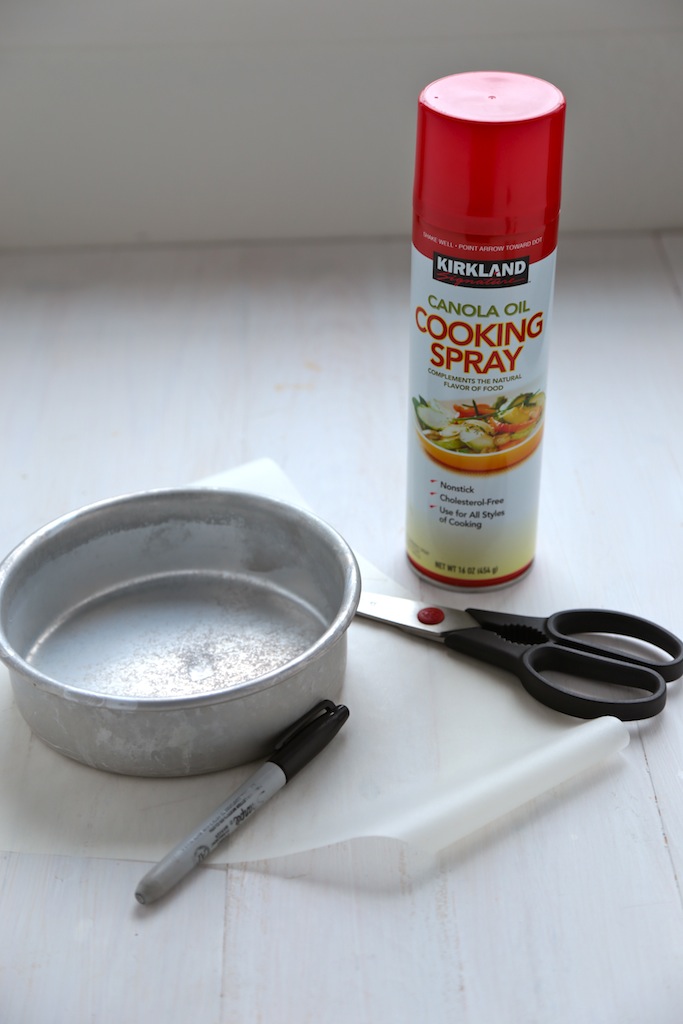
My Favorite Way – Parchment Paper + Grease
This is the method many professional bakers rely on for guaranteed success.
How to do it:
- Grease the pan lightly.
- Cut parchment to fit the bottom.
- Place parchment inside.
- Lightly grease again.
Tools needed:
- Parchment paper
- Scissors
- Butter or baking spray
Best for:
- Layer cakes
- Celebration cakes
- Wedding cakes
- Soft sponge cakes
Why this works so well:
Parchment creates a physical barrier between the cake and the pan, eliminating sticking risk almost entirely.
If you’re only going to adopt one professional technique, this is it.
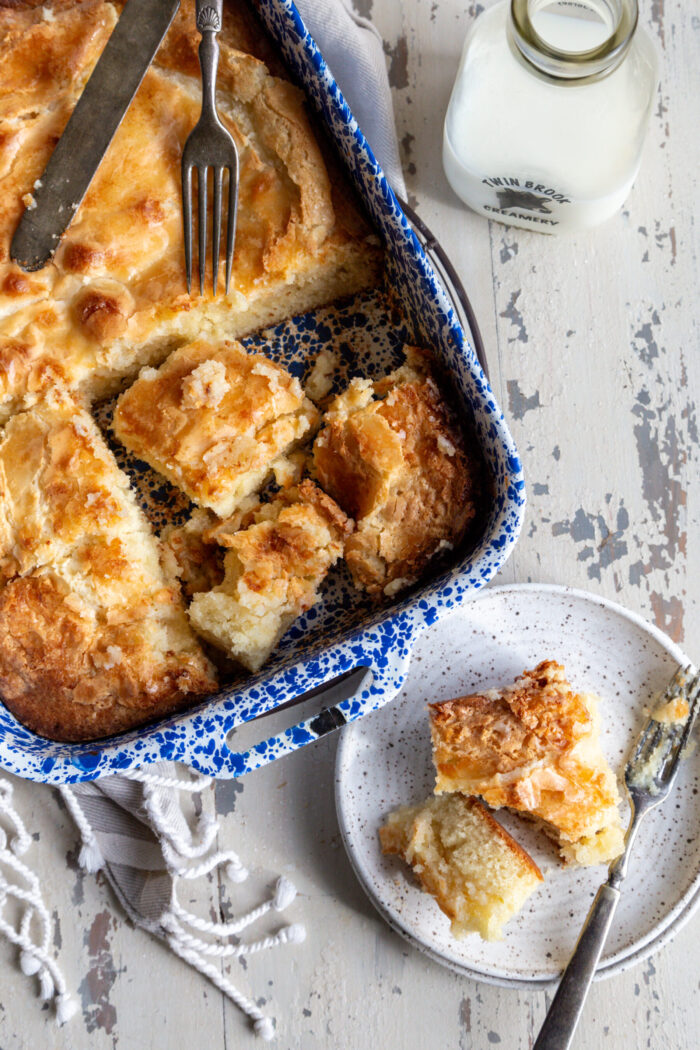
Ooey Gooey Butter Cake From Scratch
The Fastest Way – Baking Spray
Baking spray containing flour is the quickest option for everyday baking. I know we are all busy people, but these convenience baking sprays along the bottom of the pan, and into the corners can really pay off with your time and ease.
How to do it:
- Spray evenly.
- Ensure corners and sides are covered.
- Bake immediately. Such a time saver!
Tools needed:
- Baking spray (with flour)
Best for:
- Everyday baking
- Sheet cakes
- Quick cakes
- Brownies
What About The Pan? Choosing The Right Pan For The Job
If preparing the pan is important, the right pan is crucial! There are so many types of baking dishes on the market, tins, and various coatings, and colors, non stick cake pans or aluminum? Analysis paralysis can set in really quick.
Not all pans perform the same way, so here is my quick reference guide to picking out the right pans for the job.
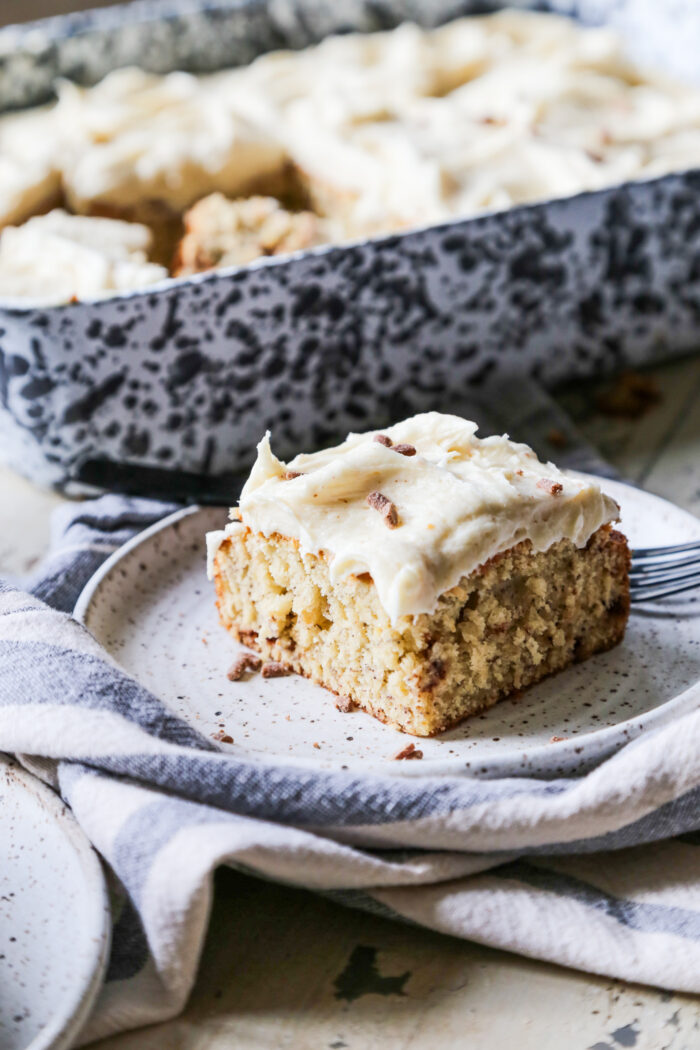
Brown Butter Banana Cake with Brown Butter Bourbon Frosting – In an Aluminum Pan
Best choice: Aluminum cake pans
Aluminum is the gold standard for cake baking. I love the enamel coated aluminum pan you can see in the Brown Butter Banana Cake photo above. It’s consistently amazing for all bakes, and cinnamon rolls I make.
Why bakers love aluminum:
- Even heat distribution
- Consistent rise
- Prevents over browning
- Lightweight but durable
Anodized aluminum is especially good because it resists warping and corrosion.
Good option: Non-stick cake pans
These can work well but require care. As soon as they get scuffed, the non-stick pan will start to stick. And they will require a pan spray to extend the life of the pans.
Pros:
- Easy release
- Less prep required
Cons:
- Coating wears out
- Can brown cakes too quickly
- Scratches easily
Even with nonstick, you should still grease the pan. Non stick will degrade over time, so it’s best to use the cake preparation methods no matter what.
Don’t You Dare : Glass pans
Glass conducts heat differently and can cause issues with your bakes.
Problems:
- Uneven baking
- Over-browned edges
- Longer bake times
- Higher sticking risk
If using glass, reduce oven temperature by about 25°F. But really, avoid it if you can. Pyrex works better for pie, but shouldn’t be a go-to for cake.
My Favorite Cake Tools
What’s In My Kitchen – Cake Pan Must Haves
 Buy Now →
  Buy Now →
  Buy Now →
Cake Pans – 8″ Parchment Rounds
Buy Now →
Cake Pans – 9″ Parchment Rounds
Buy Now → Buy Now →
  Buy Now →
  Buy Now →
  Buy Now →
Cake Pan – High Side Sheet Cake Pan
Buy Now →
Frequently Asked Questions
What if I’m making a chocolate cake? Will flour leave a white coating on the cake?
Yes, using flour will leave a white coating on a chocolate cake. So instead, use cocoa powder instead of flour for chocolate cakes to avoid white residue.
How Do I remove the cake from the pan after it is baked?
Typically, allow your cake to rest in the pan for ten minutes when baking. Be sure to read the instructions so you allow the cake to cool properly. Some cakes do want to cool completely in the pan. To remove it, run a butter knife around the sides of the cake to release any points of sticking, then place a wire cooling rack over the top of the cake, and pressing it to the rack, flip it over so the top of the cake is on the wire rack.
Remove any parchment paper from the bottom to allow the bottom of the cake to cool. The top of the cake will cool with wire rack prints, but to ensure your cake is level, you will likely cut that part away anyway. So now the bottom of your pan is a perfectly flat cake, that is now the new top!
Then you’re ready to fill it half way and bake according to your recipe! Pan prepping is an essential part of perfect cake baking!! Make sure to practice this week and get ready for next week’s how-to on Cake decorating!
Cakes You Have To Try
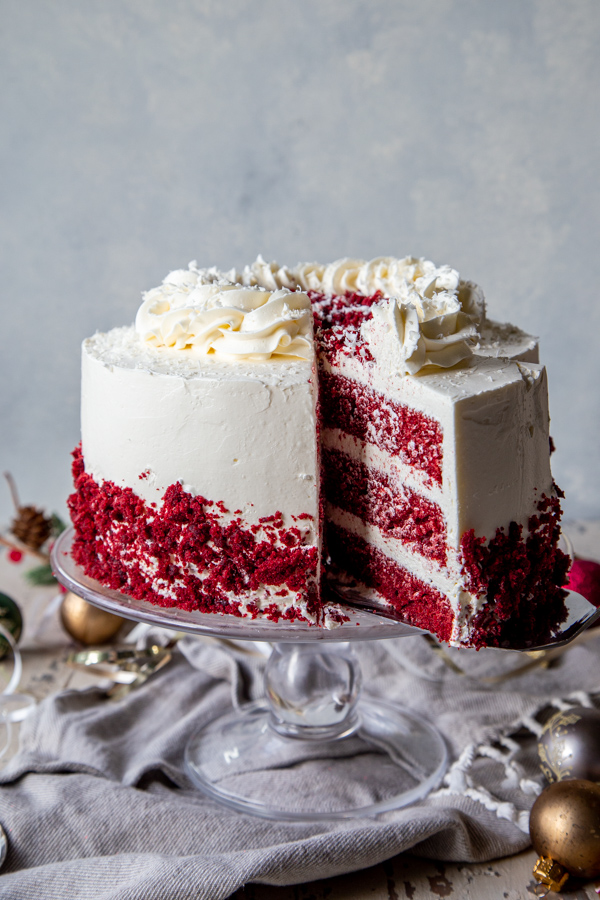
Peppermint Red Velvet Cake with Peppermint Swiss Meringue
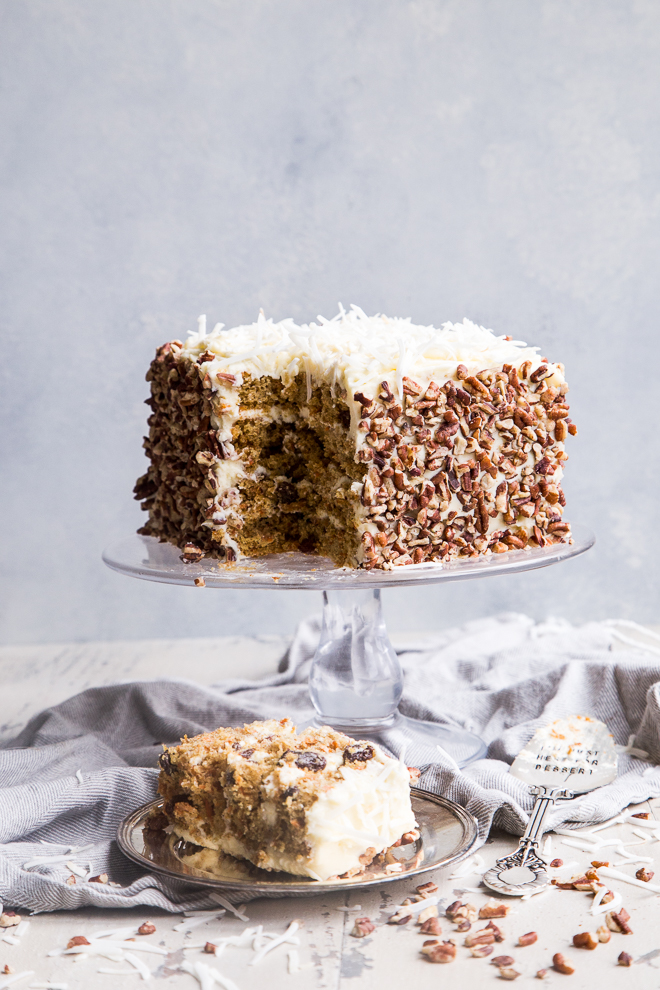
Perfect Carrot Layer Cake – Made in a High Sided Sheet Pan
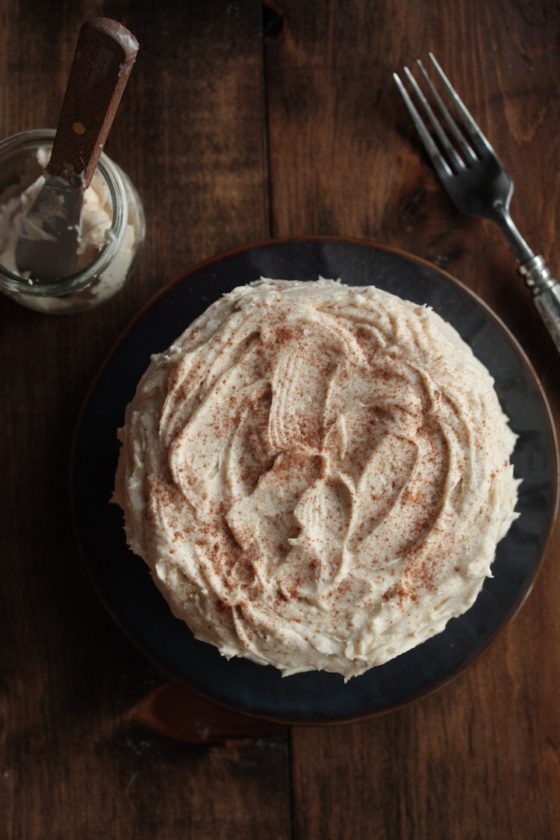
Pear Almond Cake with Cinnamon Brown Sugar Buttercream

I love both ways, but mostly use parchment. Great tips!
I use mostly the parchment method too! Hasn’t failed me yet!
I’m a crisco and flour gal myself!
You can’t go wrong with Crisco and Flour!! 🙂
Great tip!
Why thank you, lovely lady!!
What a wonderful tutorial! If this part isn’t done right when you’re baking a cake, its impossible to have a beautiful end product. Great technique 🙂 Happy Tuesday!
I completely agree Kelly!! Better baking before leads to better decorating later!
Love all of these tips and that Pear Almond Cake… woah- sounds amazing!!! I could eat a slice of that with my coffee right about now 🙂
Pingback: How To Freeze Cakes and Pies » Country Cleaver
Pingback: Recipes | Crafts | DIY | Home Garden