Easy Cast Iron Berry Cobbler
This post may contain affiliate links, that if you make purchases through, I will earn a small commission.
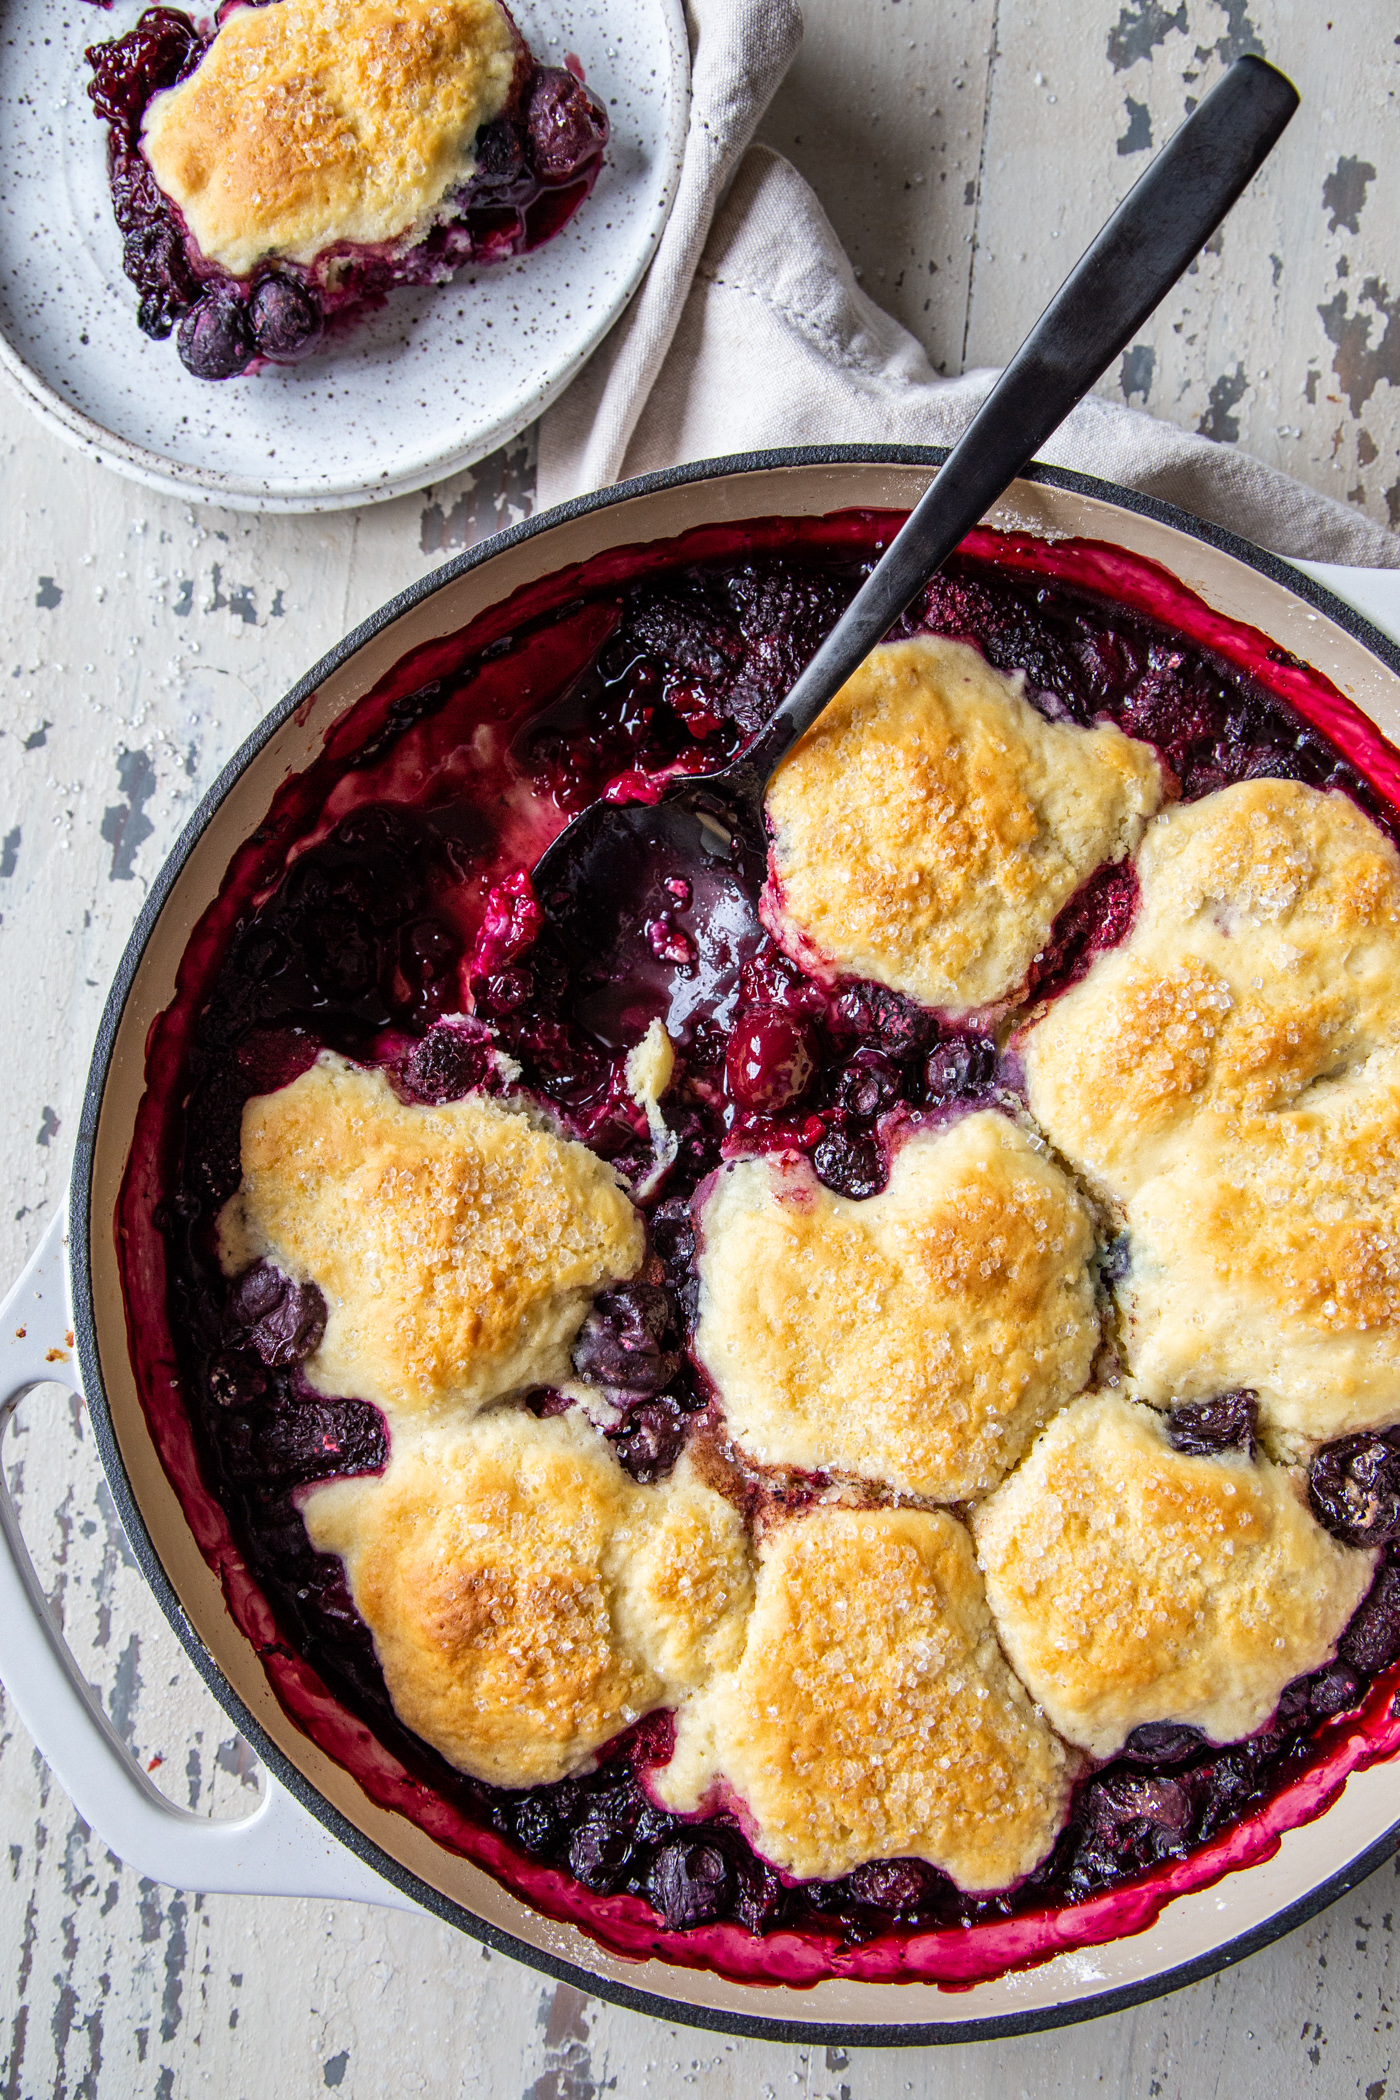
This easy cast iron berry cobbler uses all of those leftover fresh or frozen berries you have to make a super easy dessert in a gorgeous cast iron serving dish! Start to finish in 45 minutes!
I think we all start off the new year with the best of intentions, stocking up on frozen berries to make smoothies and whatnot… then they end up in the back of the freezer, partially used (or let’s be honest – not at all?) and you’re like what on earth am I going to do with these? Because the moment has passed and if I look one more smoothie in the face, I’m just going to lose it. And you need dessert. It’s a must.
Or that is me, and I will never turn down dessert.
My point it – this easy cast iron berry cobbler is one of those perfect “in a pinch” desserts if you just have a hankering for something, are hosting a dinner and can’t decide what to make, or if you’re just flat out pressed for time. Or, if you’re me and you need this to fill the need to do some rage baking after an absolute shit day at work. You know, just keeping it real here.
Whatever your reason for needing to make a dessert is, I’m here for you. It’s a Make Your Own Adventure dessert!
Ingredients for Cast Iron Fruit Cobbler
For those “in a pinch” recipes, the ingredients need to be easy to have on hand. One of the things I always keep around in lieu of actual buttermilk is buttermilk powder. I follow the instructions on the side of the container to make the appropriate substitution and it works wonders in this cobbler recipe!
For the Topping
- Flour
- Sugar
- Baking Powder
- Baking Soda
- Salt
- Buttermilk – or Buttermilk Powder – See instructions for specific notes and recipe.
- Unsalted Butter, melted
- Sparkling Sugar – or Turbinado Sugar
For the Filling
- Frozen Berries – mix and match your choice of fresh or frozen berries and fruit, like peaches
- Sugar
- Cornstarch
- Vanilla
- Lemon Juice – or Orange Juice
- Cinnamon
- Salt

How to Make Easy Cast Iron Fruit Cobbler
Preheat your oven to 400 degrees. Place the oven rack in the middle of the oven.
In a medium mixing bowl whisk together the dry ingredients for the topping. If you are using buttermilk powder, include that. In a liquid measuring cup, measuring out the buttermilk, or appropriate amount of water to substitute for the buttermilk powder swap. Add in the melted butter here. Stir in the buttermilk or water and melted butter and mix together with the dry ingredients to create the topping dough, mixing until it is just dry and shaggy. Set it aside.
In another small bowl, stir together the dry ingredients for the filling – sugar, cornstarch, cinnamon, and salt. Pour the frozen and fresh berries into the cast iron pan. Drizzle the top of the berries with the vanilla, and the lemon juice. It doesn’t have to be perfect, as it bakes the flavors and juices will combine. Sprinkle with the dry ingredients.
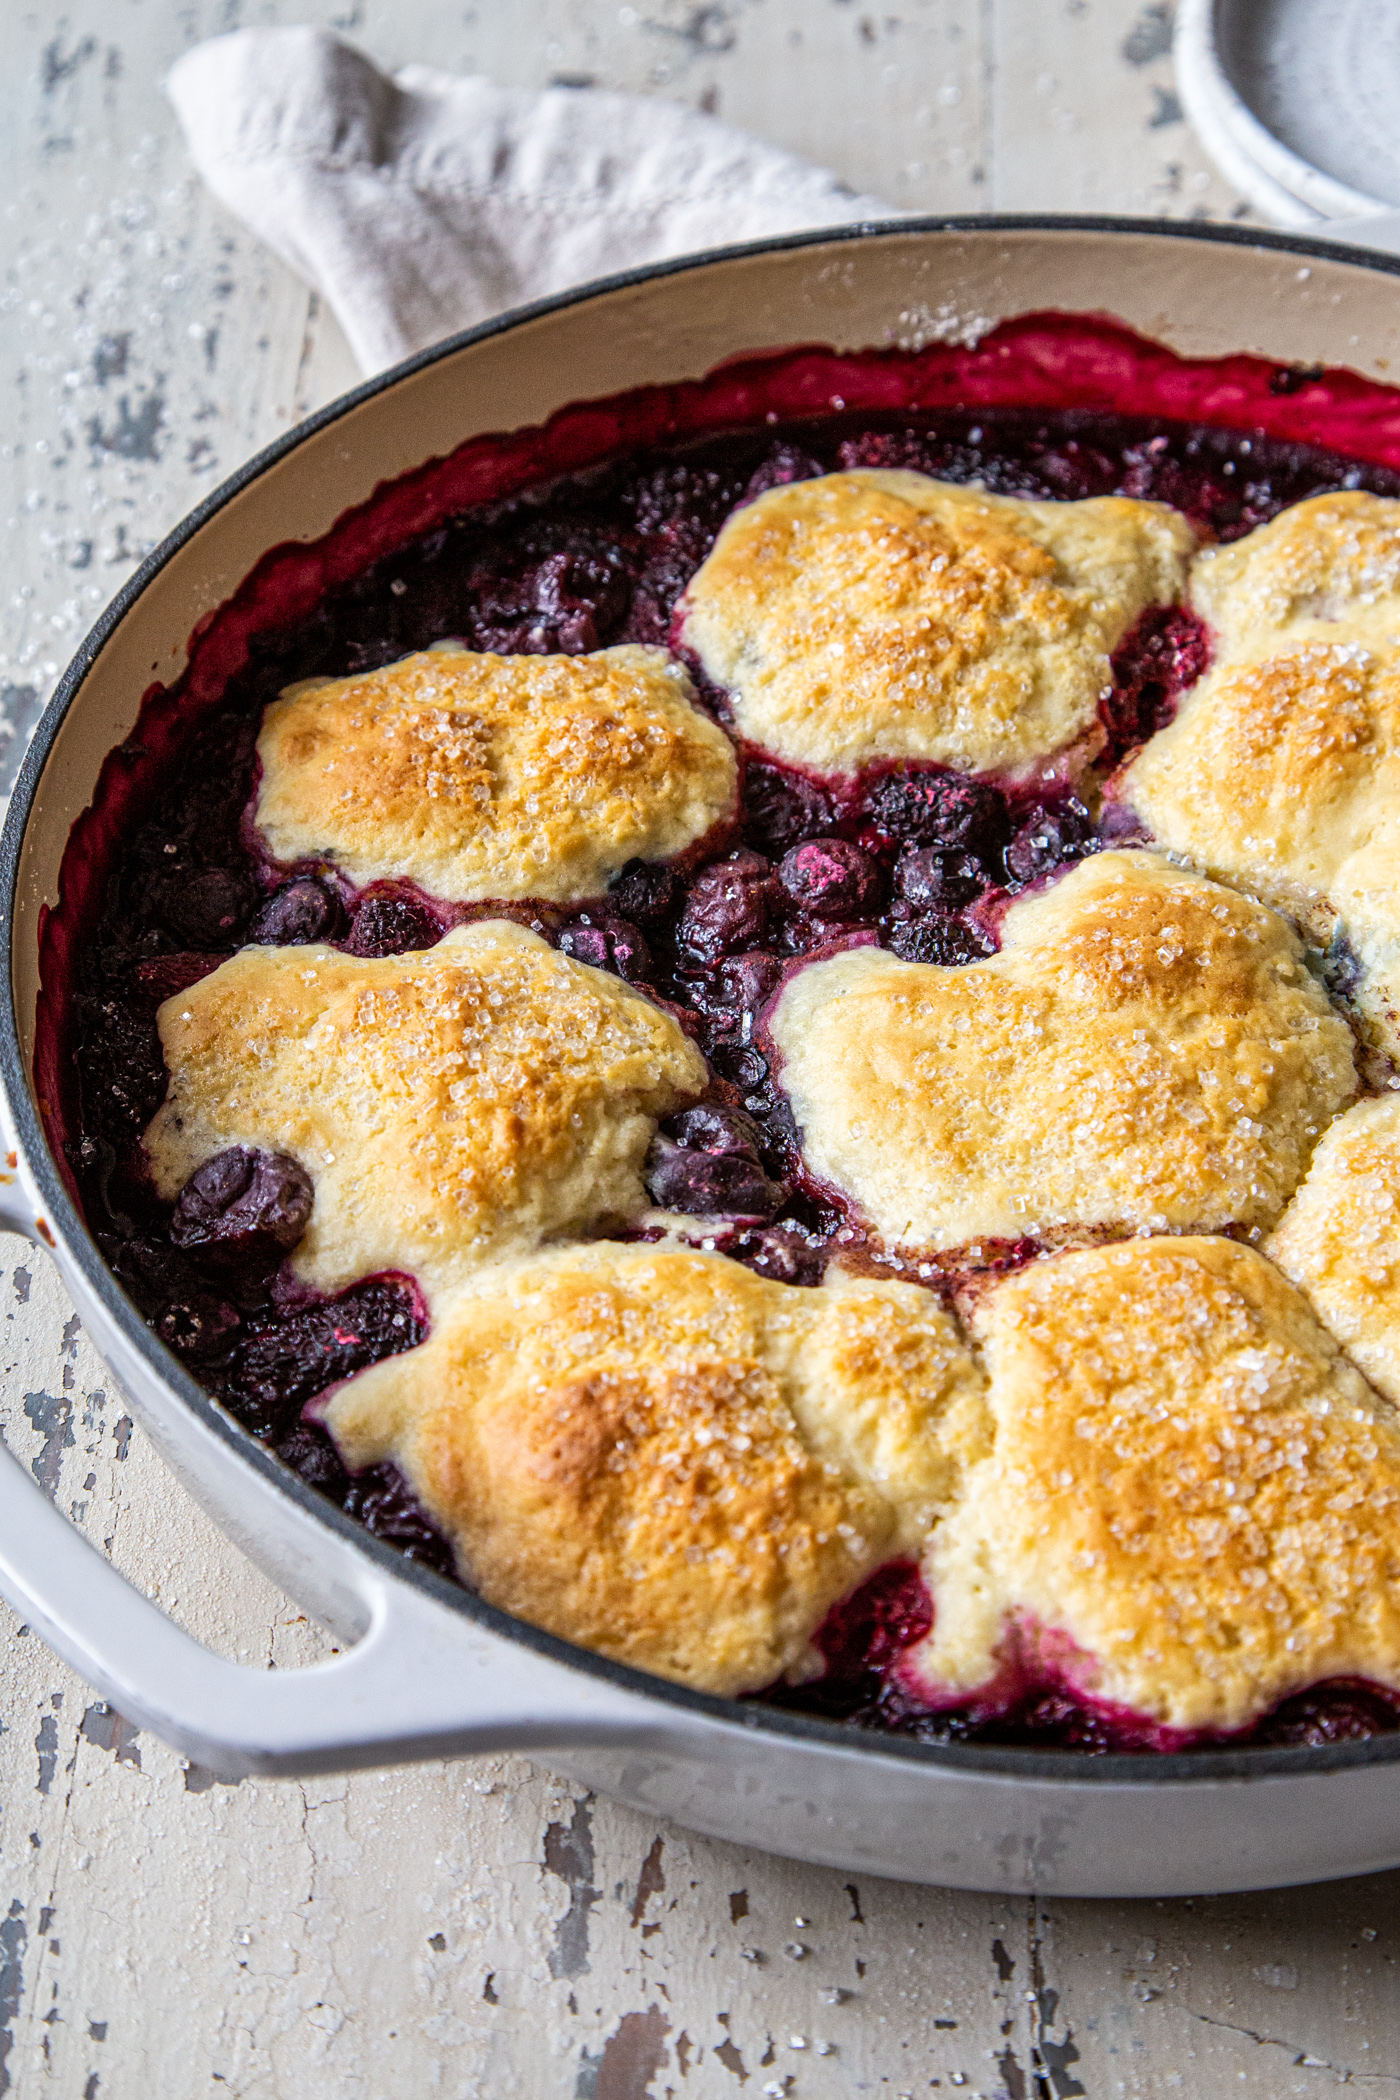
Then using a cookie or dough scoop, top the fruit with the topping, spaced evenly apart. Sprinkle the berry cobbler topping with the sparkling sugar, or turbinado sugar. Bake for 30-35 minutes, or until the biscuits are golden brown and the filling is thick and bubbling. Allow to rest for 10-15 minutes prior to serving.
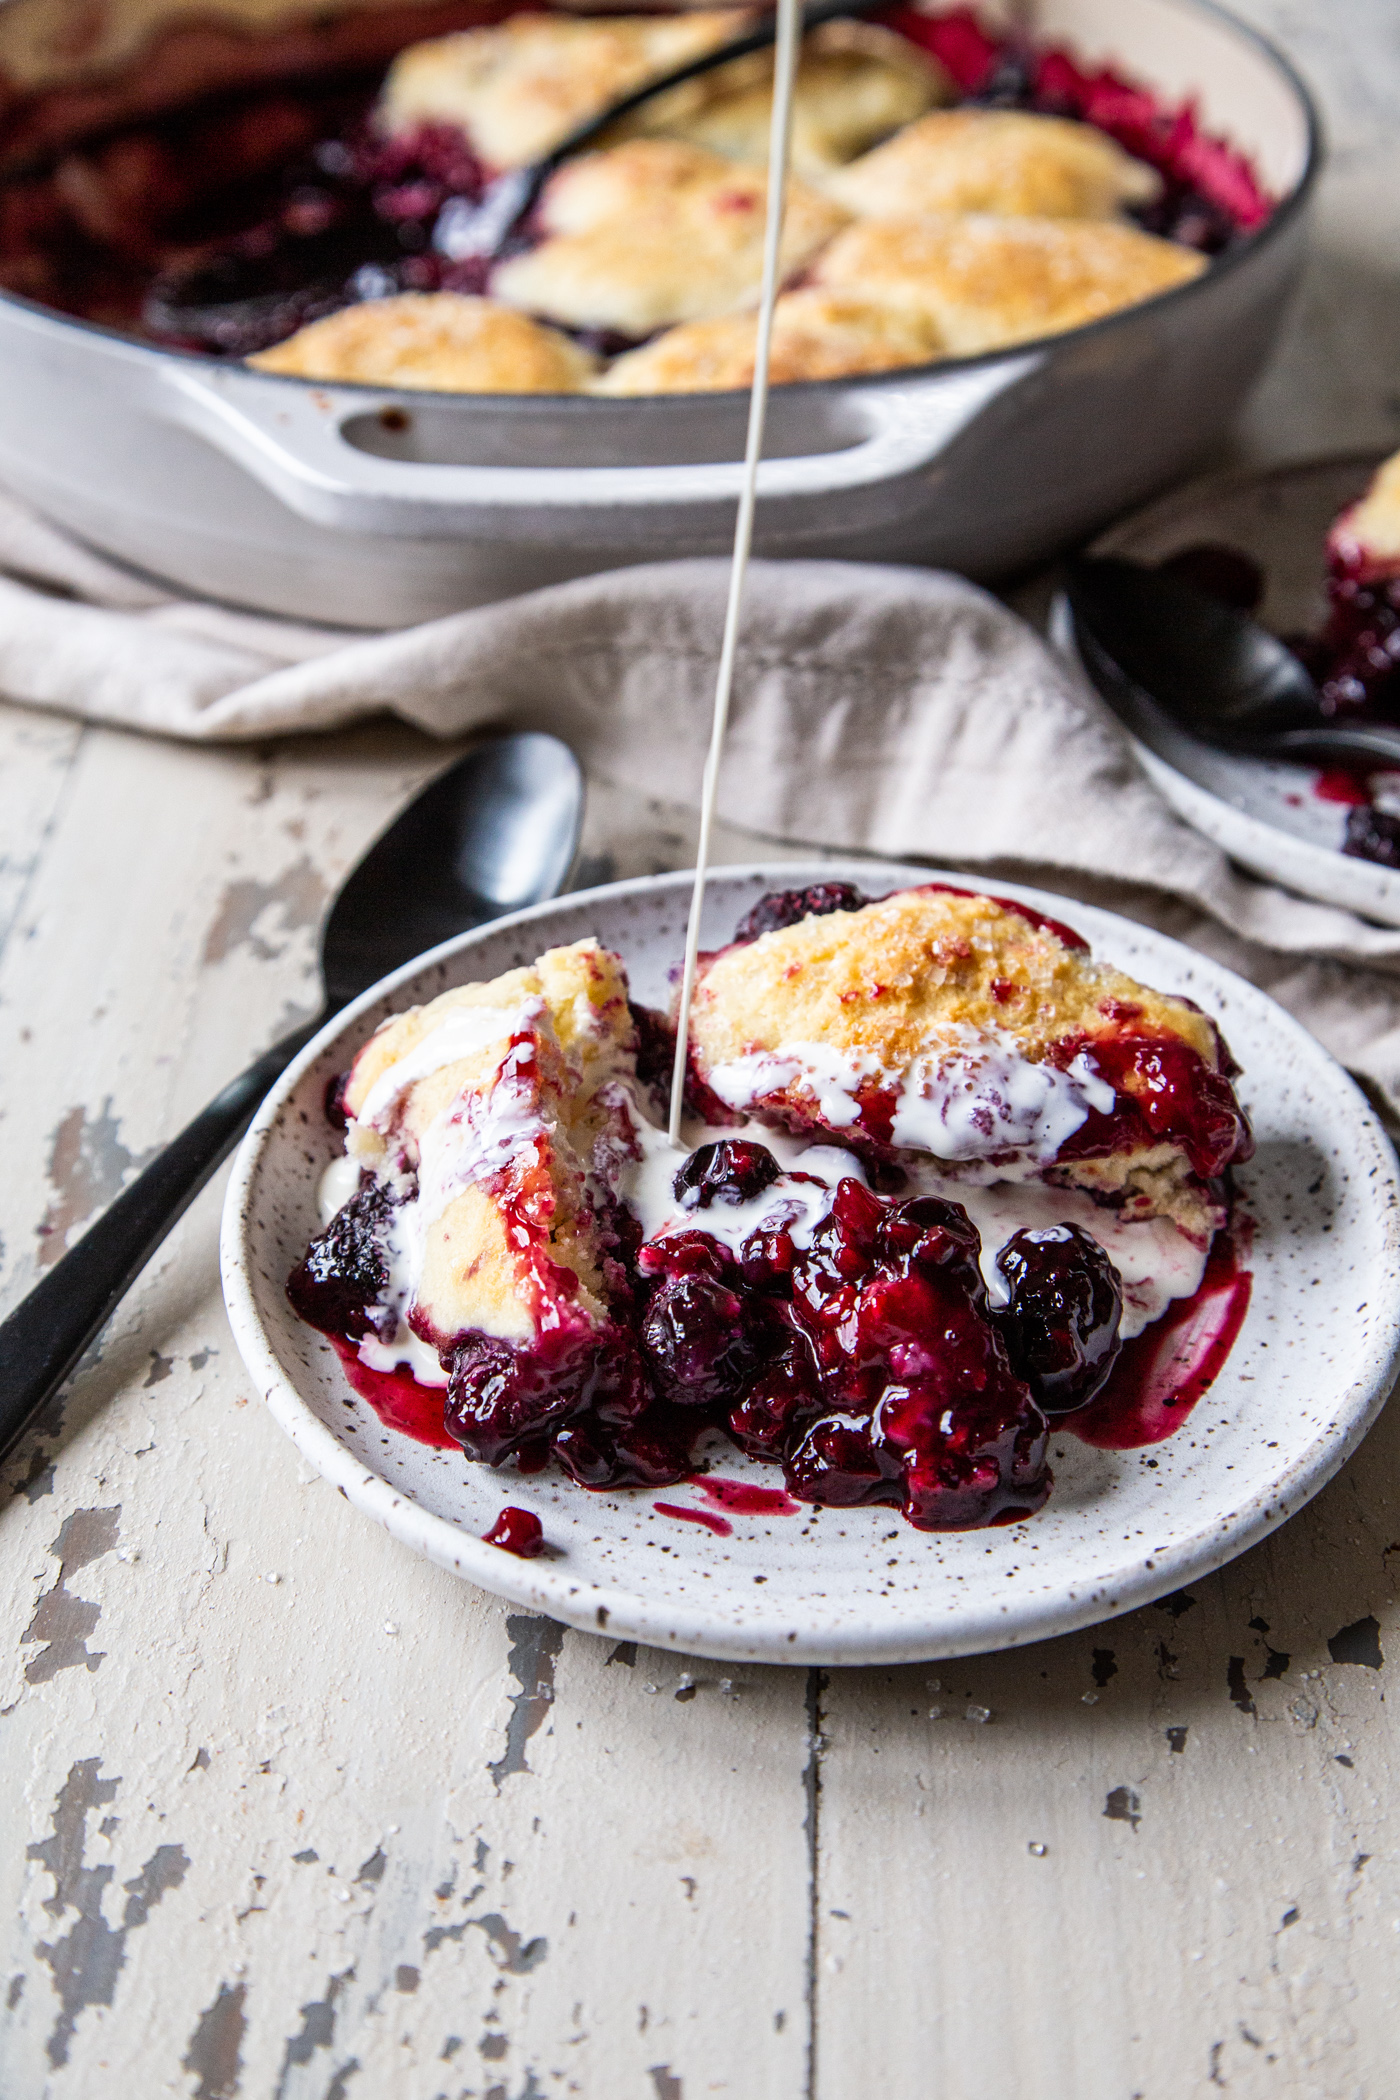
Serve with ice cream, obviously.
Favorite Dessert Recipes in Cast Iron Skillets
Mrs. Cheney’s Nobby Apple Cake
Brown Butter Chocolate Chip Skillet Cookie
Cast Iron Pineapple Upside Down Cake
Blueberry Cardamom Coconut Crumble

Easy Cast Iron Fruit Cobbler
- Prep Time: 15 Minutes
- Cook Time: 30 MInutes
- Total Time: 45 minutes
- Yield: 6 Servings 1x
- Category: Dessert
- Method: Oven
- Cuisine: American
Description
Start to Finish 45 Minute Make Your Own Adventure Cast Iron Fruit Cobbler!
Ingredients
Topping
- 1 1/2 cup Flour
- 1/3 cup Sugar
- 1 1/2 tsp Baking Powder
- 1/4 tsp Baking Soda
- 1/4 tsp Salt
- 3 Tbsp Buttermilk Powder (or 3/4 cup Buttermilk – SEE NOTE)
- 3/4 cup Water, room temperature
- 4 Tbsp Unsalted Butter, melted
- 3–4 Tbsp Sparkling Sugar – or Turbinado Sugar, optional
Fruit Filling
- 6 cups Fresh or Frozen Fruit – Berries, Peaches, etc.
- 1/2 cup Sugar
- 3 Tbsp Cornstarch
- 1 tsp Vanilla Extract
- 1 tsp Lemon Juice
- 1/2 tsp Ground Cinnamon
- 1/8 tsp Salt
Instructions
- Preheat your oven to 400 degrees. Place the oven rack in the middle of the oven.
- In a medium mixing bowl whisk together the dry ingredients for the topping. If you are using buttermilk powder, include that. In a liquid measuring cup, measuring out the buttermilk, or appropriate amount of water to substitute for the buttermilk powder swap. Add in the melted butter here.
- Stir in the buttermilk or water and melted butter and mix together with the dry ingredients to create the topping dough, mixing until it is just dry and shaggy. Set it aside.
- In another small bowl, stir together the dry ingredients for the filling – sugar, cornstarch, cinnamon, and salt. Pour the frozen and fresh berries into the cast iron pan. Drizzle the top of the berries with the vanilla, and the lemon juice. It doesn’t have to be perfect, as it bakes the flavors and juices will combine. Sprinkle with the dry ingredients.
- Then using a cookie or dough scoop, top the fruit with the topping, spaced evenly apart. Sprinkle with the sparkling sugar, or turbinado sugar.
- Bake for 30-35 minutes, or until the biscuits are golden brown and the filling is thick and bubbling. Allow to rest for 10-15 minutes prior to serving.
- Serve with ice cream, obviously.
Notes
If you are using traditional liquid buttermilk, do not use powdered buttermilk powder, and omit the water in the “Topping” instructions”. Use only 3/4 cup of Buttermilk.

No rating yet. Just wanted to know what size pan to use. A regular frying pan or what
Hi Idena, I use a 10″ cast iron skillet for this. Thanks for asking. I’ll make an update to the recipe.
I made it with fresh berries (3 cups of strawberries, 2 cups of raspberries, and 1 cup of blueberries) and it was delicious! My guests and family loved it. Also I appreciate the simplicity of the recipe—it made it easy to follow. Thanx!
Thank you, Cynthia! I’m so so pleased you liked it! And what a killer berry combination!
Thank you! I made this with fresh huckleberries and my guests raved. So delicious, this is a keeper!
OMG, making this with fresh huckleberries would be absolute HEAVEN!!!!
Hello in regards to this recipe should i grease my cast iron skillet?
-Dan
Hi Dan, sorry it took so long to get back to you! But, no you really don’t need to grease your skillet here since there is no traditional bottom crust. You should be fine, but if you want a light spray of non stick is always helpful.
It was delicious, but it didnt thicken like it should. I must have messed up. Definitely will try again.