10 Minutes Crafts – Customize Your Craft Store Frames
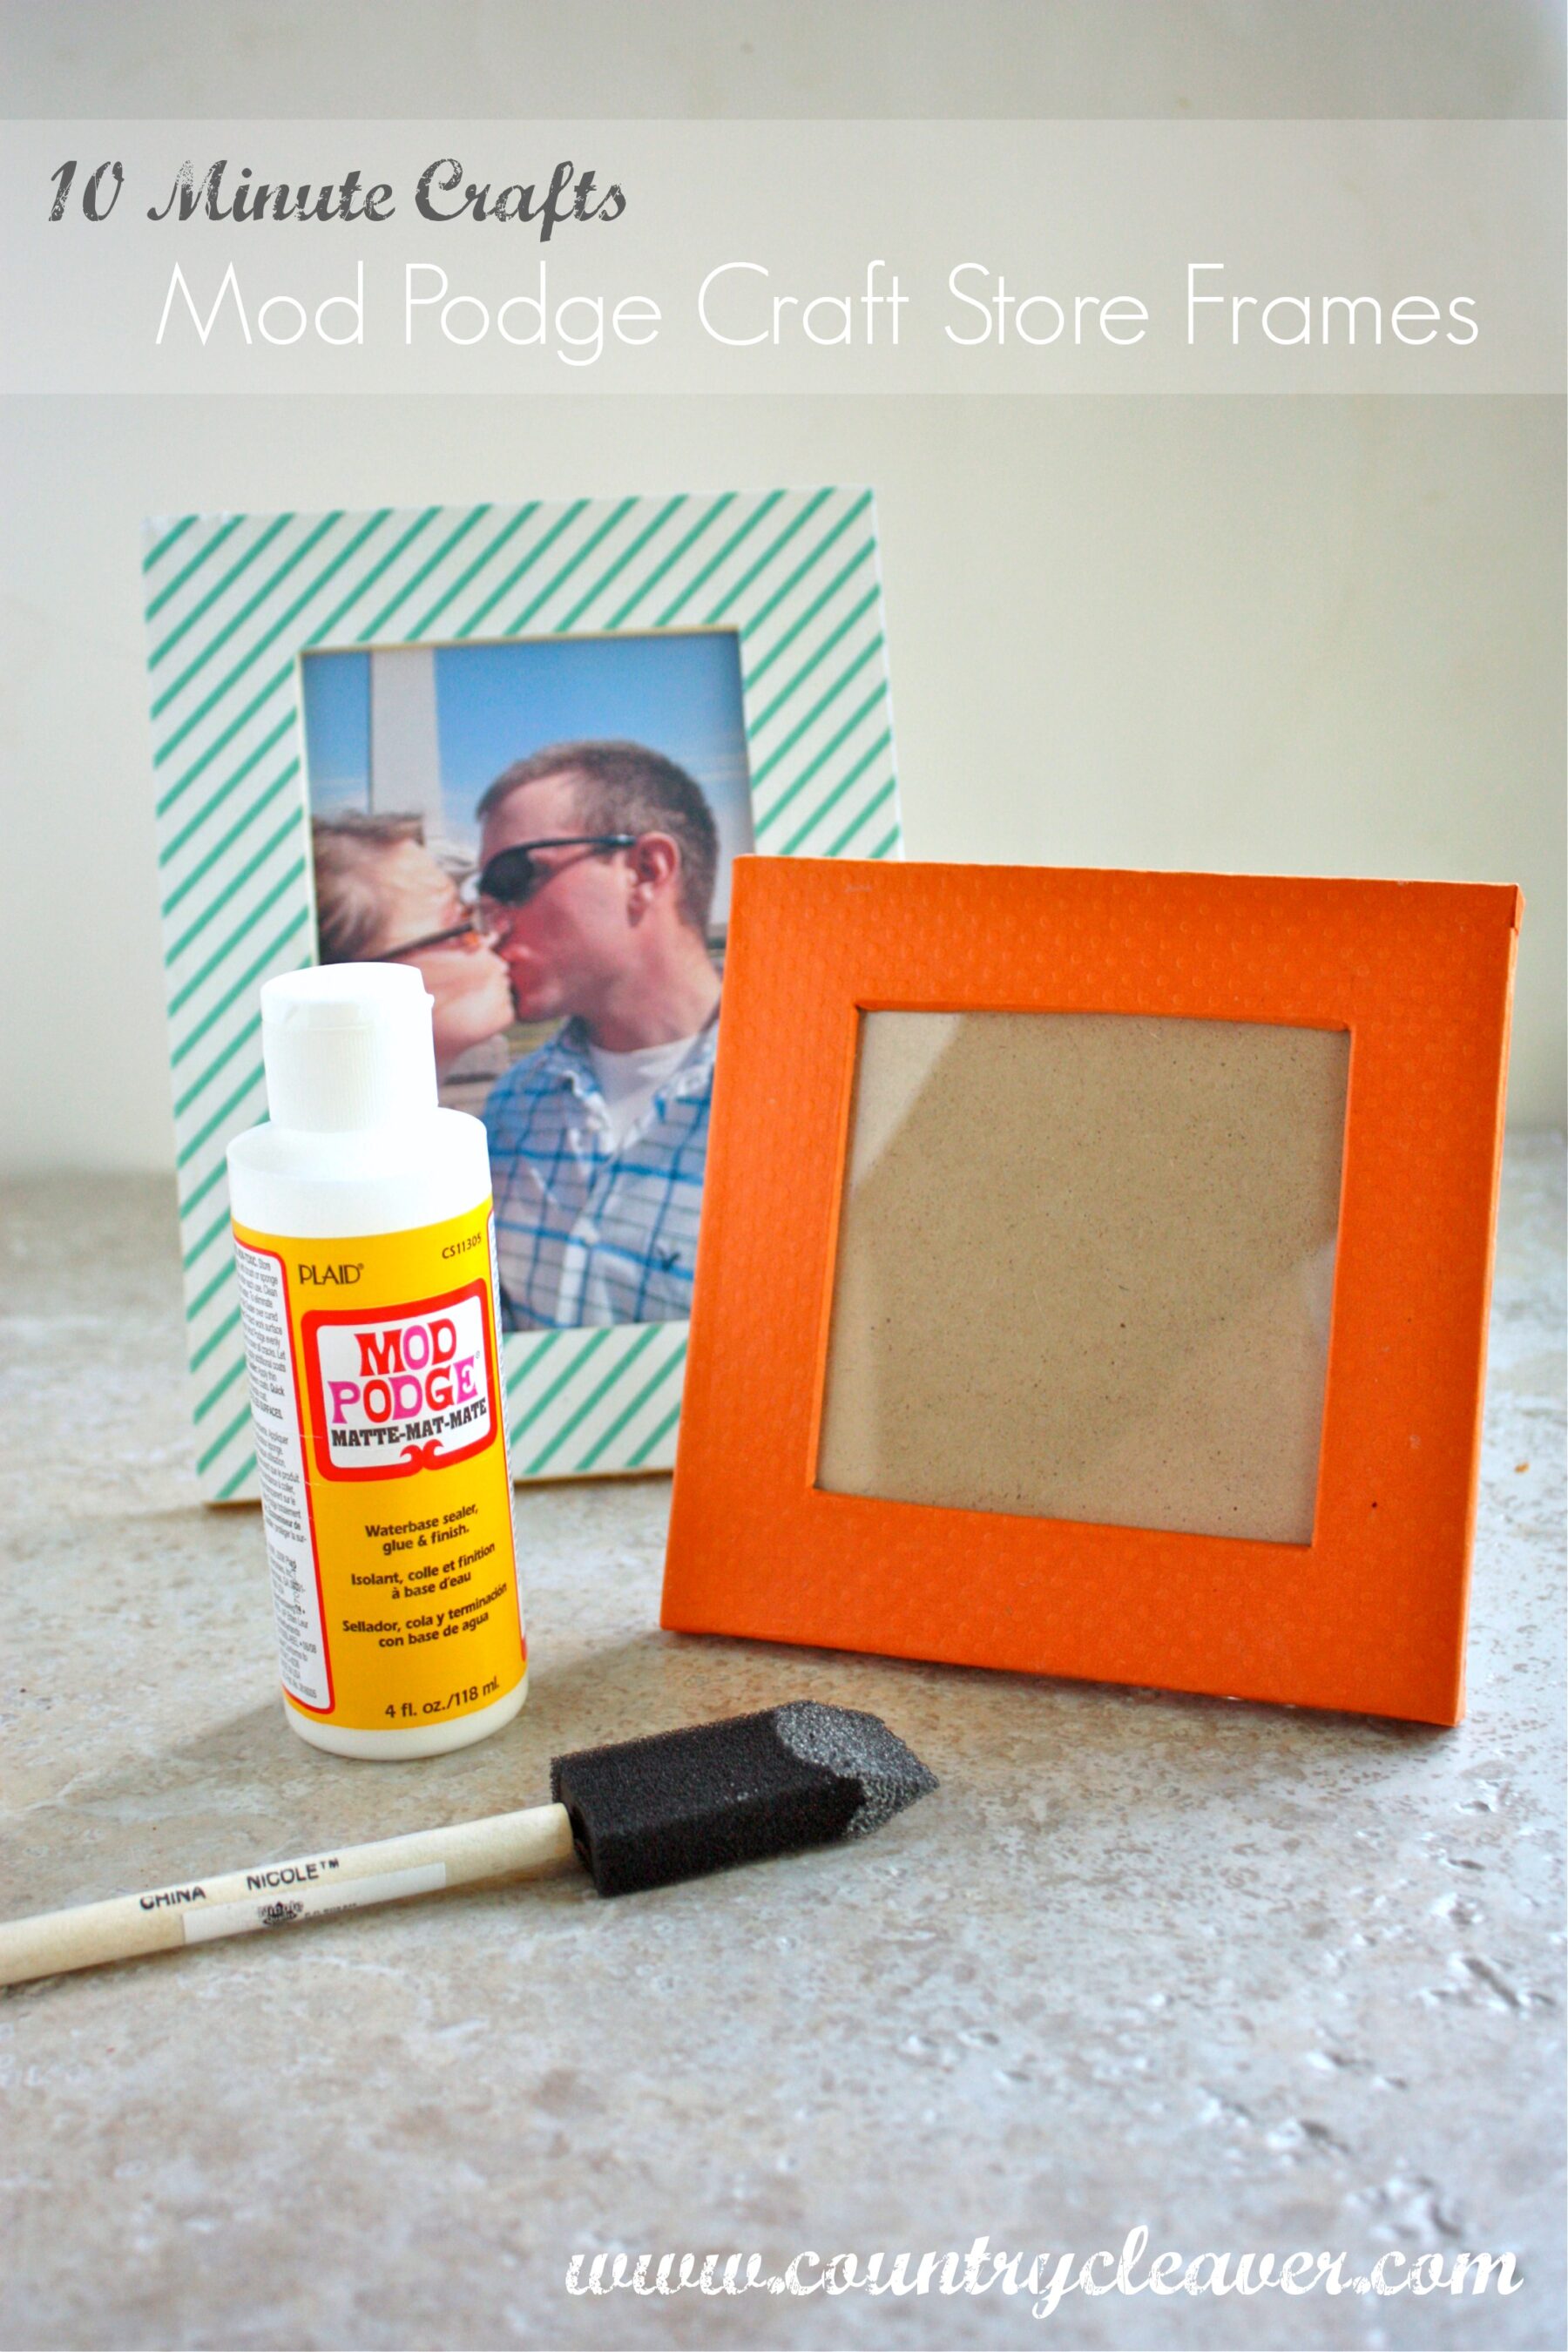
Pinterest is a dangerous place. I mean it! How many times have you been sucked in for hours, and totally zoned out not realizing it’s three hours later and you didn’t feed your feed your dog or take your husband out? Strike that, reverse it. There is no judgement here. I love Pinterest. And you wanna know who else loves Pinterest? Beka. And someoonneee decided to get all crafty one day and string me into her web of Pin-crafts one day, resulting in me having three new customized photo frames and a new magnet board for my office. Damn her. And damn Pinterest. But look at these? How fun are they? For a whopping $3 and 10 minutes of your time you can customized you craft store frames. We’re just crafting all the crap up in here today. So follow along and I swear you’ll be out to the craft store by the time you finish reading this, buying palets of these dang things.
A What You’ll Need:
Plain Unfinished Picture Frames – Available at local craft stores
Mod Podge in Matte Finish – Or go bold with a gloss, its up to you!
Exacto Knife
Small Paint or Foam Brush
Your choice of Scrapbook Paper
Cutting Mat or Cutting Board

Step 1:
Line up your picture fram into the corner of your scrap book paper. Press down firmly and using other hand, run Exacto knife along the edge of the picture frame. Repeat along remaining edge of the fram to remove extra paper.
Step 2:
Repeat process on the inner sections of the frame to cut out the middle square, where the photo will be placed.
Step 3:
In a small dish, add Mod Podge. Using foam or paint brush, pain the areas of the fram that the paper will be adhering to. This will glue the paper to the frame. 
Step 4: Starting at one end of the frame, line up the edge of the paper cutout and gently lay the paper over the fresh glue. Careful to remove all of the air bubbles from the paper. The glue dries quickly, so move gingerly.
Step 5:
Once the paper has been laid over the first round of glue, repeat the process of brushing the Mod Podge over the paper to seal it to the frame. Swipe the brush over all of the edges of the frame and paper to give the whole frame protection and to make sure the paper stays down.
Step 6:
Resist the urge to make about 37 of these all at once. It’s hard, I know.
Step 7: Let dry for three hours – if you’re impatient like me, or over night is best. Add photo memories and bam, you’re done!
I adore my photo frames. I purposefully left the sides of the frame scrap book paper free to give it a little texture and a bit unfinished look. I think it’s fun. Of course, you can always wrap the whole fram – but repeat this process – but when cutting out your paper, factor in the width of the frame’s sides – so then all you have to do it fold the paper over and Mod Podge it into place. You can see that I did it with the Orange Frame in the first photo. But personally – I still love the unfinished sides.
TidyMom has a great how-to on faux-tiquing your frames like these. Go check it out, too. Super adorable, doesn’t even begin to describe it.


Cute! I love the stripes 🙂
Seriously this is so fun! I love doing crafts like this!
I love gettin’ crafty and this is such an awesome, easy idea for jazzing up storebought frames! Great post, Megan!
Damn you Pinterrrrrrrrest!!! *shakes fist in air* Now I need to go make these 😉
I am totally loving this! I drop to many dollar bills at Target so thank you!! Life savor!
I see this, and it looks easy enough, and yet I know I will mess it up.
You impress me again.
I’m not crafty but a simple one is always possible…and it would be excellent for my boys to try! 🙂
Super cute, thanks.
ALOHA-
Craft post wha-what!? Love the paper… love this idea! Ohhh Megan you so crafty! 😉
The girls would totally love these – I’m sure!! I hope you guys make some. 🙂
I’m getting my 14year old going on this project soon! Very cute, love it!
Oh send photos if they make these!! I am on a mission to make tons of them, they’re so quick and simple and the paper endless.
I love this! So simple 🙂
Hey, I love this! So simple too 🙂