How to Make a Campfire Cake
This post may contain affiliate links, that if you make purchases through, I will earn a small commission.
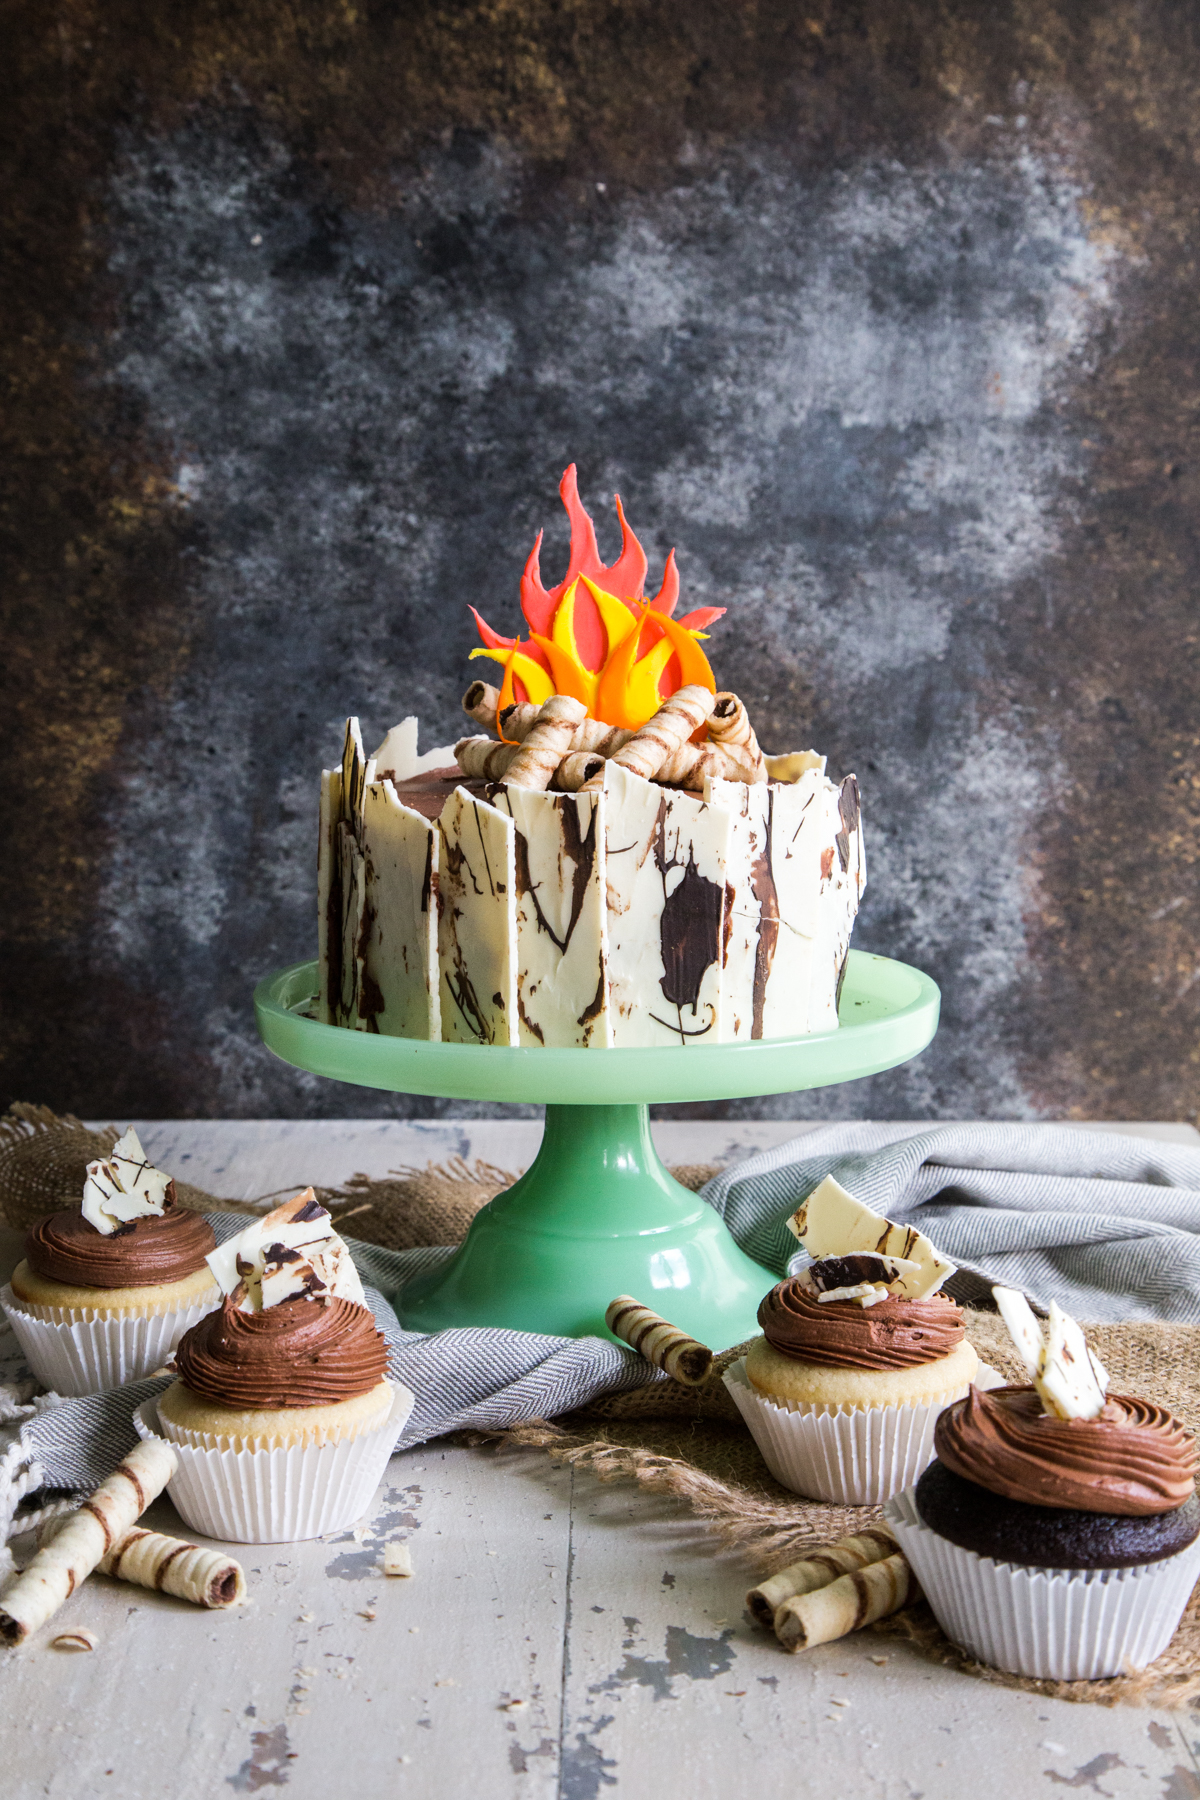
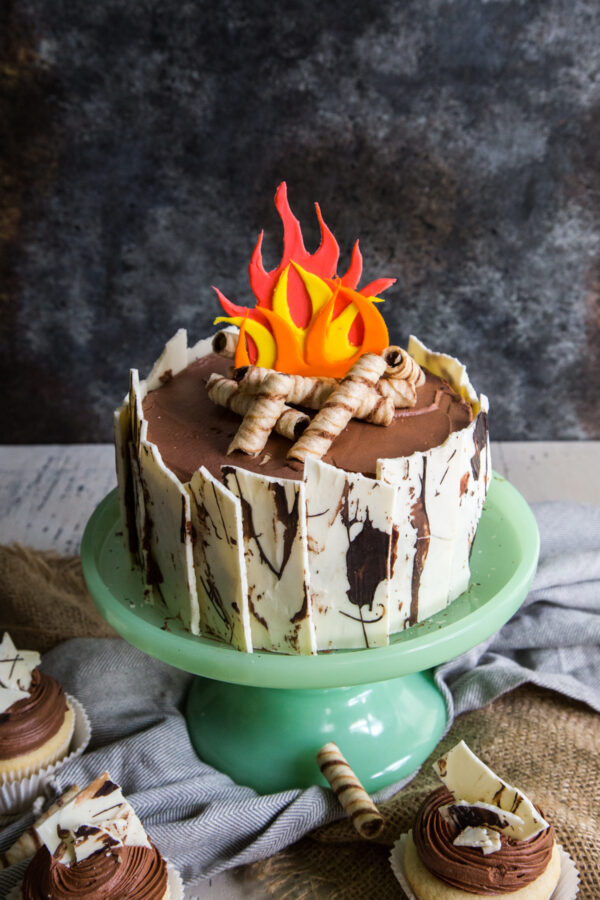
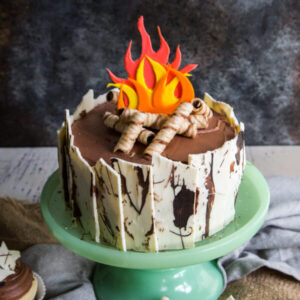
Celebrate the outdoor lover in your life with a campfire cake! With these easy step by step photos you can like how to make a campfire cake with faux white chocolate birch bark and a campfire on top! We made this for our little one’s first birthday and it was a huge hit! Surprisingly easy and so much fun, this will be the talk of the party!
Emmett’s first birthday was a hoot and a half. To carry on the theme we had at his baby shower before he was born, with nature and while land critters, I opted to stick with the outdoor theme. We hope that Emmett will grow to appreciate the outdoors, the fresh air, and the wonder of a s’more over a campfire. I wanted to create a cake that wouldn’t cause me too much headache, and would be relatively quick to construct. When you can get easy-to-make and utterly-impressive to come together in one creation you know it is a huge win.
Read on for the step by step photos on how I created a faux birch bark with white and dark chocolate, what I used to make campfire wood, and I will give you the quick tips to create your own campfire!
For the bark, I wanted a semi-realistic looking birch bark to plaster the outside. The best part is that it only takes two ingredients, and a little time. Use my how-to on melting chocolate perfectly every time to learn how I used a double boiler to melt chocolate that won’t burn. I used 2 cups (1 bag) of high quality white chocolate chips for the base.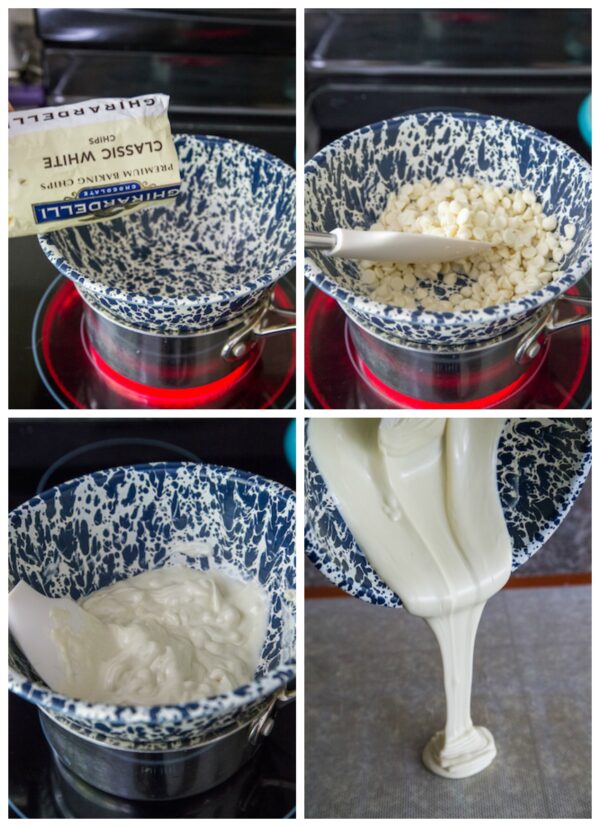
Once the white chocolate was melted, I poured it out onto a large silicone rolling mat. Using an angled spatula to create a mostly flat surface, I spread it out until it was about 3/16th inch thick. You want to make sure it is thick enough that it won’t crumble, but not too thick that you can’t cut through it. As you can see from the photos below, it’s got a little texture on the finished surface like birch bark. Be sure to work quickly before the chocolate begins to set.
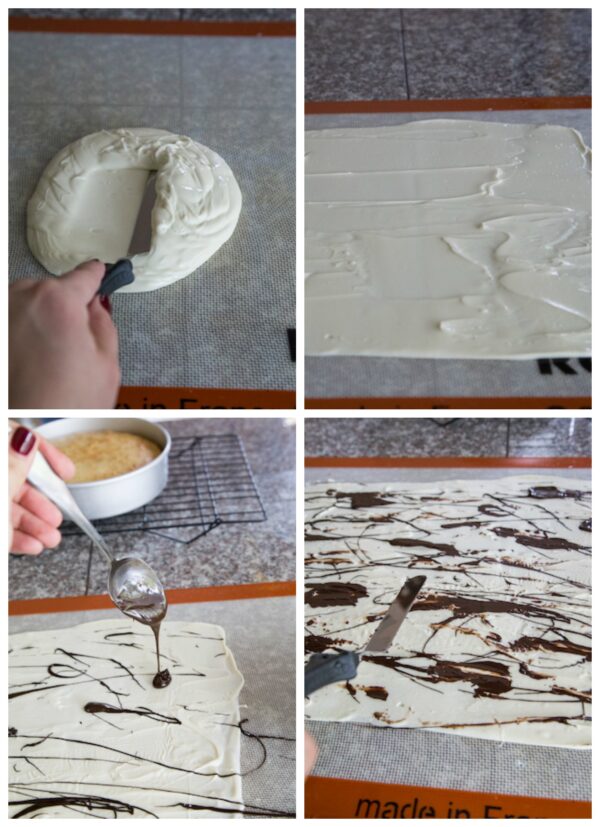
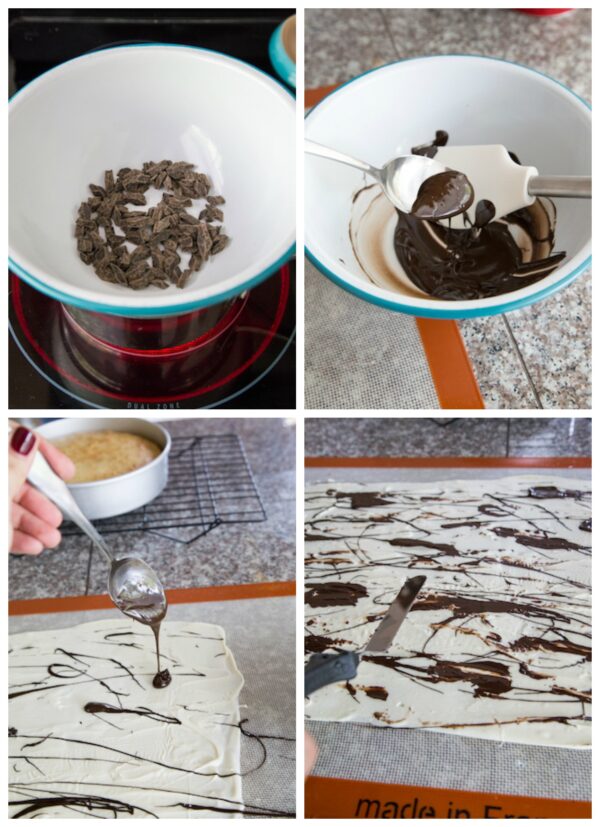
I repeated the process with a quarter cup of dark chocolate chunks. Melting this down again, I used a spoon to drizzle the dark chocolate on top of the cooled white chocolate. Using a cleaned angled spatula, gently brush the dark chocolate over the white chocolate to give it texture and spread it out. It doesn’t have to be perfect, just be bold and go for it! Allow the bark to cool completely.
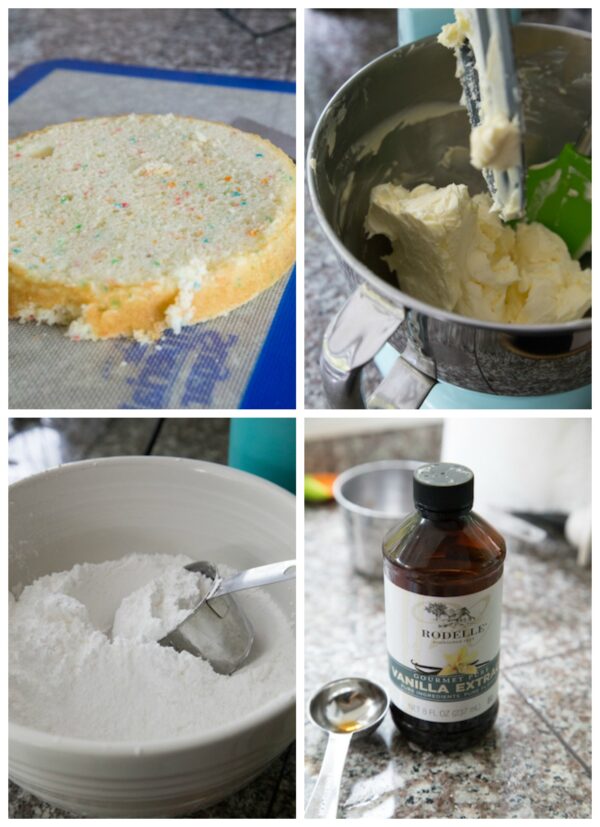
Because I made Emmett’s birthday cake at night after work, I recreated this cake just for these photos. Let me tell you, my coworkers were OMGSOEXCITED to see this cake show up the next day. For Emmett’s original cake, I created a vanilla based layer cake, with whipped chocolate frosting. For this demonstration I used a box of funfetti, and made whipped vanilla buttercream.
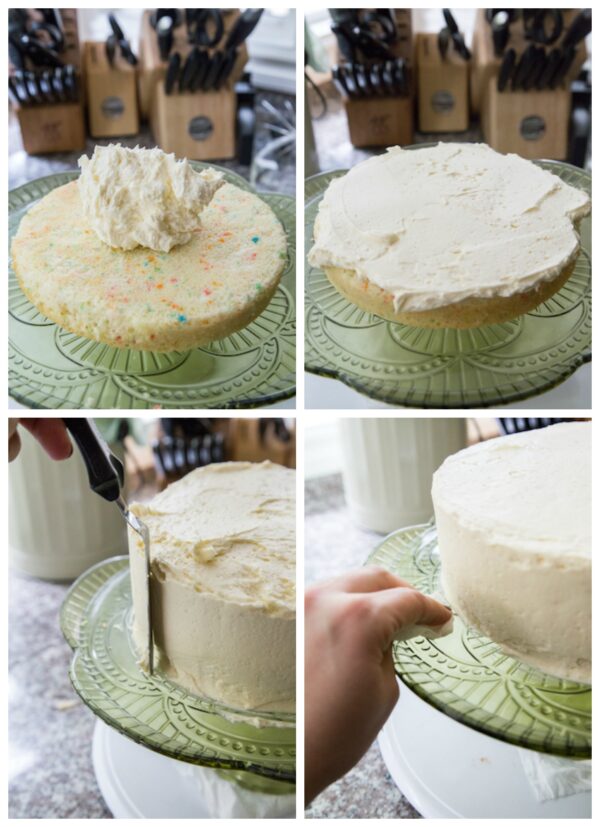
When you are ready to decorate whatever type of cake you make, be sure to level the top of the cake, getting rid of the hump on top. Then, flip the cake over so the cut off top is on the bottom! This will help when you are frosting cakes, and reduce the crumbs you get into the frosting. Because this cake is going to be covered in white chocolate bark, don’t put too much effort into doing a crumb coat, or making it absolutely perfect. Just frost your cake so it is evenly covered with the amount of frosting you want!
My next biggest trick for keeping crumbs to a minimum, beside flipping the cake so the bottom is on the top, is to frost the cake in one direction. Swiping your spatula back and forth will lift the frosting away from the cake, and peel crumbs into the frosting. Use a turntable for forsting your cakes and spin in only one direction. As you can see below, I didn’t go bonkers with making this super smooth.
To create even sides, hold the spatula perpendicular to the cake plate, and angle the spatula so it is 45 degrees off the cake. Spin the cake and it will start to smooth! Wipe the edges of the cake plate before moving on.
When your white chocolate bark is completely cooled, use a pizza cutter to even out the edges of the chocolate so that it sits evenly on the cake stand. Roll out strips of white chocolate that are 1 to 1 1/2 inches wide, and the height of your cake. You can make them a little taller if you wish, and break them off so they have jagged edges on the top to create additional texture.
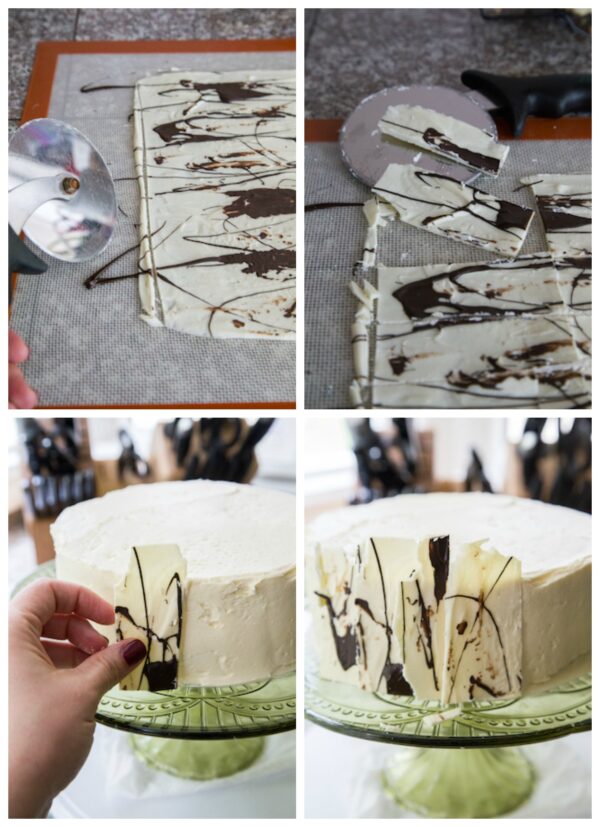
To place them into the cake, gently press the bark into the frosting, layering each piece of bark slightly over the next. Repeat this around the whole cake.
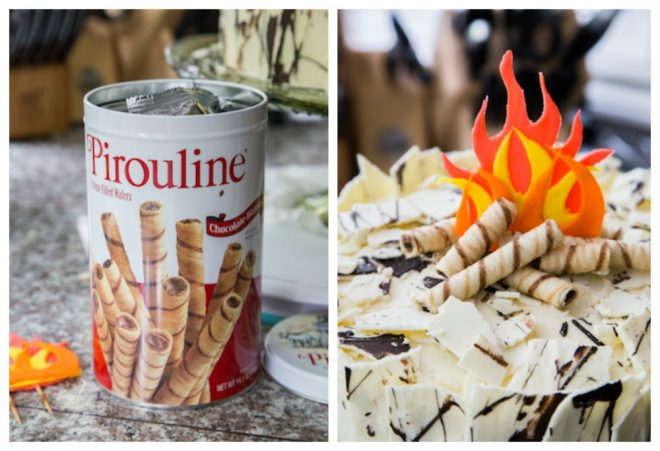
For the campfire, I didn’t want to make fondant logs, so I opted for Pirouline cookies! They are just darling and so delicious. I stacked them up around the top of decoration and it was a snap!
To make the fondant campfire, it took me a few additional minutes. But really it was easy. This is a good item to make a few days in advance so that it has time to cure and dry out, so it stands up on the day of your event. Dye three 1-inch balls of fondant into three colors. I made red(ish), yellow, and orange. Using a small Wilton rolling pin with fondant rings set to 1/8th inch, I rolled them out. Using a small knife, or a small wheeled pastry cutter if you have it, cut out the flame shapes. When you pull away the cut out fondant, it may look like it is going to pull apart the flames, but when it tugged at the edges of the flames, it elongated them to create really delicate tips on them! It worked like a charm. Set the flames out on paper towels and allow them to dry completely. The paper towel creates a little drying action so that they cure entirely. If you let them dry out on the silicon mat or solid surface, drying will take longer. To layer them, brush the the bottom edges of the flames with a tiny amount of water. On the largest, bottom flame, place two tooth picks onto the bottom where it is wet. And then add on your second layer of flames. Repeat this with the last flame, brushing it slightly with water and layering it on top of the second flame. Allow this to all cure and dry out completely.
On decoration day, stack your campfire logs and stick your completely dried campfire on top! Viola! You are DONE!!
I hope this helps you in your future celebrations! This cake was so special for us, as Emmett’s first cake, and I hope it will give you some ideas for creating your own for your little one’s!

How to Make a Campfire Cake
- Prep Time: 2 Hours
- Total Time: 2 hours
- Yield: 1 3-Layer Cake 1x
- Category: Cake
- Method: Oven
- Cuisine: Dessert
- Diet: Vegan
Description
With these easy step by step photos you can like how to make a campfire cake with faux white chocolate birch bark and a campfire on top!
Ingredients
- 3 Layers Baked and Cooled Cake
- Frosting
- 2 cups Melted White Chocolate
- 1/2 cup Melted Chocolate
- Pirouline cookies, halved
- Fondant, colored red, yellow, and orange
Instructions
Level cake layers. Assemble cake with frosting, or jam, between the layers. Frost the cake with a crumb coat all around.
Spread the melted white chocolate in a thin layer on a silicone mat, and drizzle melted chocolate over the top of the white chocolate. Wait until it is cool, and then break apart into shards to create a birch bark look. Press gently into the sides of the cake.
Assemble the rolled wafer cookies into a campfire circle assembly. Roll out the fondant and cut into flame shapes. Allow it to dry completely on a paper towel (overnight is best). Stack together and nestle into the cookie “logs”.
Serve.

Pingback: Perfect Carrot Layer Cake with Buttermilk Cream Cheese Frosting - Country Cleaver
Pingback: How To Make Chocolate Buttercream Frosting - Country Cleaver
Ya know, when you post a cake with such detailed extras. For example: the melted chocolate and fondant, not to mention the cake recipe itself, it would be nice to have all recipe’s. If we knew how to bake it all we wouldn’t be looking up this type of thing!!!!!!!
Sorry that you didn’t get the instructions you were hoping for. I can amend the recipe accordingly. Because this was for my kid, I used a boxed cake mix for the cake itself, pre-made fondant for the flames, and the melted chocolate I thought was fairly easy to understand. Sorry for any confusion. This was meant to be more a tutorial than it was to be a recipe itself.